Flying with a Toddler: 15 Tips for Airplane Travel with Baby
Flying is not always easy as an adult. There are constant delays, airport traffic, annoying seatmates, shrinking legroom and an overall lack of gates available (am I right?!).

All that aside, flying as an adult WITHOUT a baby is pretty much… a luxury. Few things are more stressful than an unhappy, non-sleeping baby when you are on a plane. I look back at my “bad” flights pre-baby, they were nothing compared to what we deal with now.
I’ve taken Aurora on 15 flights at this point, from 2 months to 13 months. Each flight throughout the year has had its own challenges and good surprises. However, now flying with a toddler definitely has been the most…active….
Here are my 15 best recommendations to make you and your little one a little bit happier while flying. ***Each tip and product has been vetted by me or a close parent friend, so these won’t lead you astray.
Also remember: traveling with your little one is always worth it!
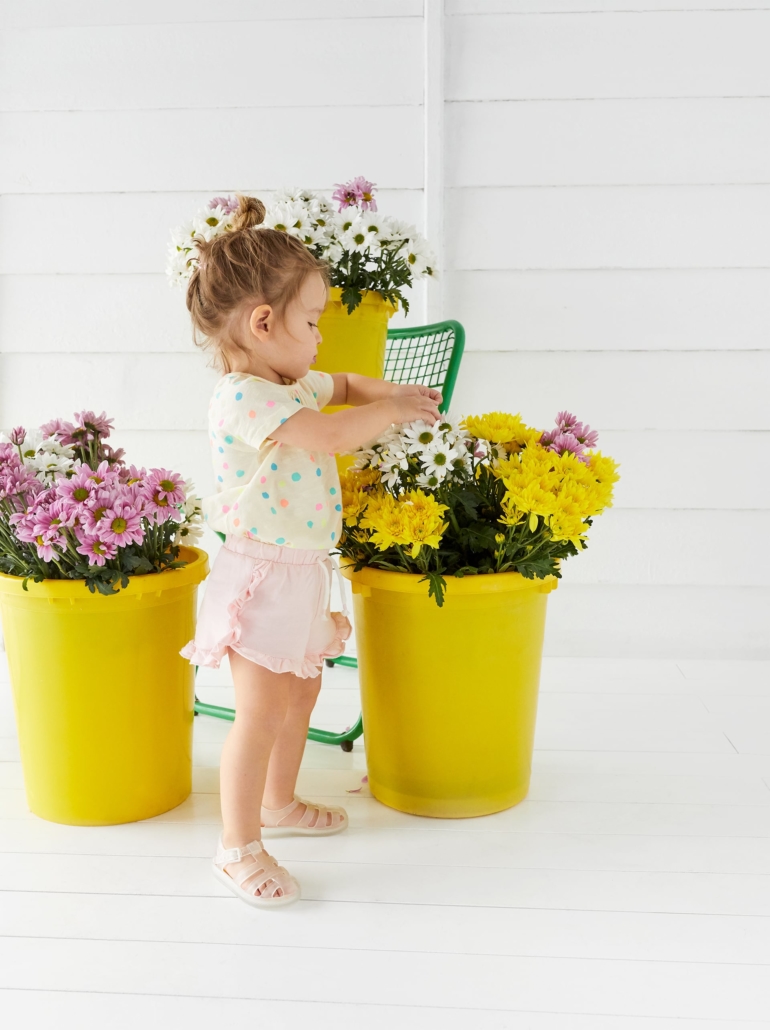
- Dress Toddlers comfortably
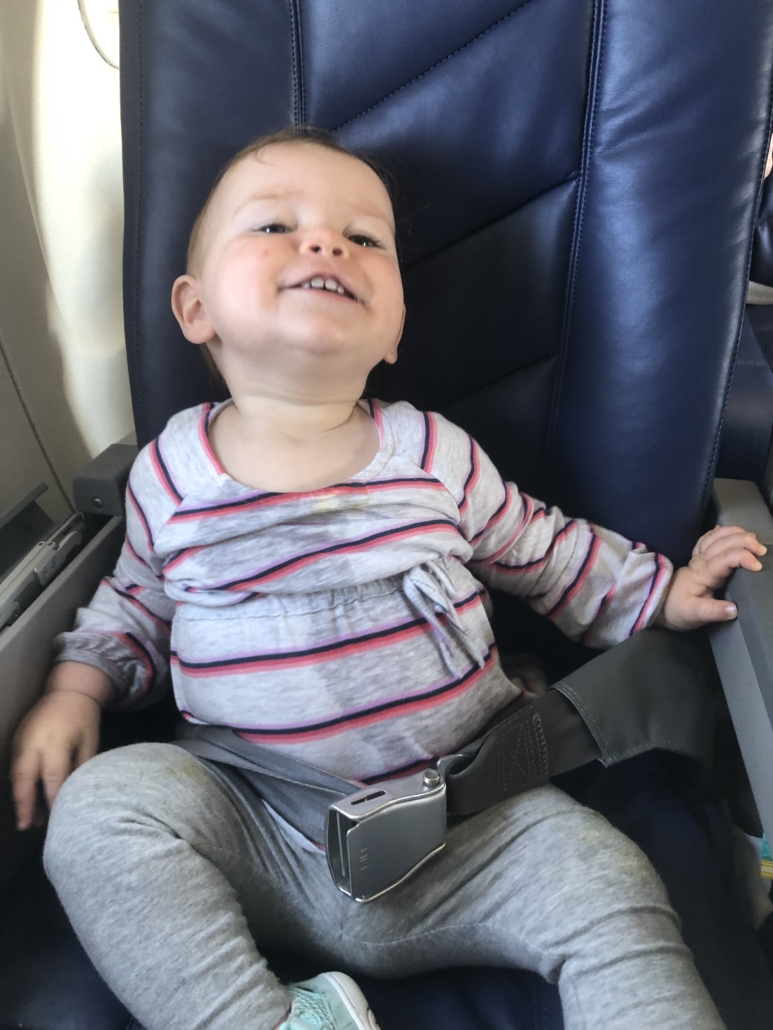
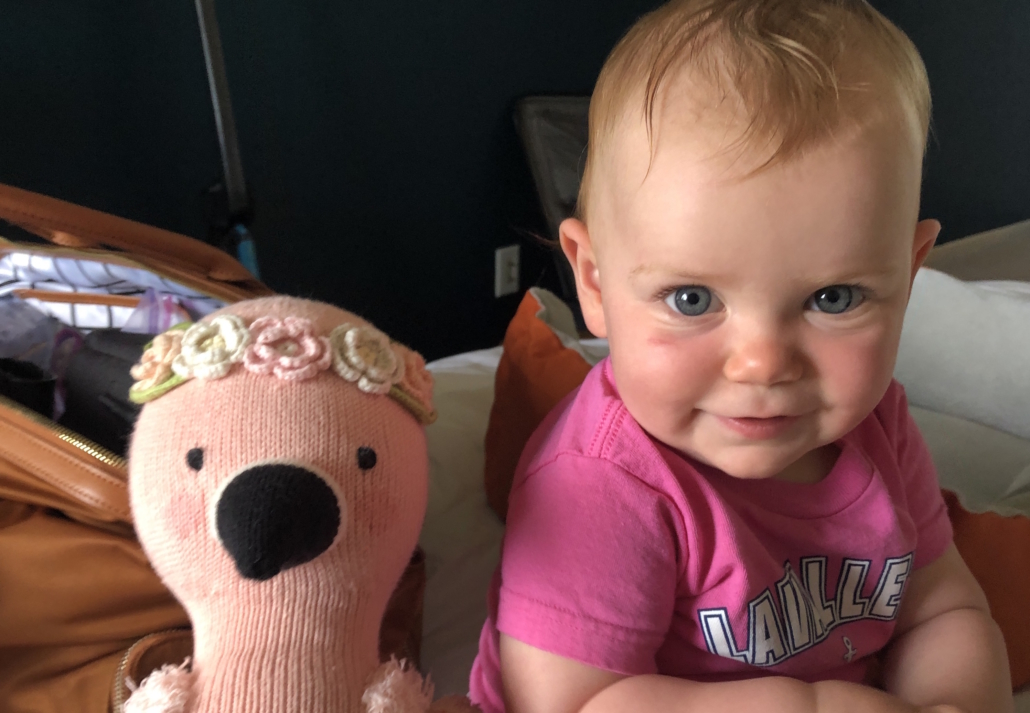
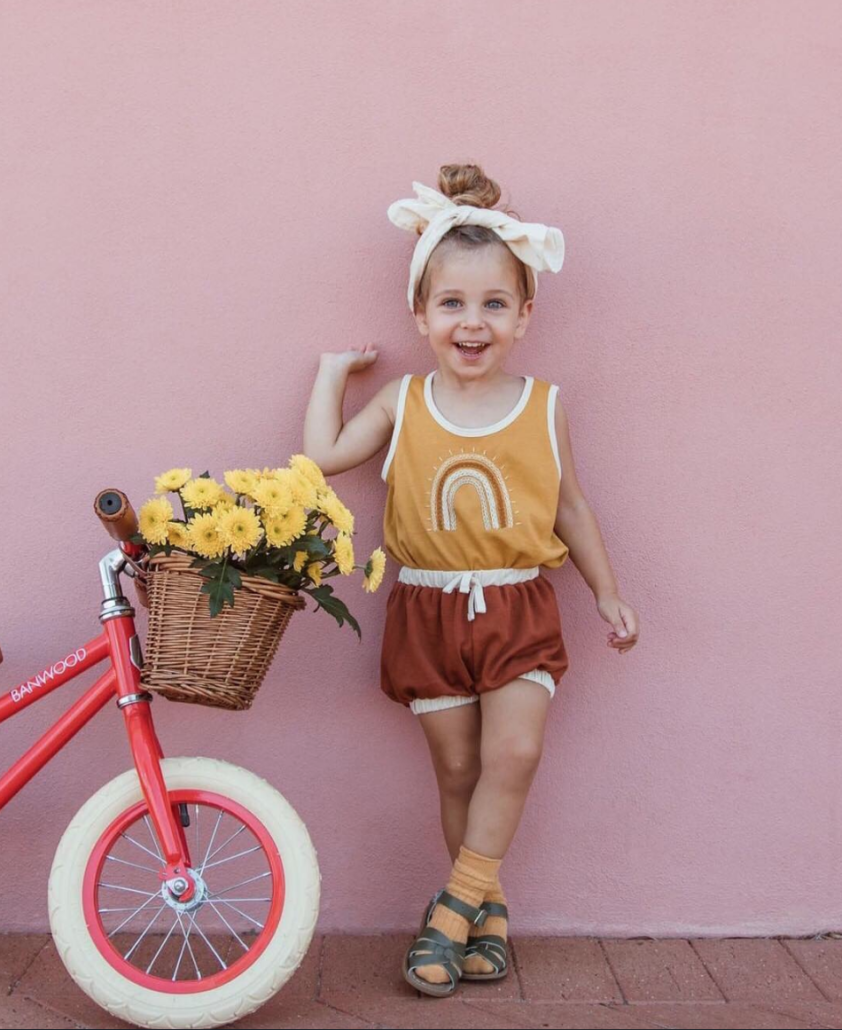
Don’t put on the cute dress or stiff baby jeans–put on the comfiest, loose cotton outfit that completely covers legs and arms. For Aurora, that looks like a long sleeve cotton dress from Splendid and leggings, her comfiest sneakers and thin socks. I forgo any bows because they will get lost.
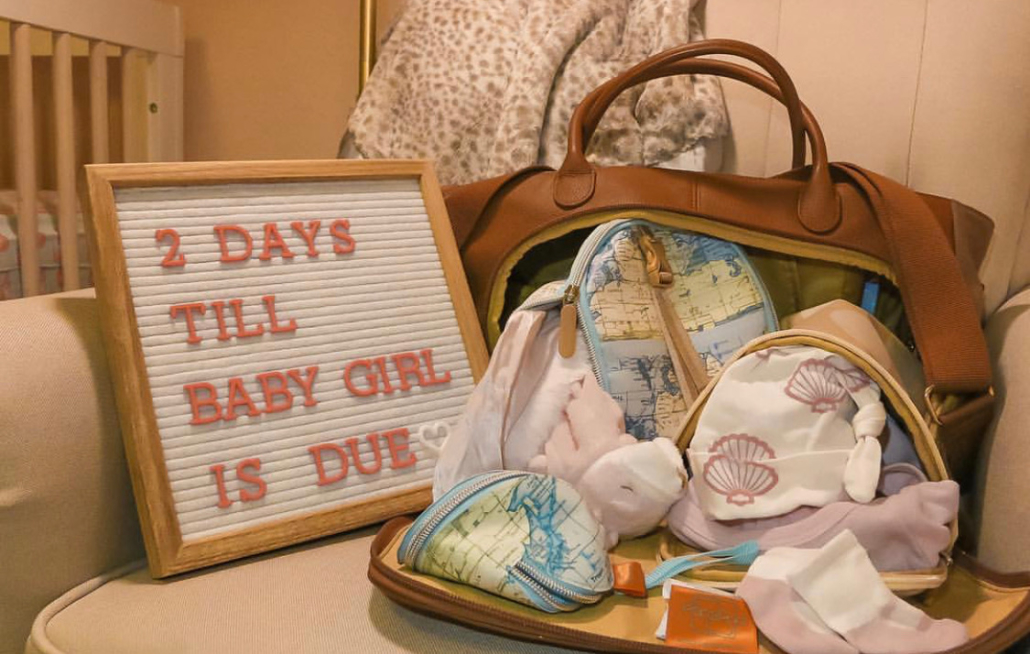
VERY IMPORTANT: bring at least one extra change of clothes for the inevitable blowout or stained shirt. I usually rollup 2 additional comfy outfits in my carryon. I also carry jacket or sweater, extra socks and a hat.
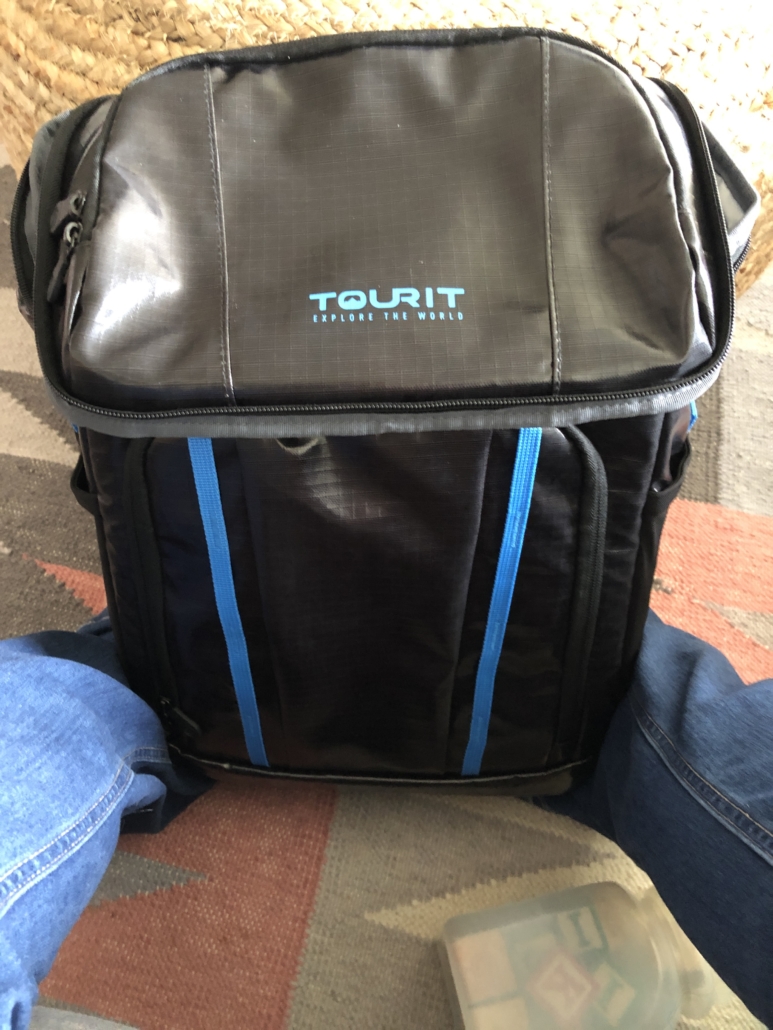
- Only a Carryon Backpack
Did you know that you get an EXTRA carry on bag when you are flying with a child? That means, the parent gets one personal item and one carryon + one additional bag.
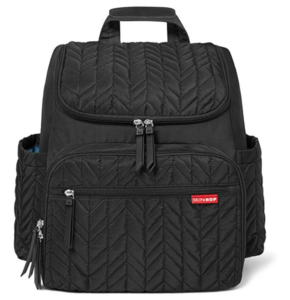
If flying solo (without spouse or friend or grandparent): Bring one roller carryon and one well thought out carryon bag. Any more than that and your hands will be too full because remember, you always need at least one hand to carry your toddler/hold their hand/ grab them out of harm’s way. In this bag, put the essentials and make them easy to grab (aka. Don’t over jam or you’ll never be able to reach in with one hand and grab what you need).
You also will benefit from putting bottle, water cups, a wrapped snack and wipes in the out pockets for easy grabbing.
I use this backpack here and have been pretty happy with it.
- Fanny Packs are your NEW BFF
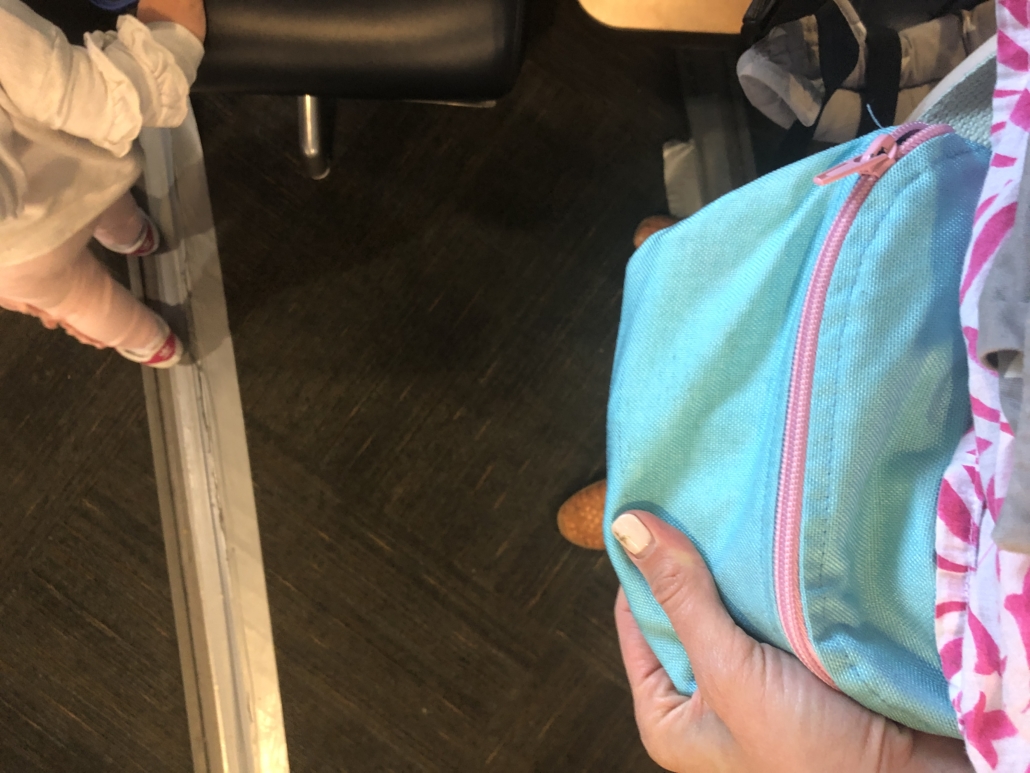
Personally, I have always liked fanny packs, but no matter your style preferences, know that a fanny pack is a lifesaver when traveling with a toddler. You can keep your passports, tickets, your phone and one credit card on you for easy access as you go through the airport. Credit cards typically come with processing fees, especially during travel. Ensuring a smooth travel experience involves being mindful of these fees, and a card machine comparison can be a valuable resource to assist in this aspect. Rather than stopping to take off your backpack or fishing around a diaper bag, this streamlines things and keeps you from losing your items (or losing your toddler).
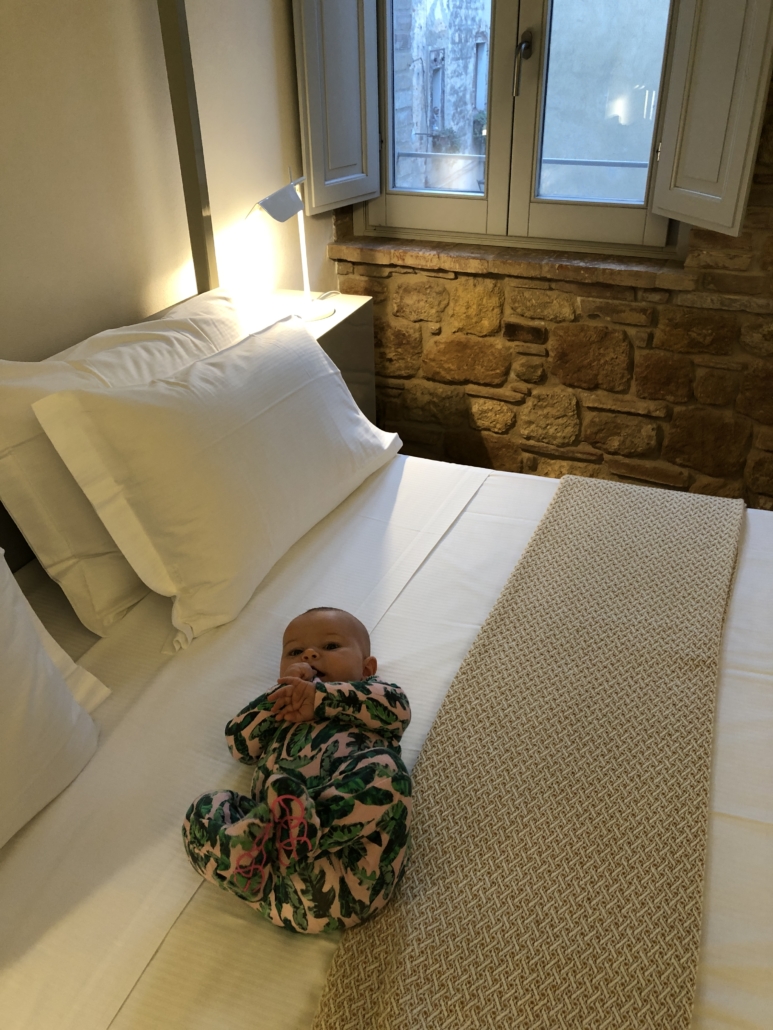
- Keep Your Toddler WALKING Pre-Flight
You’ll need to have your baby in the stroller (or be wearing them) until you get close to your gate since we all know that toddlers aren’t the quickest or most efficient walkers. But when you get near your gate, find a quiet area and let your toddler out. Let them walk and wander and expend a lot energy. And expect them to make lots of friends.
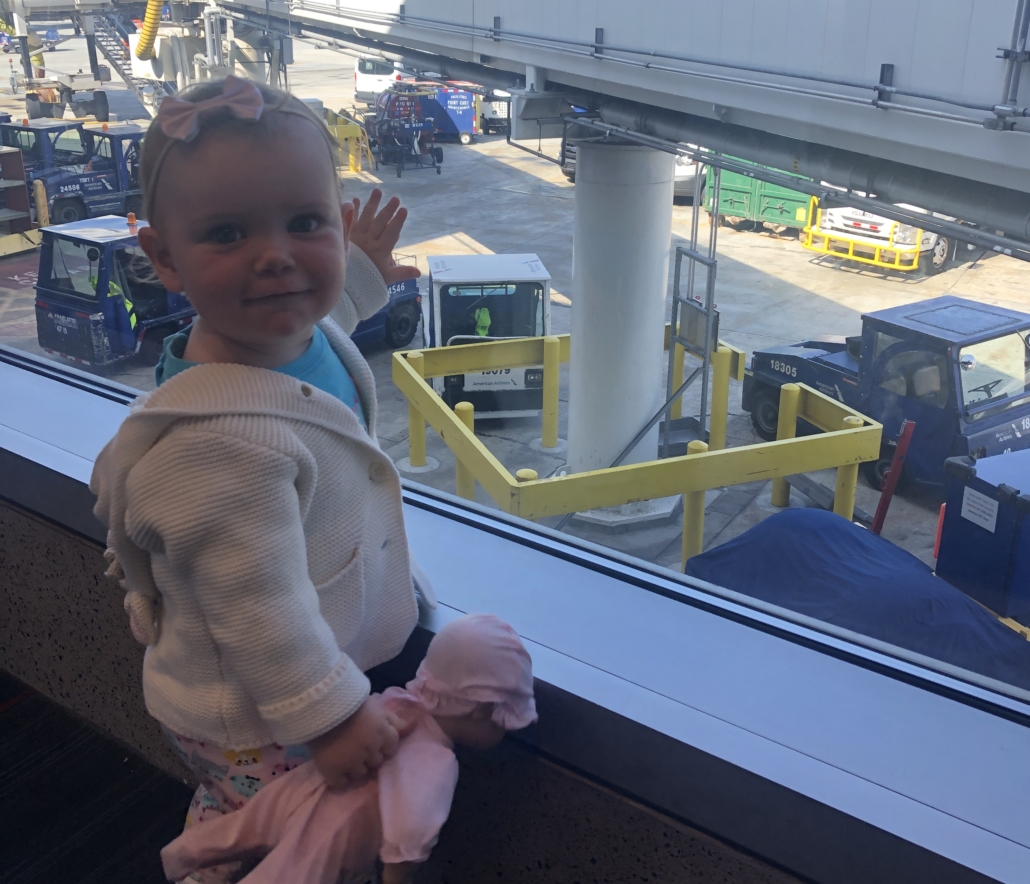
This can be tough if you don’t have a partner to watch your things but when I fly solo with Aurora I ask the most trustworthy looking person to watch my bags and have my valuables on me (fanny pack!) so off we go. The more energy the expend before the flight, the happier everyone will be.
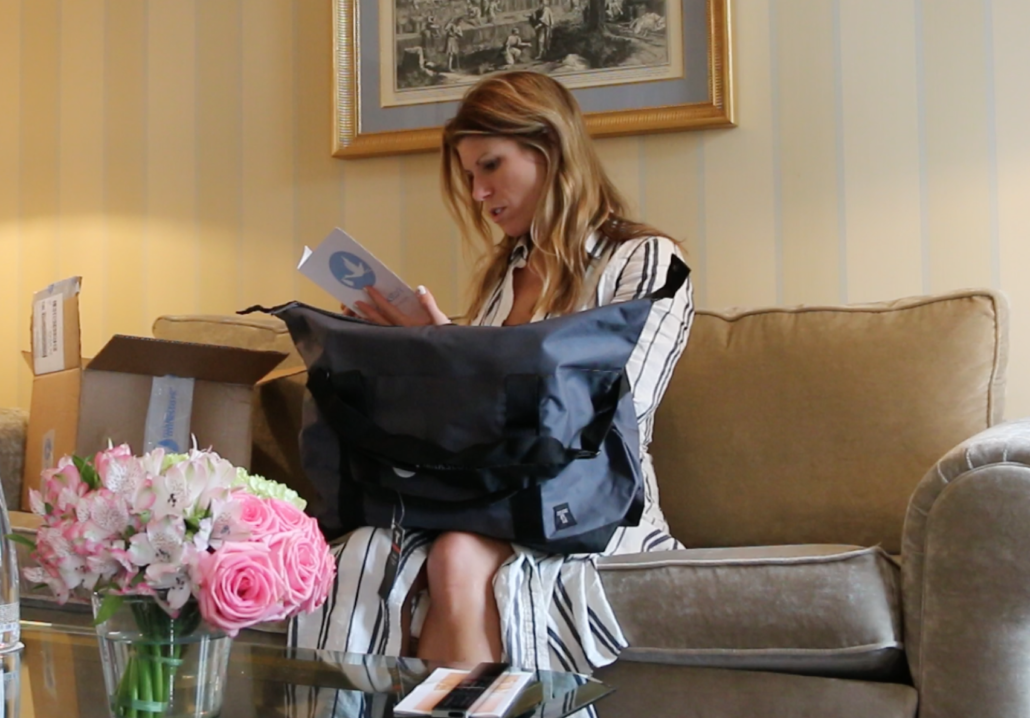
- Bring a BAG to Cover your Checked Stroller
I’ve used my Bugaboo Chameleon and my Doona carseat/stroller while traveling and both have to be checked at the gate. Twice I forgot a bag to at least cover the seat part of my Bugaboo stroller. That was a mistake. The seat came back dusty and dirty both times (who knows what was piled on top of them). Just bring a large bag to cover the seat part to at least have a barrier. Once you disembark, you won’t have time to clean it before popping your baby in.
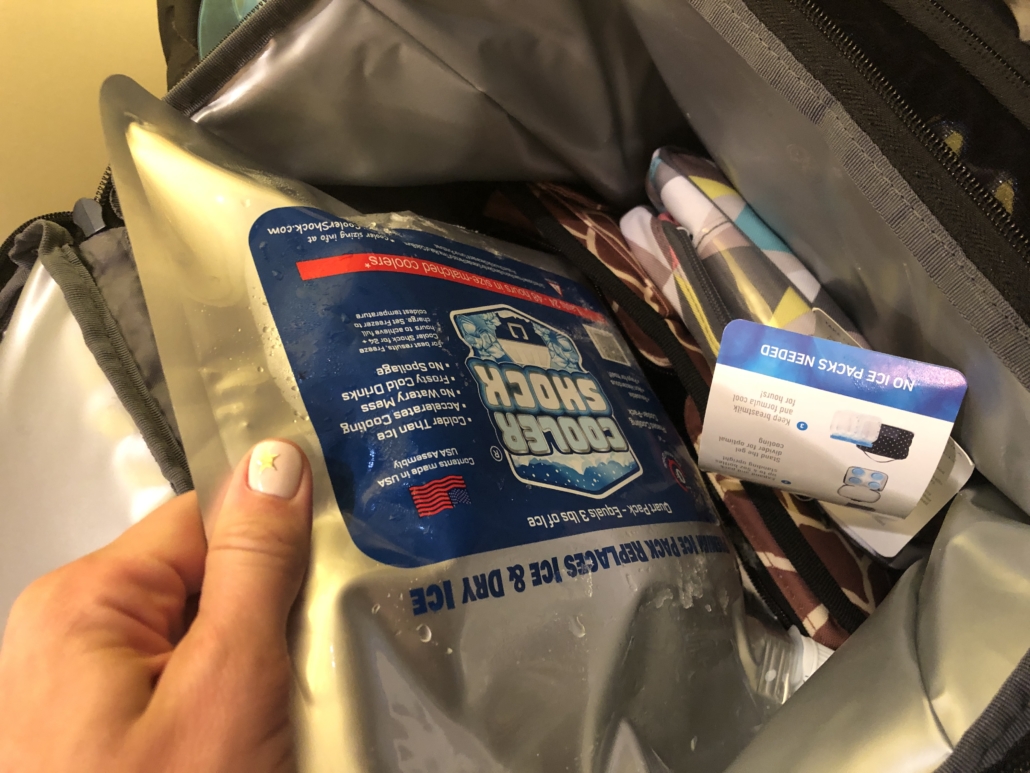
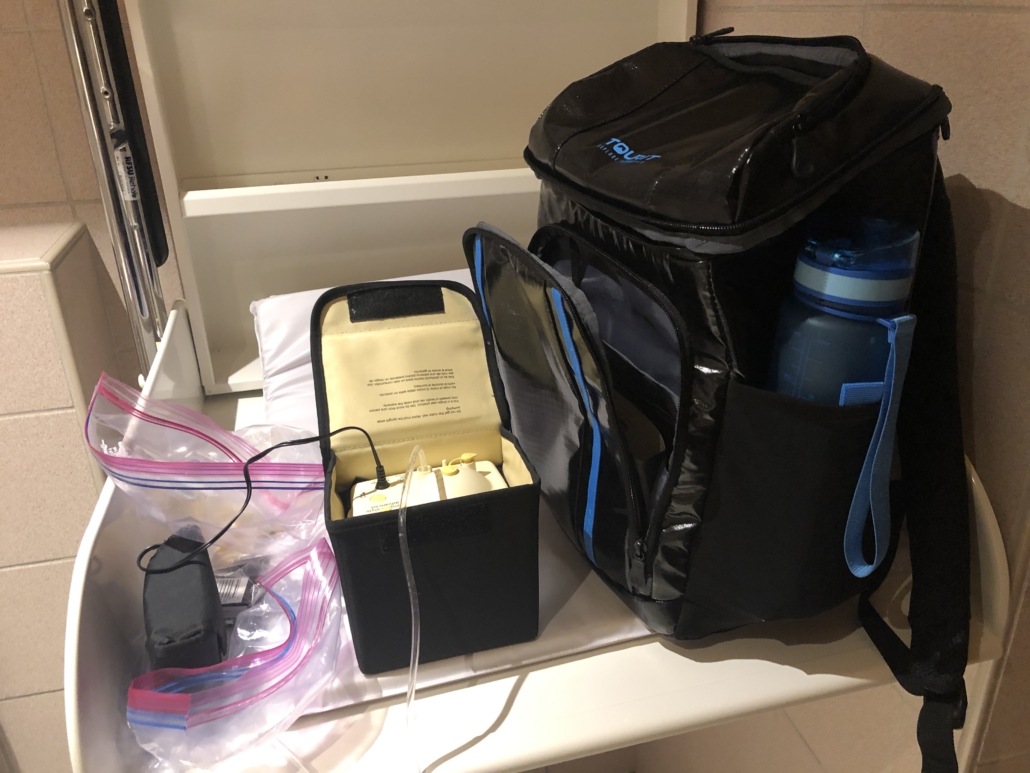
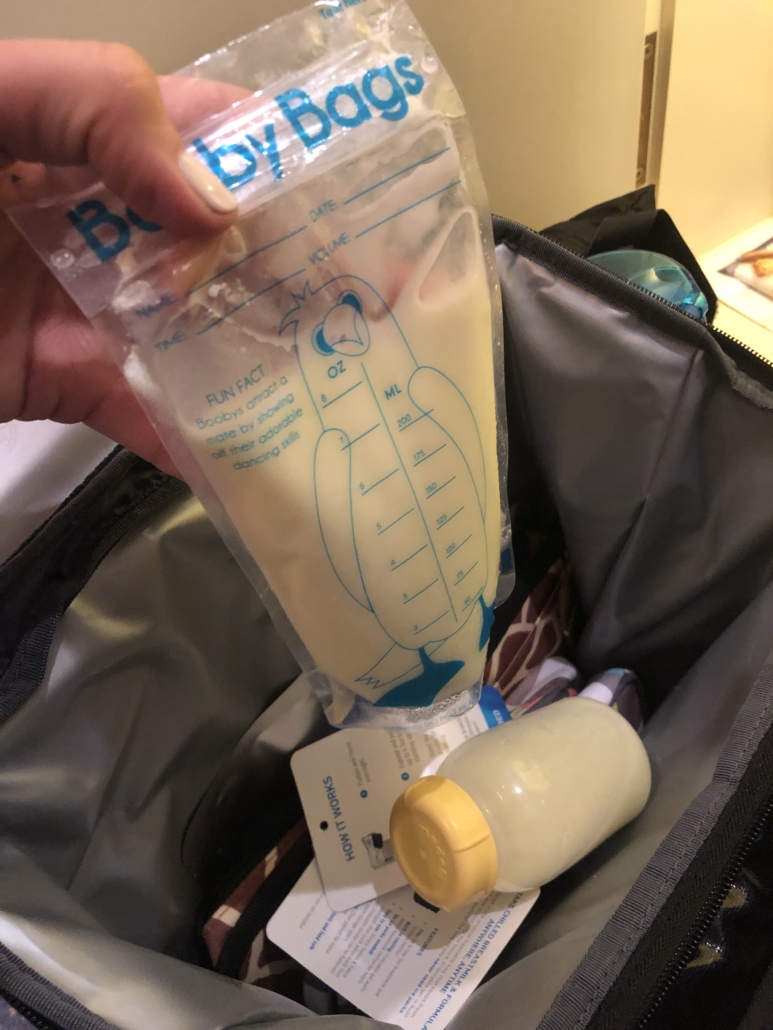
- Use CLEAR Water & Milk Straw Cups (or go through with empty cups!)
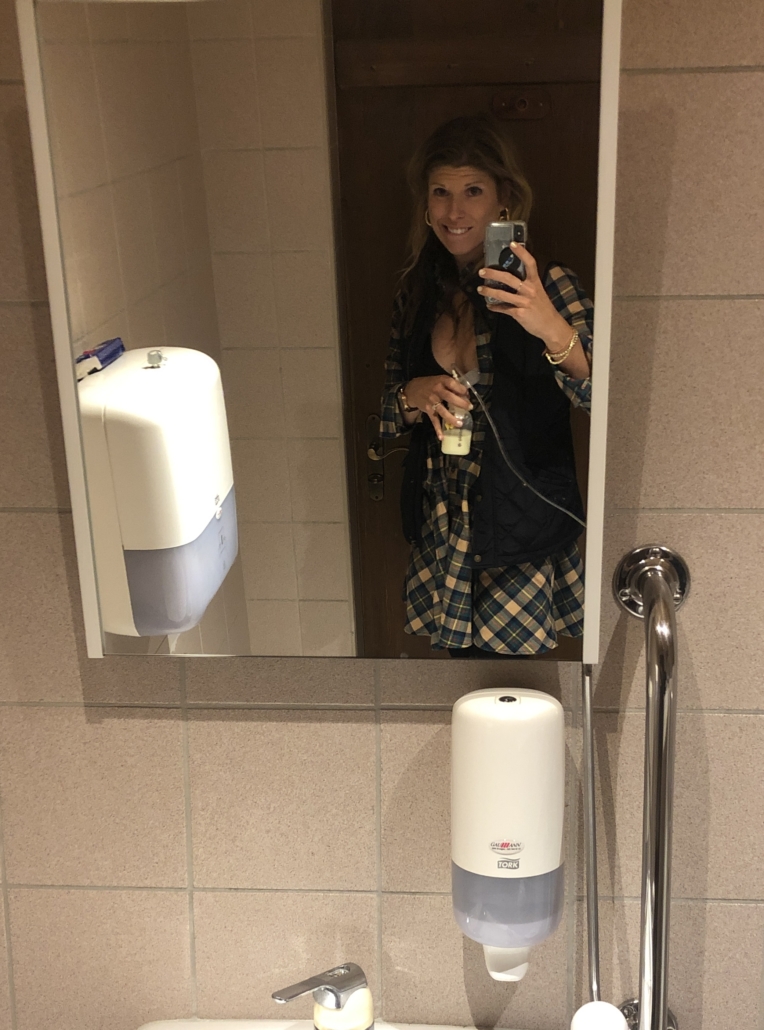
I wish I had realized this but if the cup is clear, the security will not need to open the bottle. They can visually examine then maybe swab the item. If the item is not translucent, they need to open the bottle and look inside, then swab the air above. I didn’t love this because you are worried that they are going to touch the inside of your cup (ew) and also it takes MORE TIME.
Note: if you want to save time in security, go through with empty cups and buy water and milk on the other side. Now that we are off of breastmilk (which I’d NEVER dump), it’s now almost worth skipping the extra security check and getting what you need on the other side.
- Download TV shows on your iPhone AHEAD of time
I can’t tell you how grateful I am that Netflix allows you to download kids TV shows (for free) to your device. Llama Llama, Daniel Tiger and Little Baby Bum episodes truly saved us from complete meltdowns when even the onboard televisions weren’t cutting it. At 12/13 months old, airplane movies and tv shows are often too slow or complex–meant for older children. Find a couple shows that your child likes and have them easily accessible.
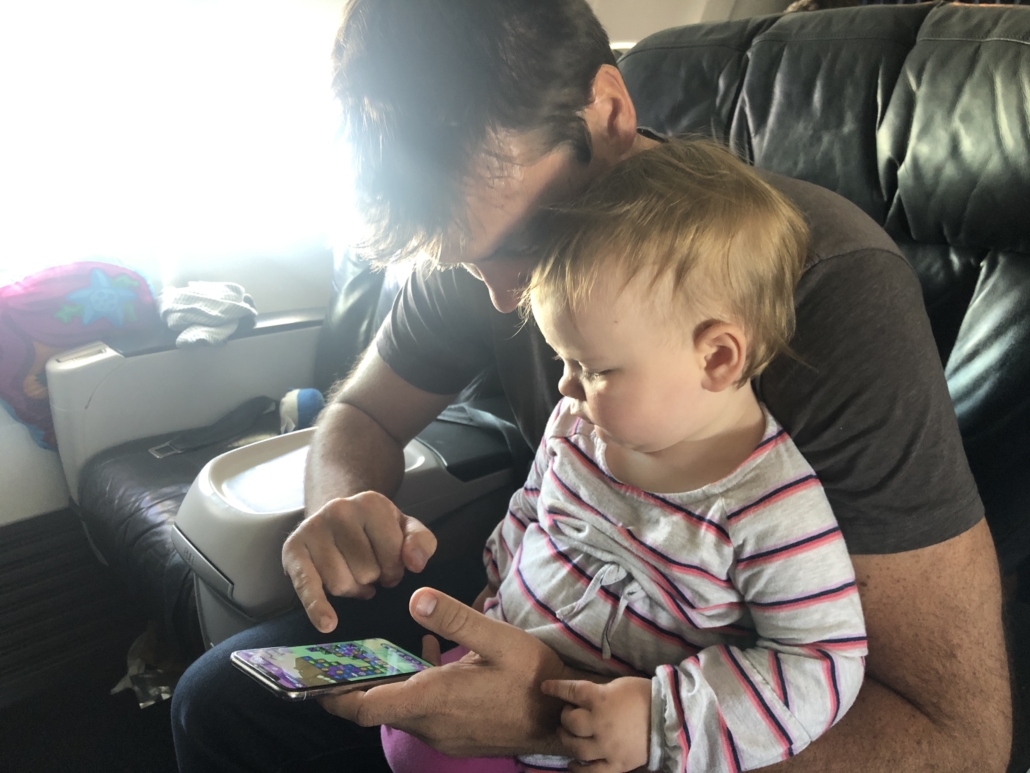
Note: We try to have no screen time in our everyday lives, save for a few minutes every other day to help us achieve a goal (stay in the highchair a little longer, cut fingernails, sit at restaurant longer etc). When you limit this at home, it becomes that much more mesmerizing when you bust it out on a plane!
- Bring Kid Sized Headphones
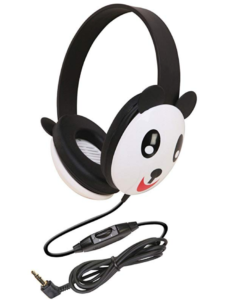 I did not bring these last time and it was a mistake. Aurora would have enjoyed the inflight entertainment more if she could have heard the sounds, songs and words. These headpphones have been highly rated and are one of the few that fit little ones around 1 year old.
Note: They don’t have a limit to volume like some others, so make sure it’s not too loud!
- Pack “Never Before Seen” Toys In Your Carryon
I try to bring at least 1 or 2 brand new toys that Aurora hasn’t seen before. I time the opening when she is getting fussy and make a big deal out of it. It’s helpful to choose something that has a lot to look at so you can show her things, talk about it and kill a lot of time with the toy. You don’t want anything with lots of pieces that can fall or that is too heavy.
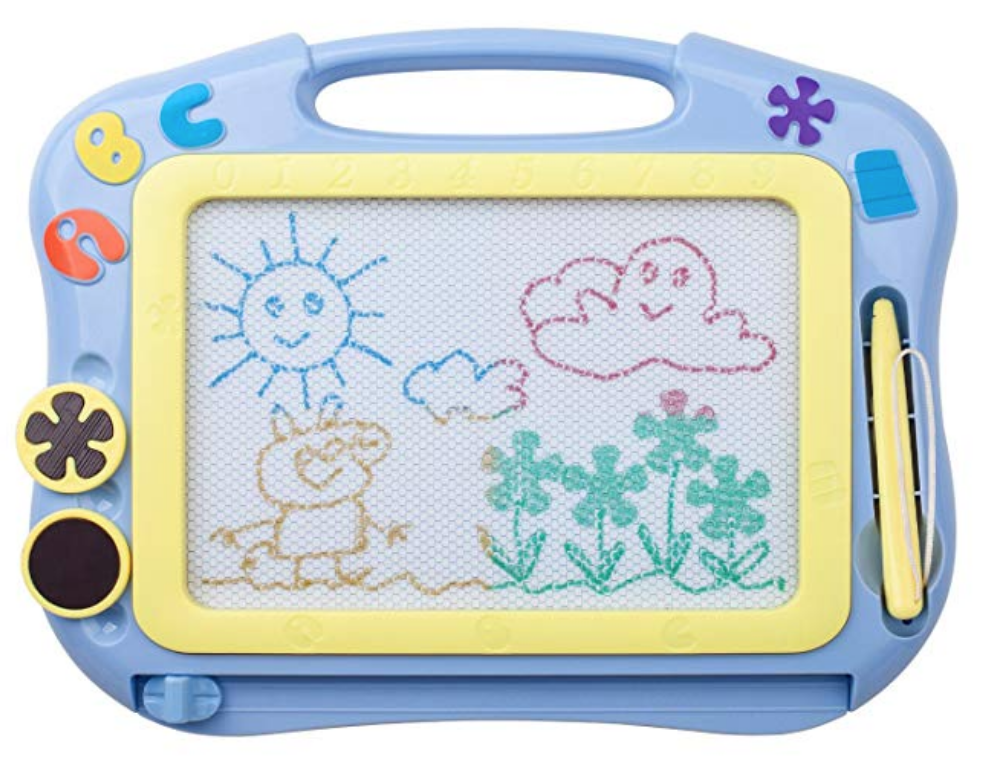
This Magnetic Doodler can occupy LOTS of time
Some toys that have worked for us on planes are:
- Petit Collage Magnetic Sets like this Traveler Girl or Picnic Party
- Suction Toys like these cute sea creatures or these fun, lightweight cups
- Fat Brain Toys like these are great for planes
- Eco Dough (this one is without synthetic ingredients)
- Honey Sticks Natural Crayons
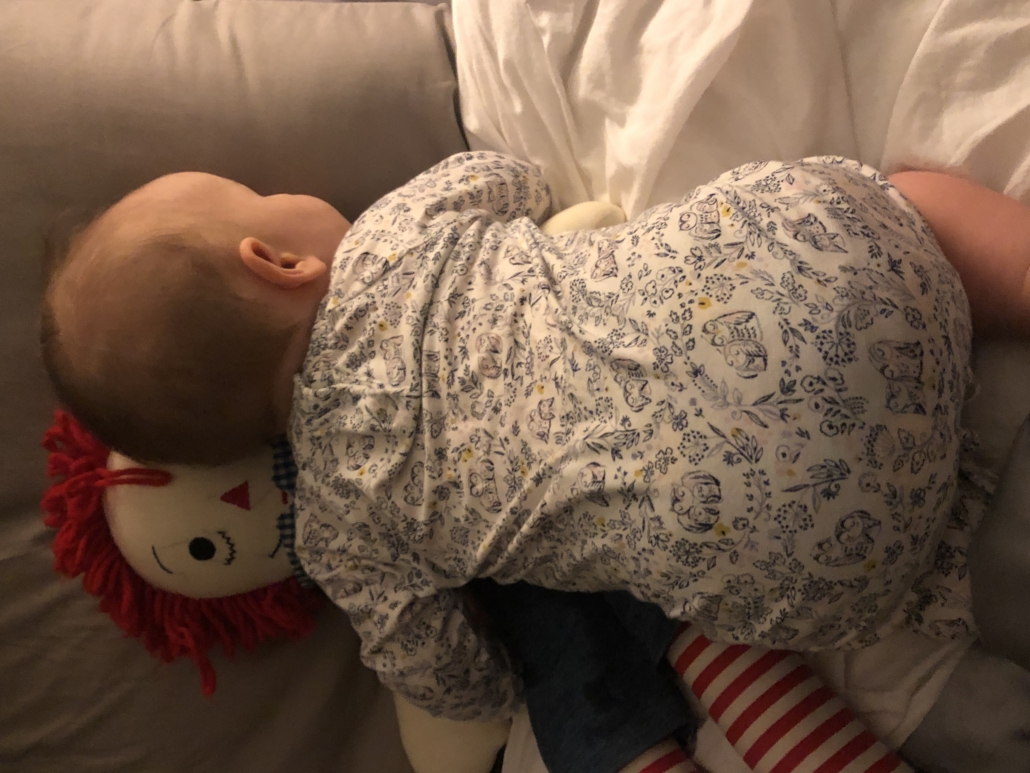
- Baby Doll
- Lots of opportunities for pretend here! Sleeping, eating, changing etc.
- This Mess Free Doodler is perfect travel toy
- Bring SUPER lightweight Books
Books (especially Indestructibles)
All books are lifesavers while traveling but they can be really HEAVY. However, I’ve found these Indestructible books which are paper thin and SUPER lightweight so you can pack quite a few in your bag. They are inexpensive and can even be washed in the washing machine (and don’t tear) — perfect for flights.
- Indestructible Books
- Also, books with lift flaps are great because they can entertain for a while, beyond just the story! Here’s some: Lift Flap Books
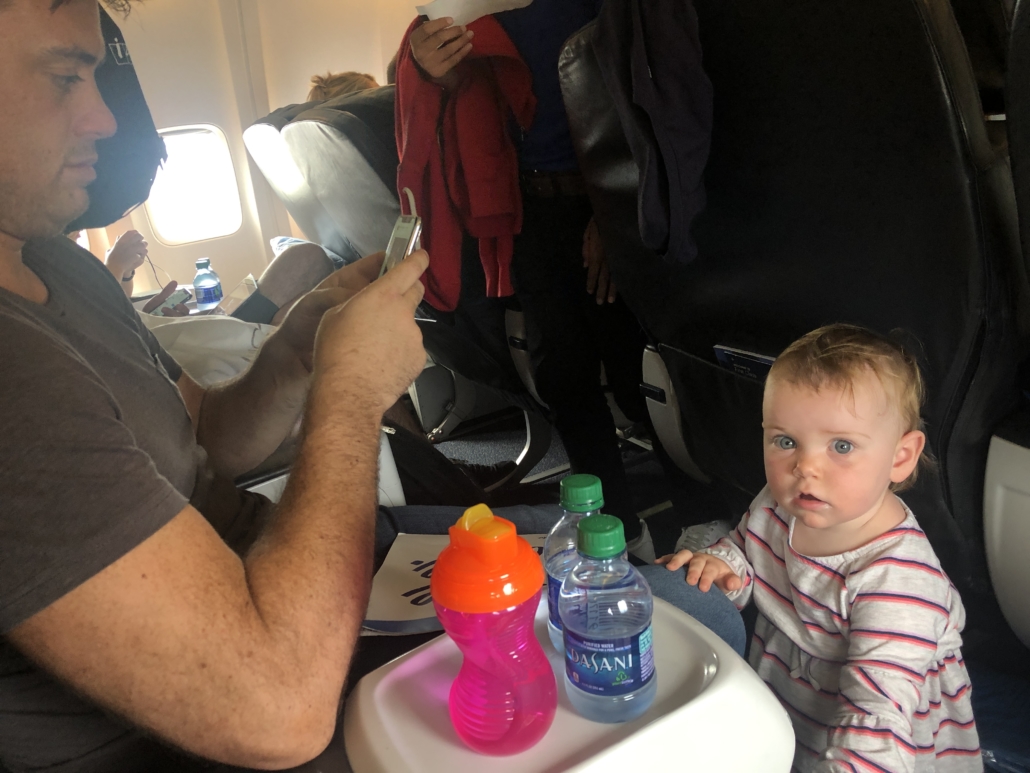
- Go “Excursions” in the Aisles
This is inevitable. You’ll have to do laps of the aisles if your little one is energetic. To make this more manageable, go slow, say hi to people and then stop and waste time in the galley (until you get a dirty look from the flight attendant). The purpose of this is to keep them standing, moving and getting tired.
- UPGRADE if you can
I mentioned this in previous posts but the bulkhead seats in economy can be wonderful because they give you so much extra legroom–enough for your toddler to stand, sit and even lay down.

Bulkhead seats are GREAT
If that isn’t available, it might be worth the splurge for business class or an improved economy class. You’ll want to be near the front of the plane to get off quicker and have closer access to bathrooms. Every extra inches of legroom means a happier baby.
Lots more space in business class
Note: We haven’t purchased an extra seat for Aurora yet as she is under 2, but we might consider it in the future.
- Make a comfy sleep area
This inflatable cube footrest pillow can turn a seat into a lie flat bed for your little one. Inflate it on board and put it on the floor next to your child’s seat.
Note: this only works if you have an extra seat for your little one.
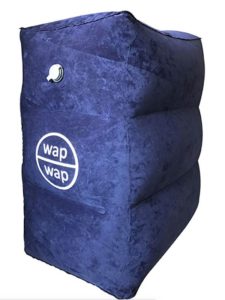
This specific one has been used & approved by a fellow traveling mama.
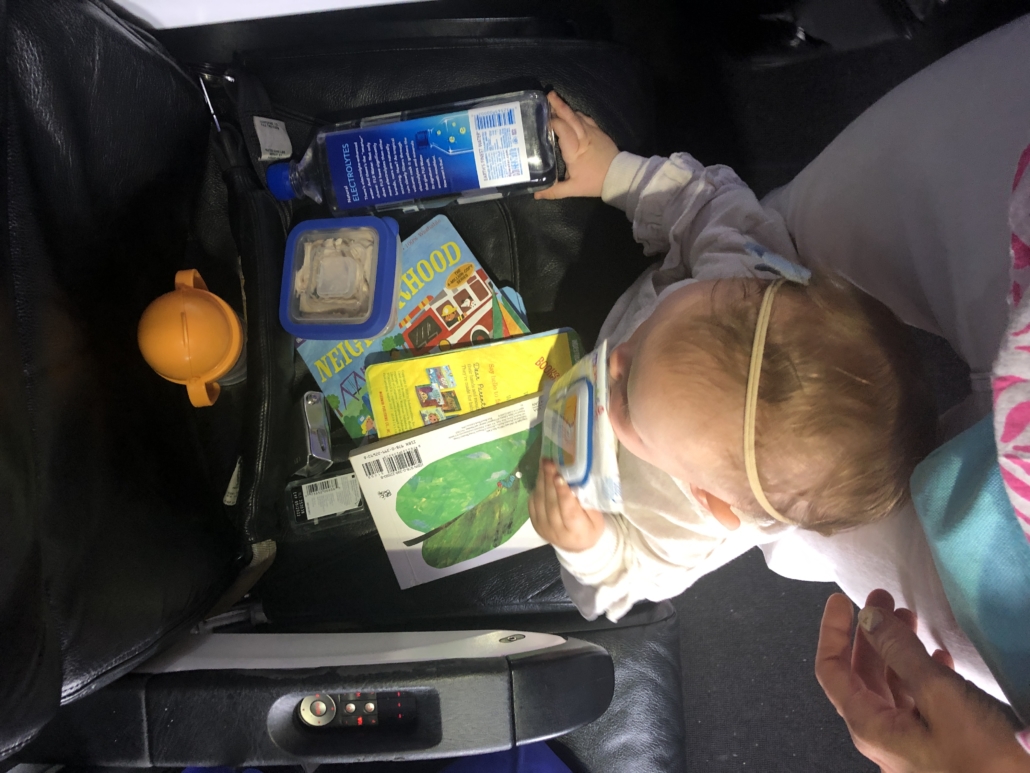
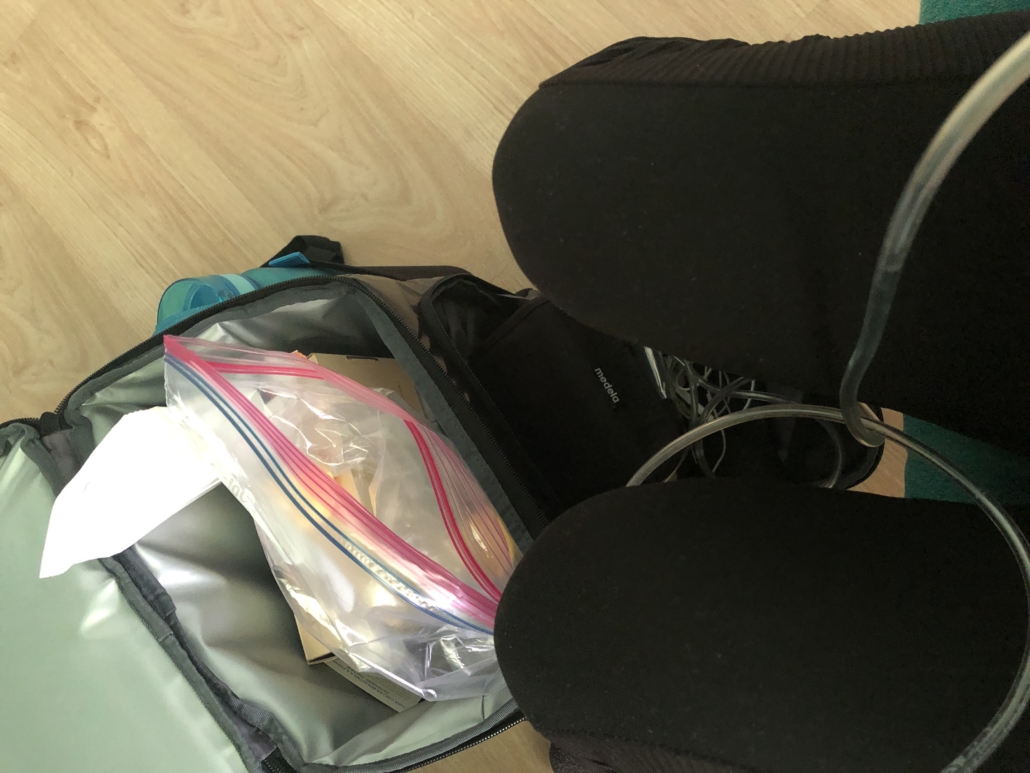
14. Organize your space
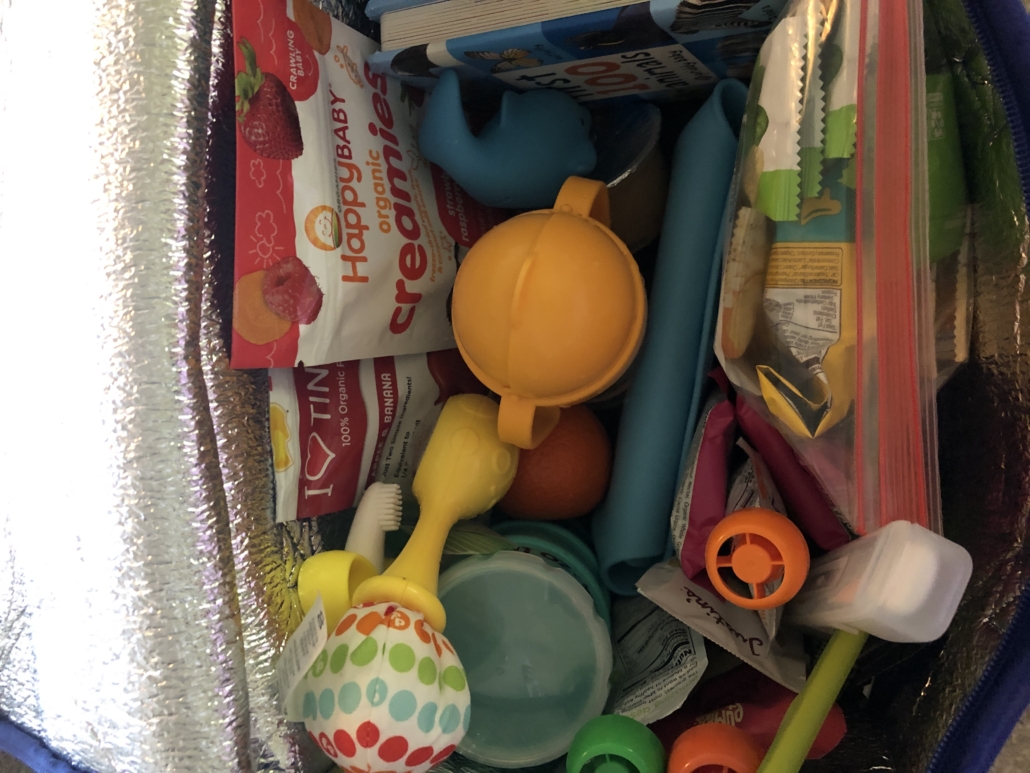
Make sure wet wipes, at least one snack, water bottle and hand sanitizer is within reach at all times. I suggest taking these items out and putting them in the seatback pocket. This is especially key if you are in the bulkhead and have to put your diaper bag in the overhead compartment on landing and take off.
15. No Mess, Easy To Serve SNACKS
Now that your toddler is eating most things, this is a great distraction! Think about your kid’s favorite foods–the ones that he/she will always shove into their mouth and pack those in ziplock bags or small reusable containers.
I try to bring the LEAST messy snacks as possible so here is my go to list:
-
- Mini mozzarella cheese balls (ciligine)
- String Cheese
- Cooked Pasta
- Pick a shape that doesn’t need to be cut (wagon wheels, shells or fusilli usually work well)
- Avoid red sauce: olive oil or cheese sauce is better
- Cooked Sweet Potato
- Chunks, whole or slices
- Cooked Chicken/Steak
- A simple cooked protein in slices usually is easy and mess free
- Avocado
- A little messy but Aurora eats it so quickly, I can usually avoid mess
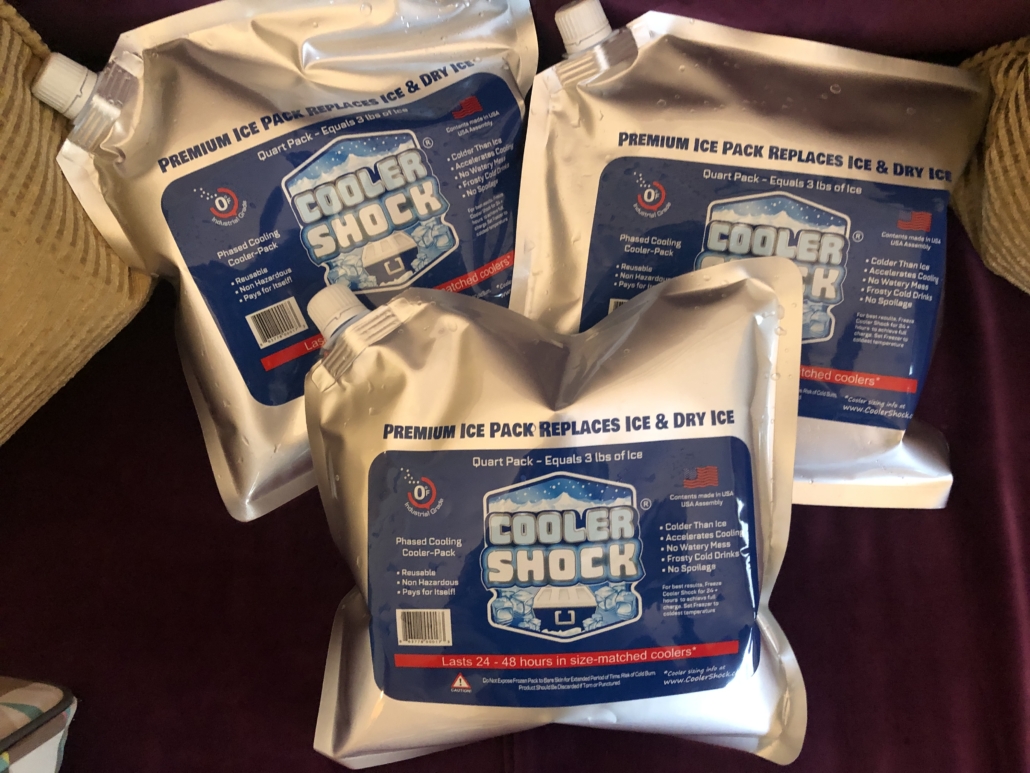
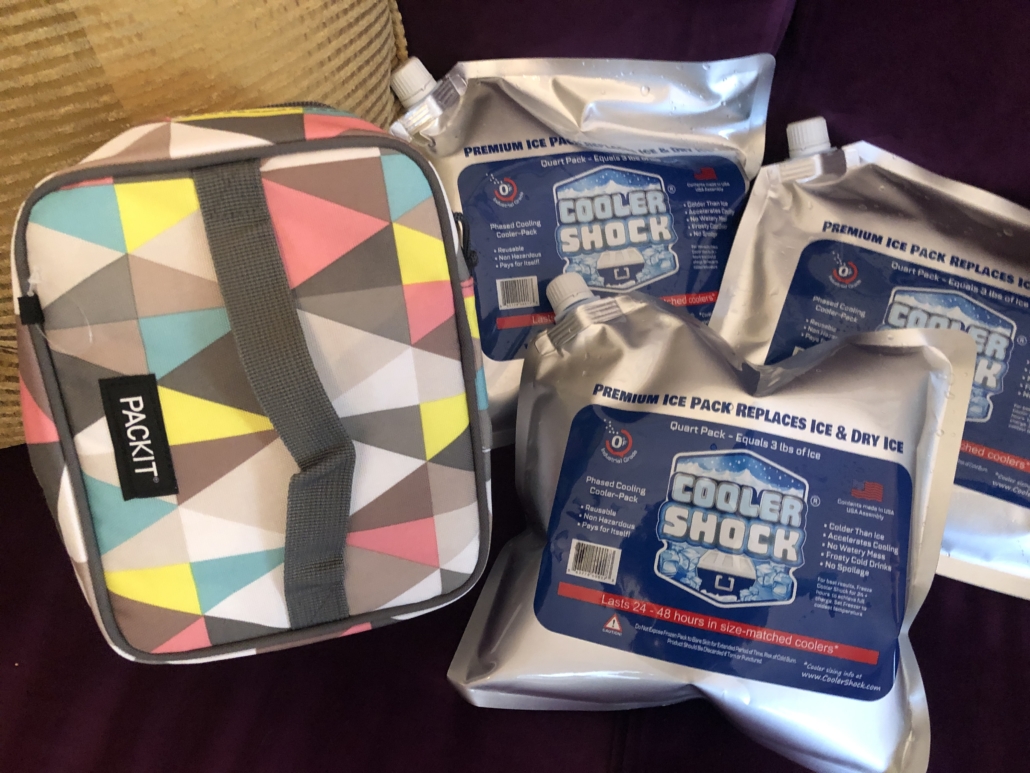
- Once Upon a Farm Pouches
- These need to be refrigerated after 8 hours so give earlier in the trip if it is a long one. Also, pick a flavor that doesn’t stain like Sun Shiny Strawberry Patch (avoid the Goldy Mango & 3 Coconuts flavor because the turmeric stains)
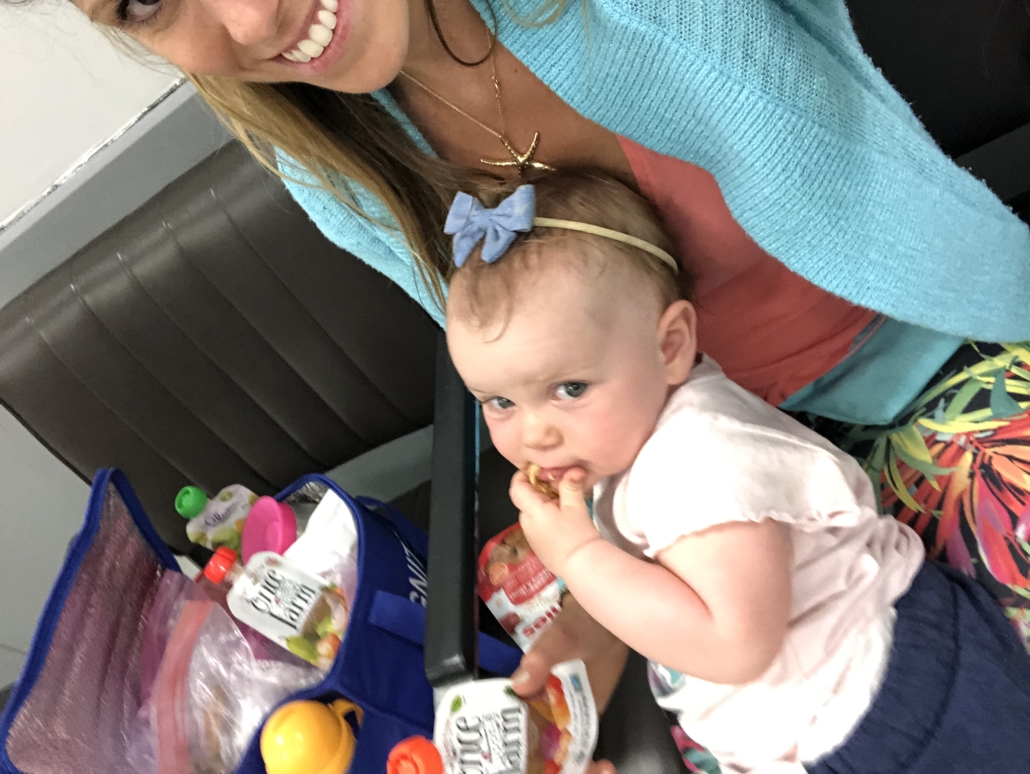
- Puffed Snack
- Hippeas
- Bambo
- Puffins Cereal
- Crackers
- Late July Peanut Butter Crackers are great
- Blueberries
- Strawberries
- Avoid blackberries or raspberries! Messy!
- Pears
- Pineapple Chunks
- Mango
- Dried fruit
- Puffed Snack
- Creamies
-
- I try to limit the processed stuff like Happy Baby Creamies but on a plane, these can work wonders!
I hope these tips help your next flight and take some of the fear/pain/anxiety out of flying with a toddler. It’s not easy but it’s worth it!
Feel free to share your tips too!


 My favorite

 Connect with Kelley


