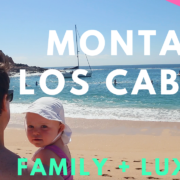
Our Santa Barbara Weekend: Perfect Getaway for Families
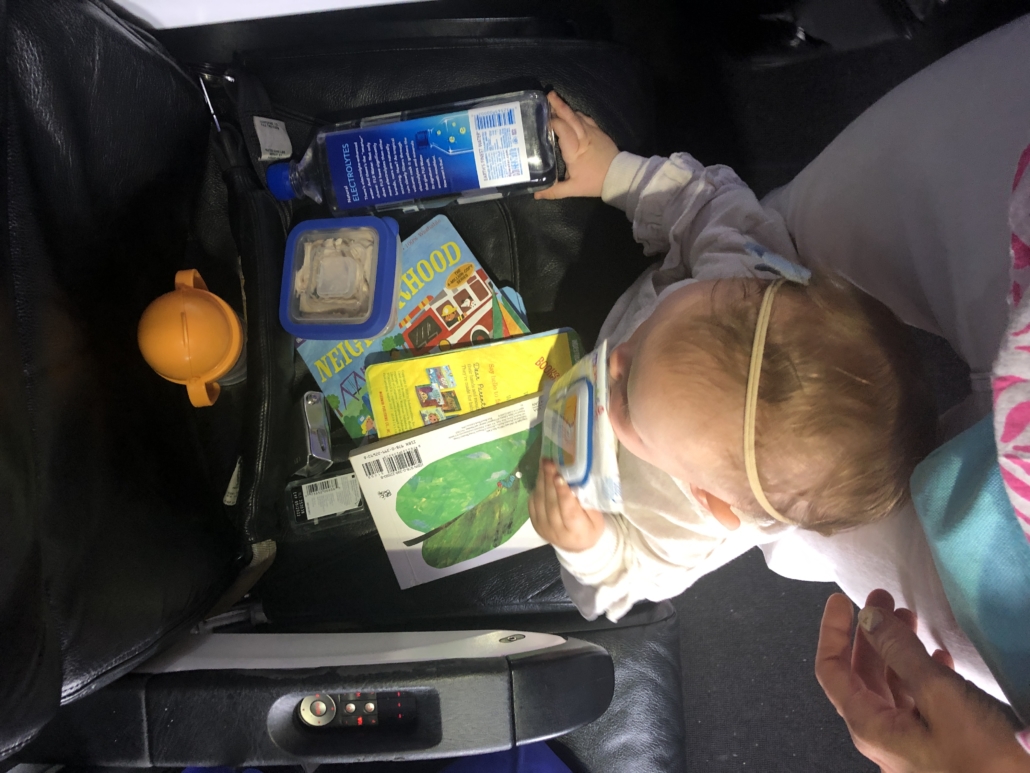
At this point, our 14 month old has 15 flights and 15 hotels/rental houses under her tiny belt. I wouldn’t say it has gotten easier, but we all have learned –often the hard way– how to travel together, better. The most important lesson that we learned when traveling with her is to pick the right destination for her interests and stage in her development. We made a little checklist on where we can go now with our little energizer bunny and that is how we selected our big summer trip this year.
Note: It’s challenging to anticipate your child’s needs when you plan trips in advance because we don’t always know where they will be emotionally/physically/mentally in months from now, but it is important to make your best guess and adjust your destination around that finding.
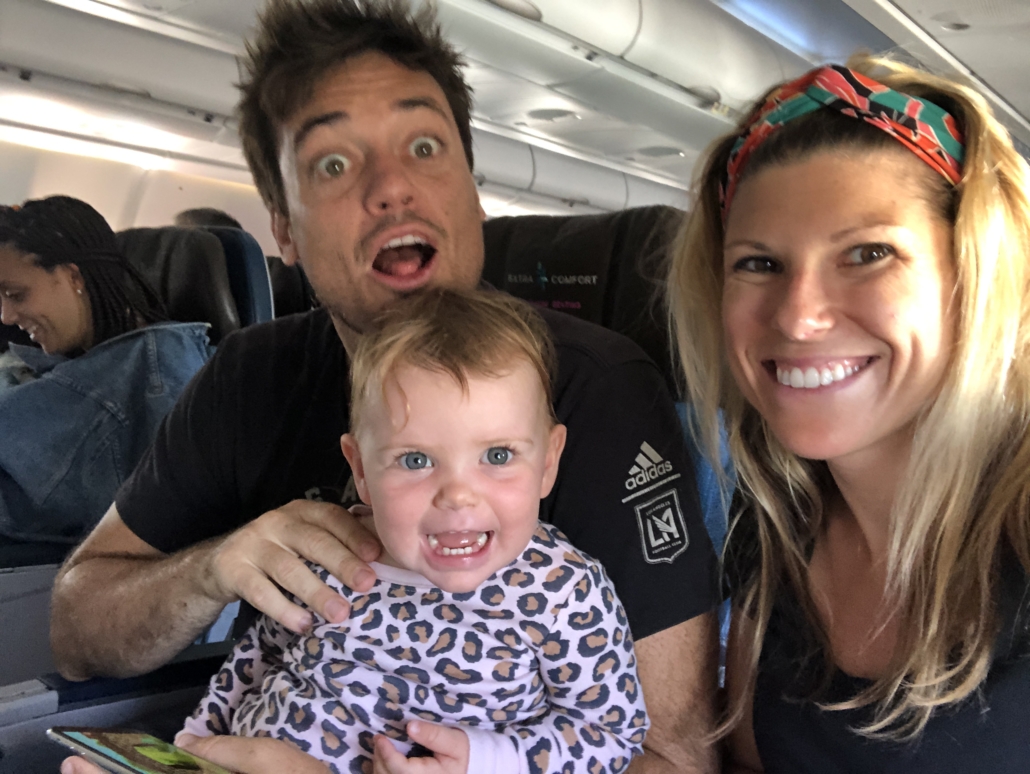
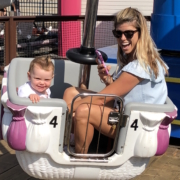
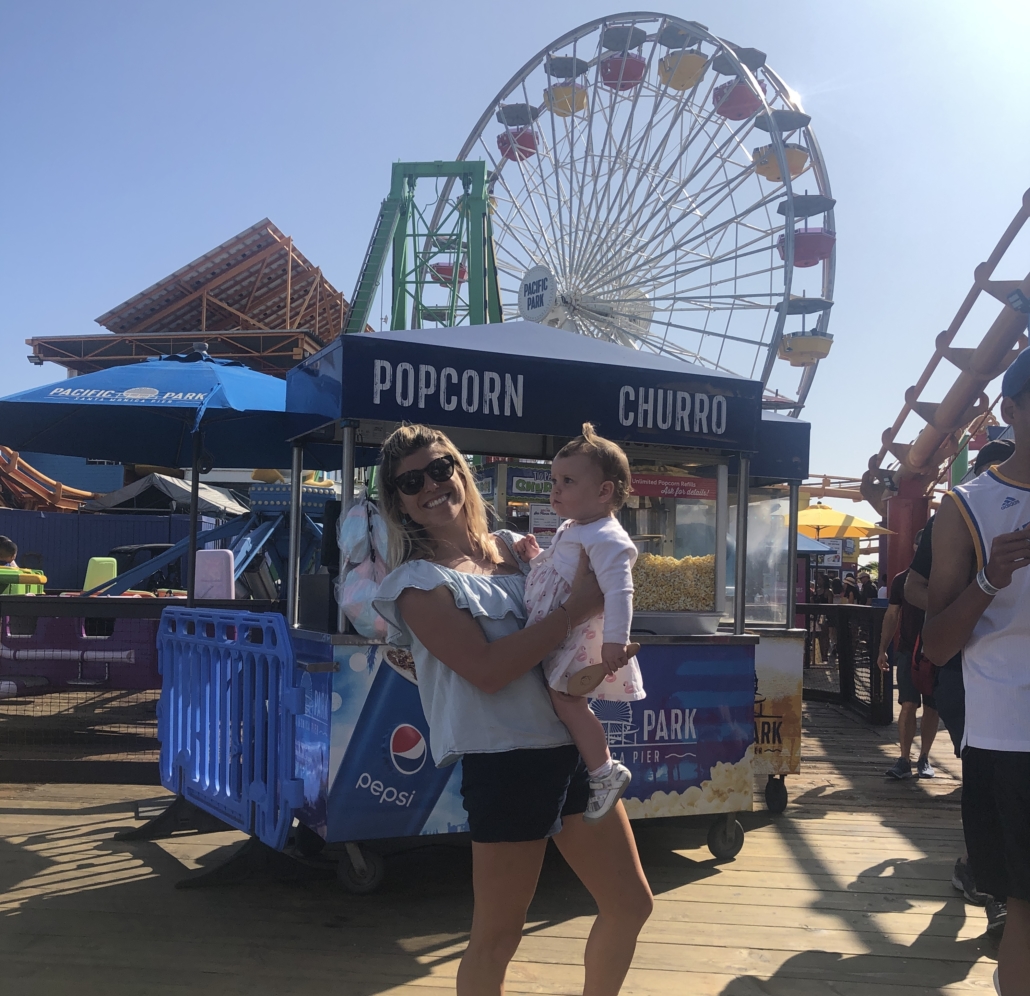
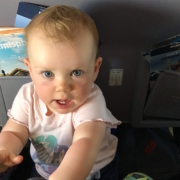
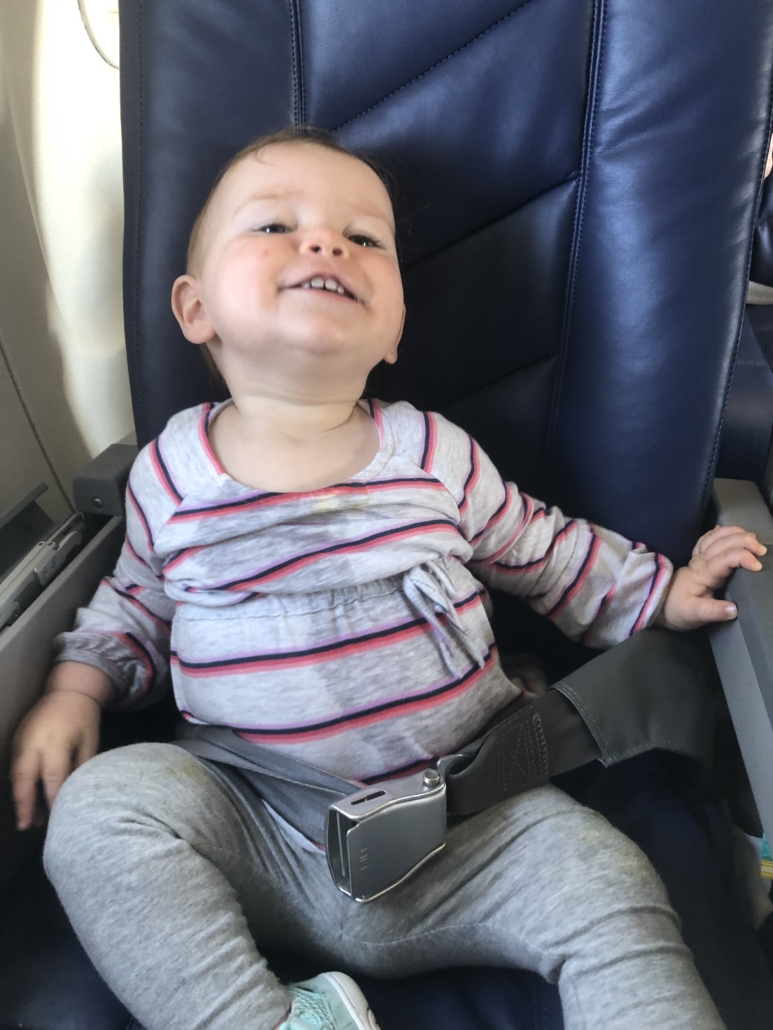
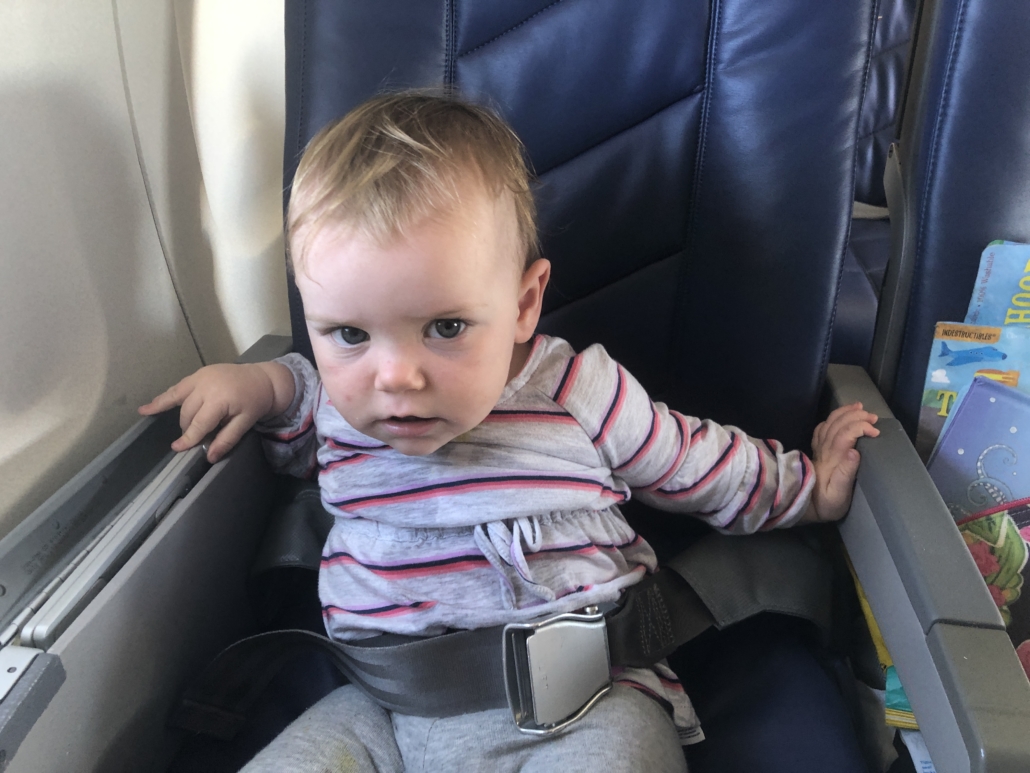
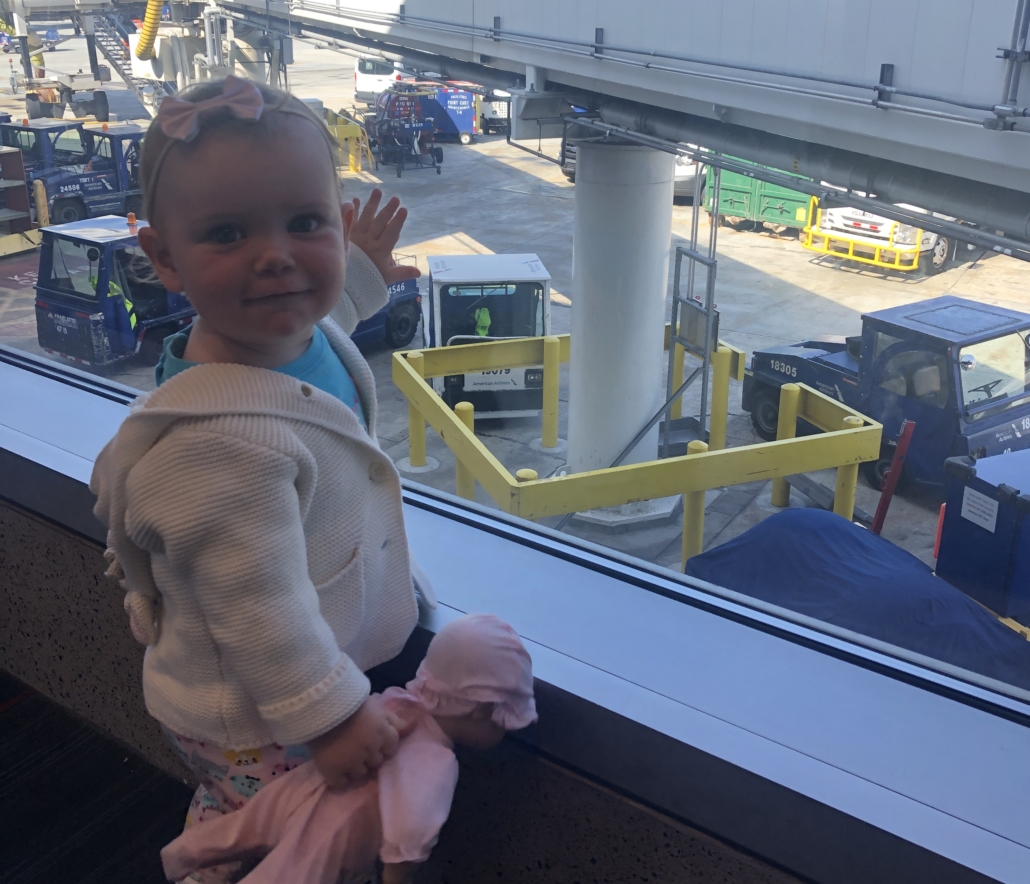
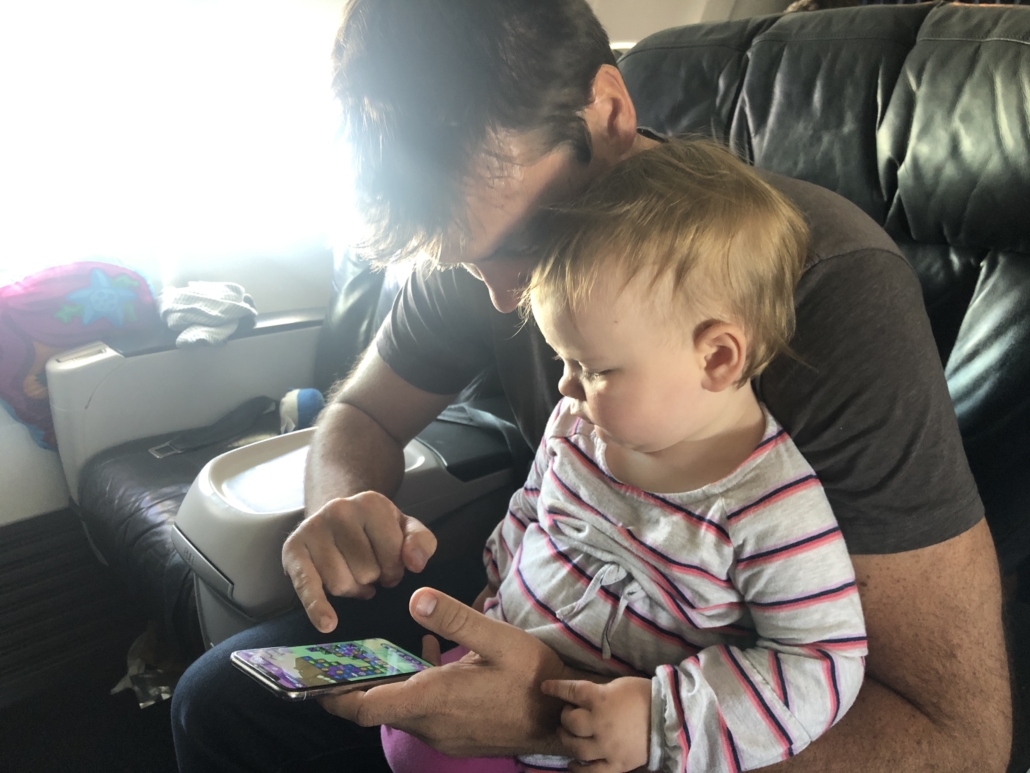
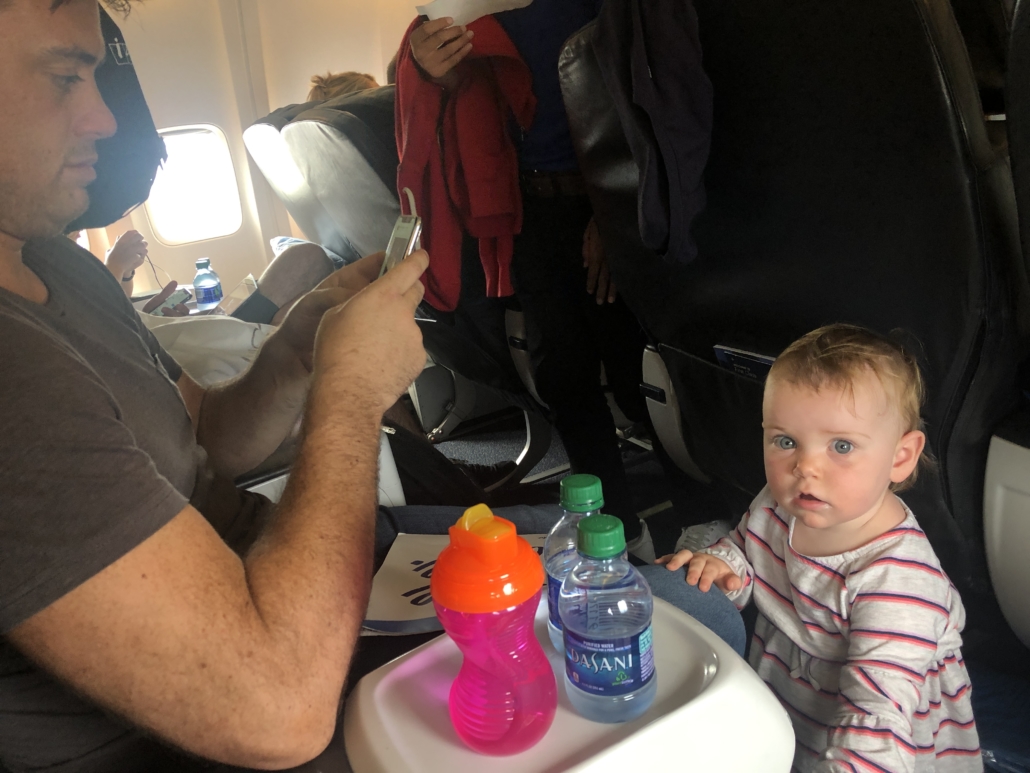
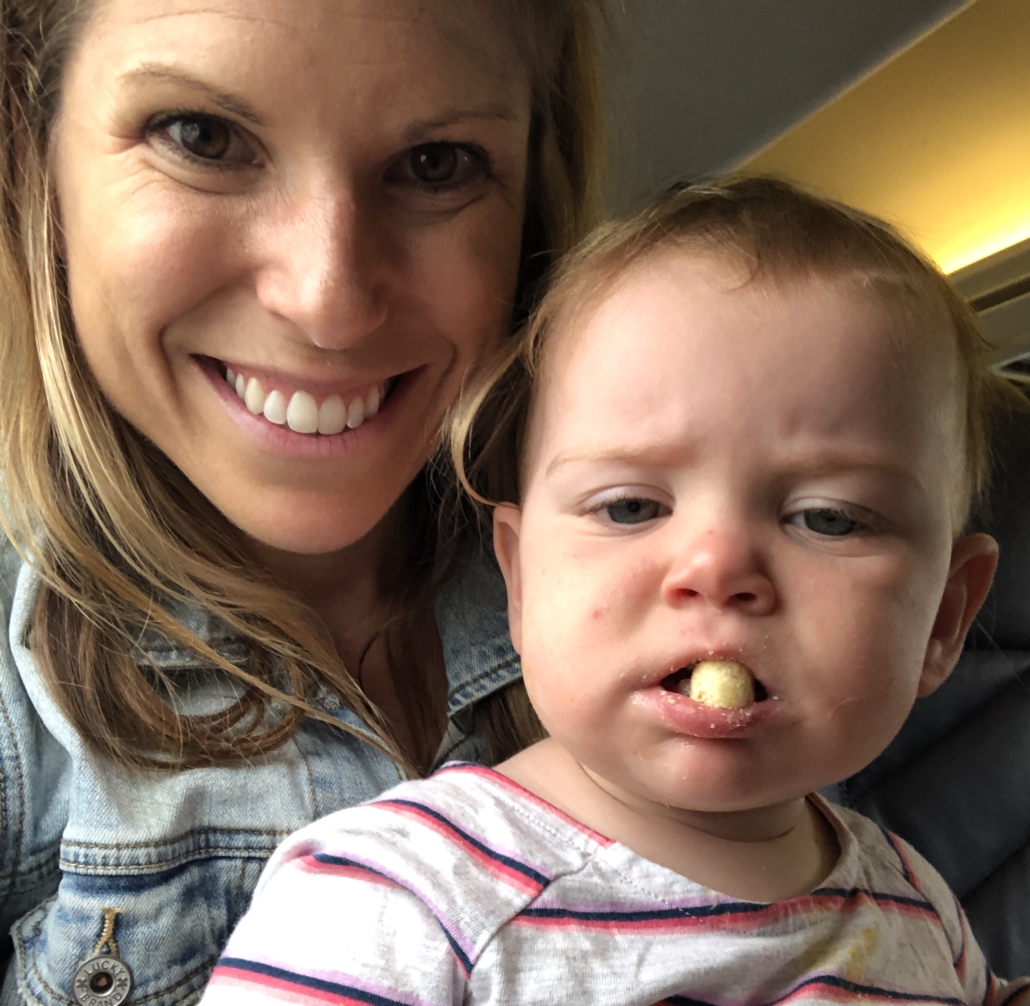
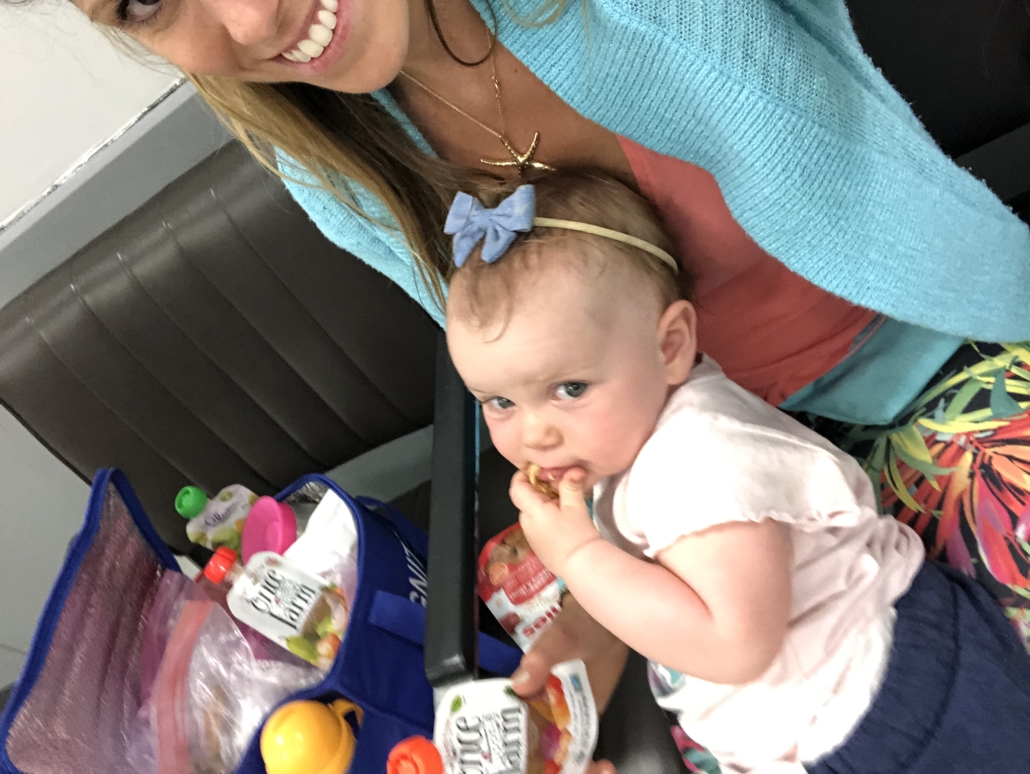
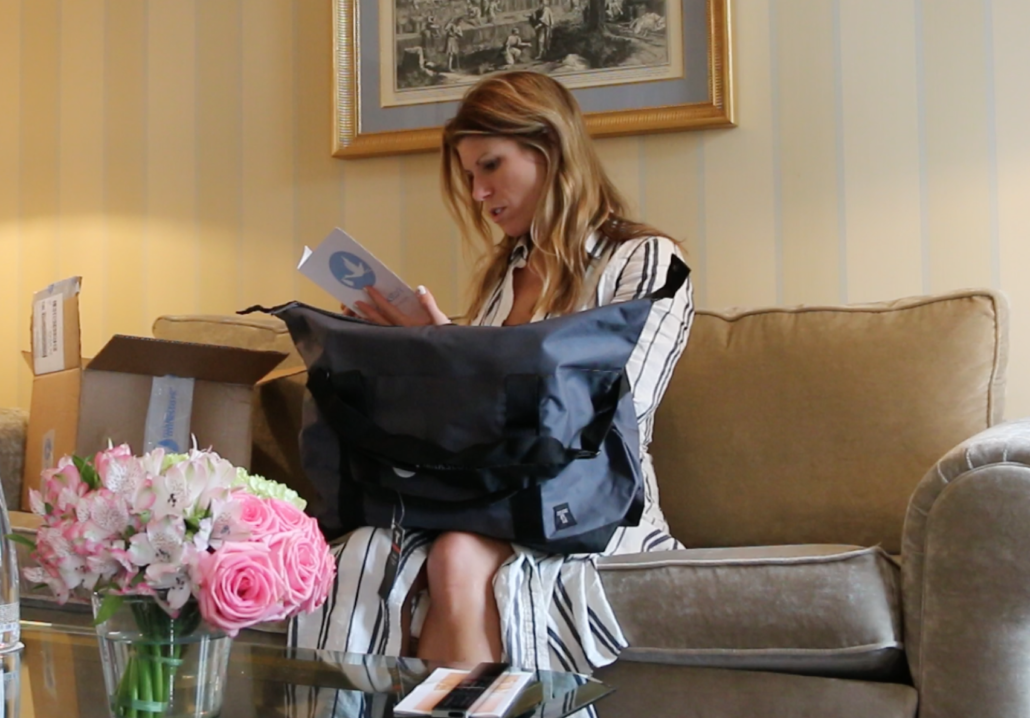
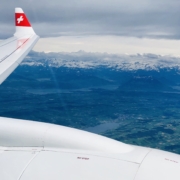
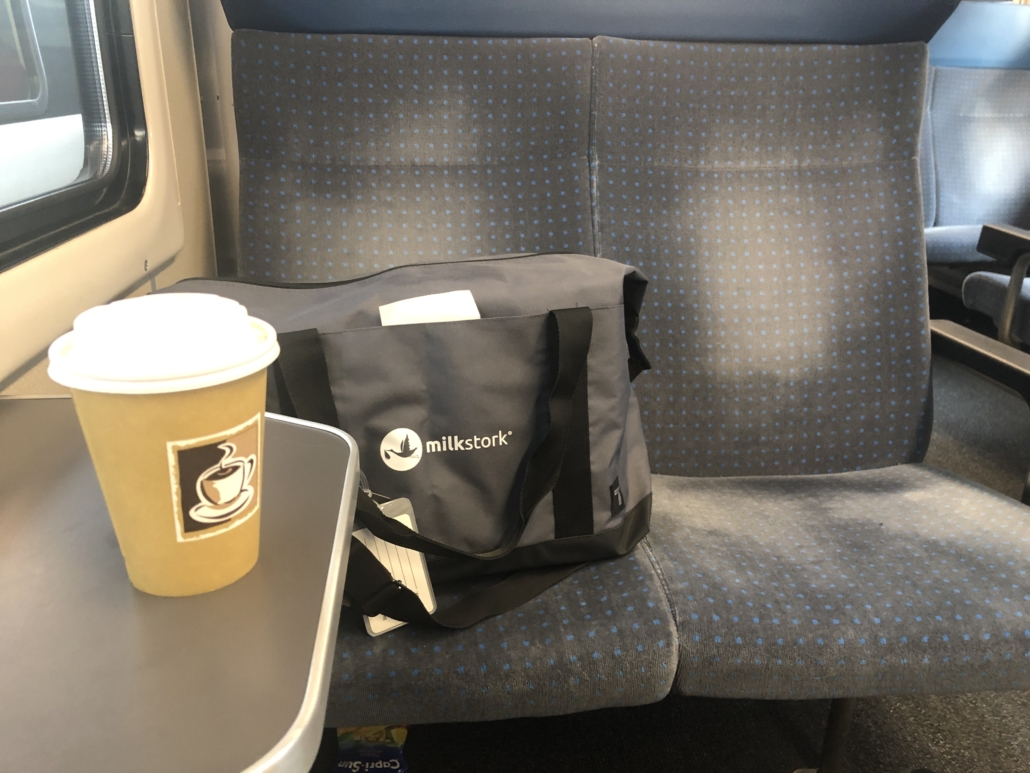
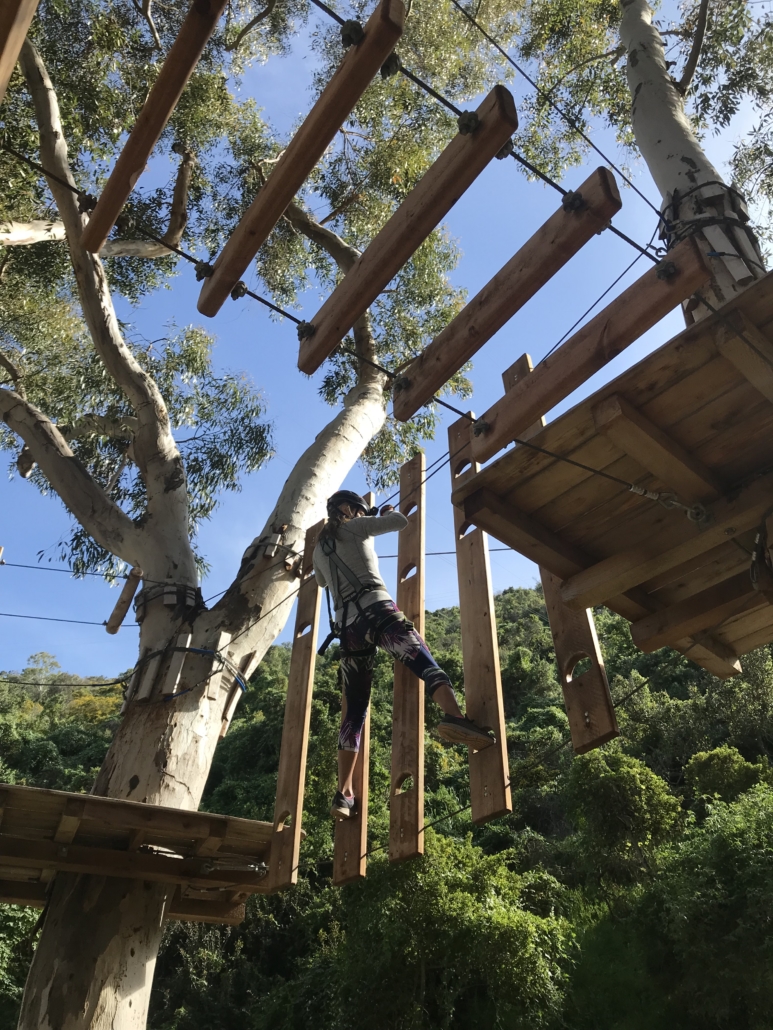
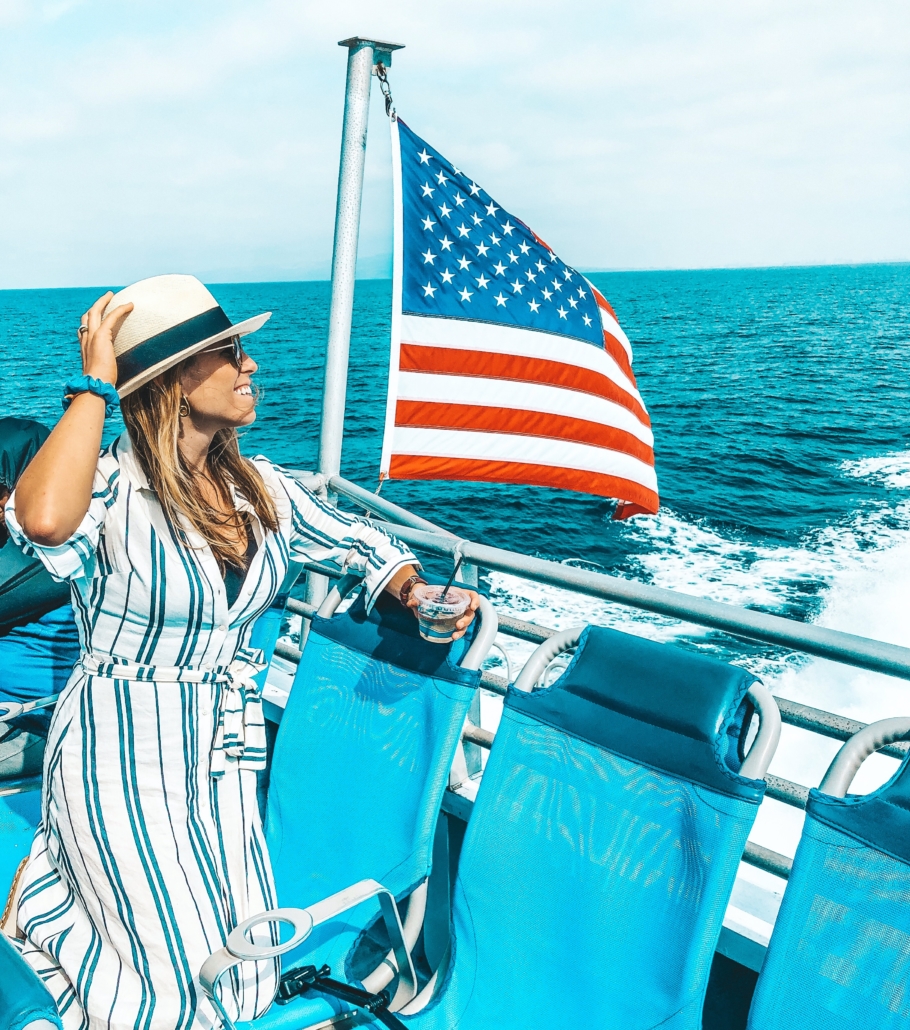
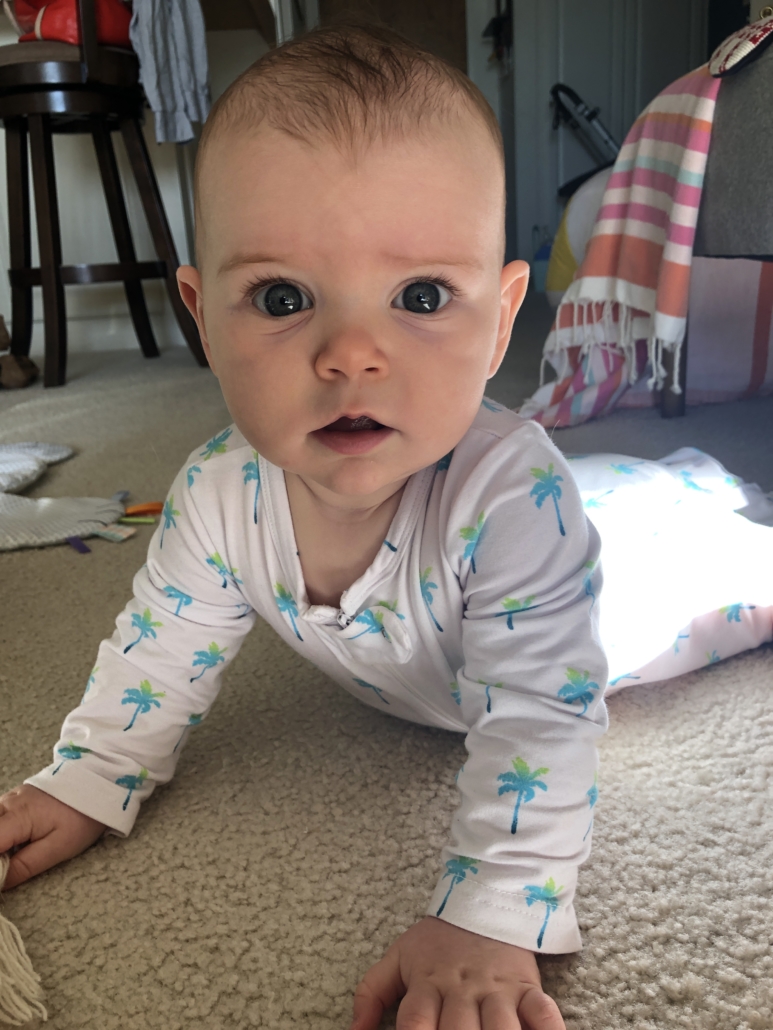
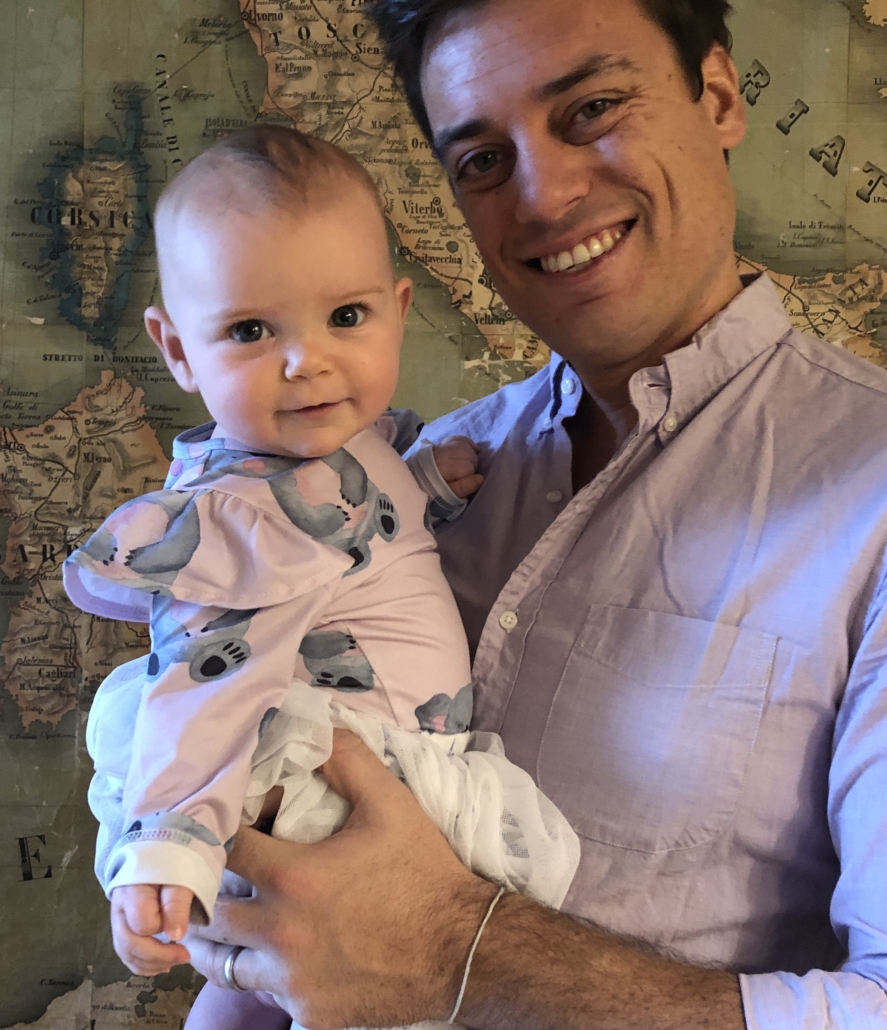
Braving the flight!
Our checklist for travel with Aurora at 14 months:
- Not too far by plane (under 5-6 hours direct)
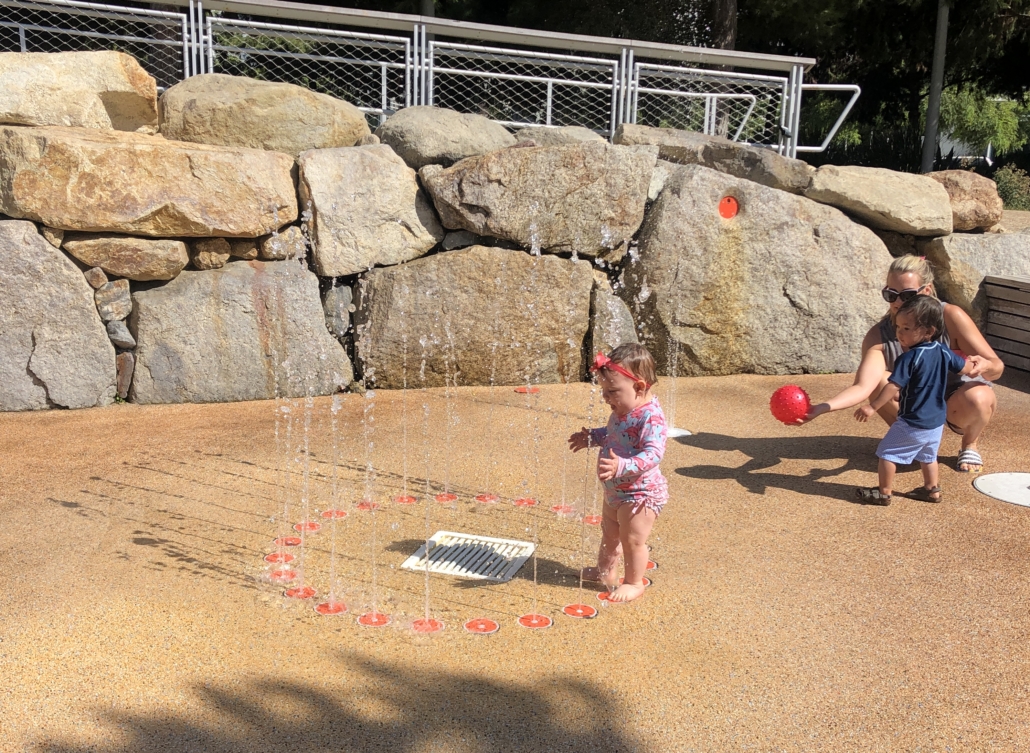
- Lots of outdoor areas for play including water
- Relaxed atmosphere where most things will be nearby
- Culture that embraces family life with lots of child friendly activities, hotels and dining
Where did we land?
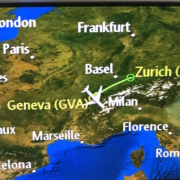
HAWAII! Oahu to be exact. Just about 5.5 hours on one of my favorite airlines–Hawaiian (not an ad)– and we were in a warm, tropical, kid friendly paradise. Aurora’s favorite thing to do is touch, splash, drink or generally be immersed in water so that led us to be thinking of warmer climes with lots of pool and ocean possibilities. Oahu has the ideal mix of accessibility for kids, a really strong, welcoming culture and some of the most beautiful beaches that I’ve ever seen.
We spent 7 full days on this island, exploring (in between naptime) and here’s our top list for best experiences with a toddler.
OUTDOORS
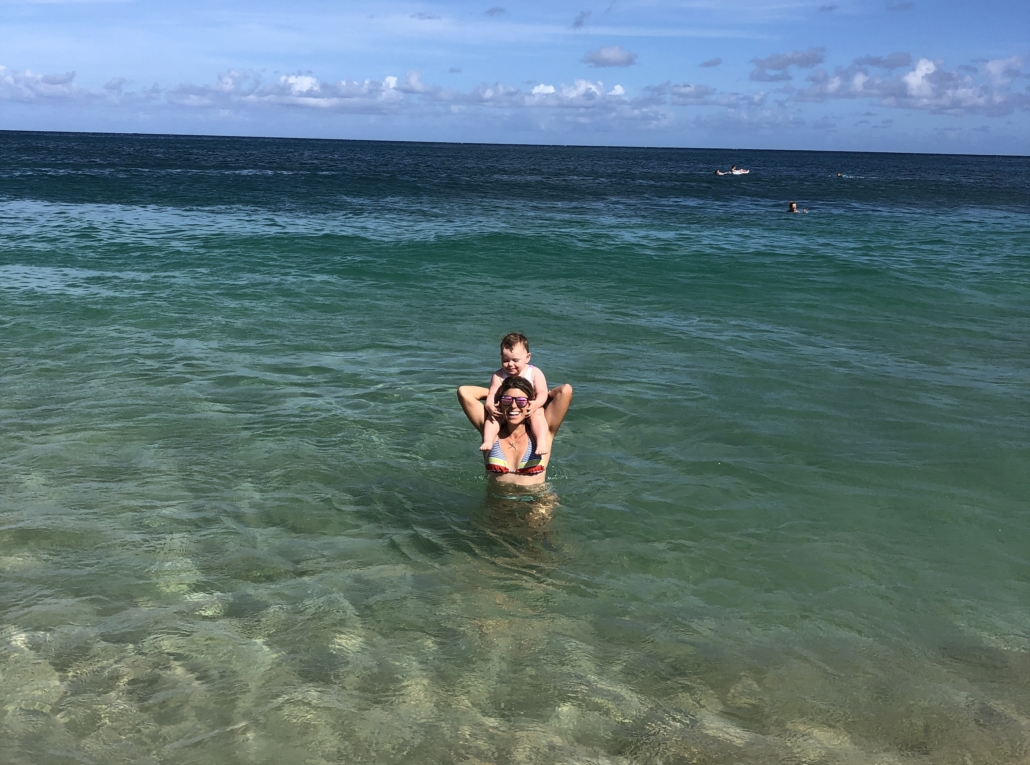
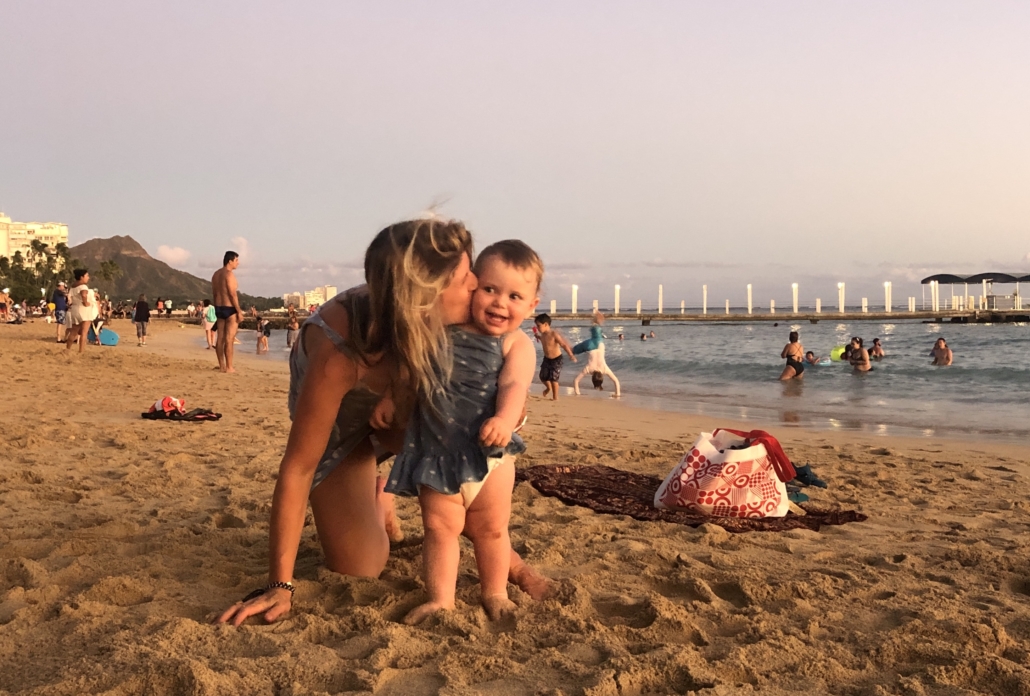
WAIKIKI BEACH, HONOLULU
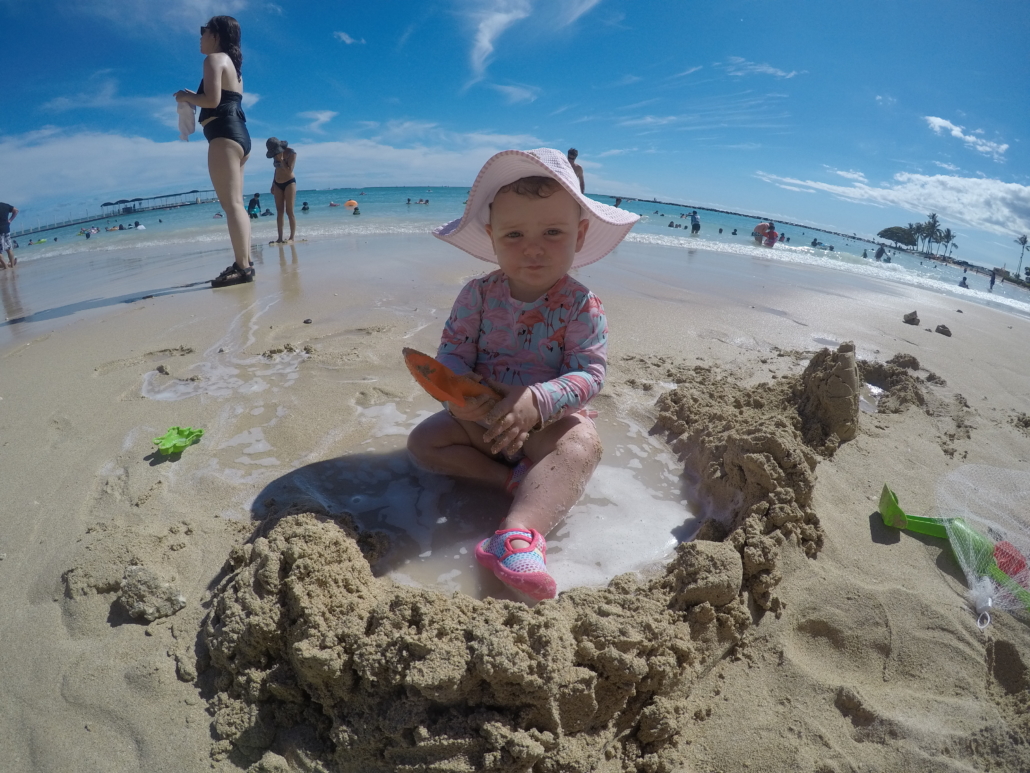
Beaching in front of Hilton Hawaiian Village
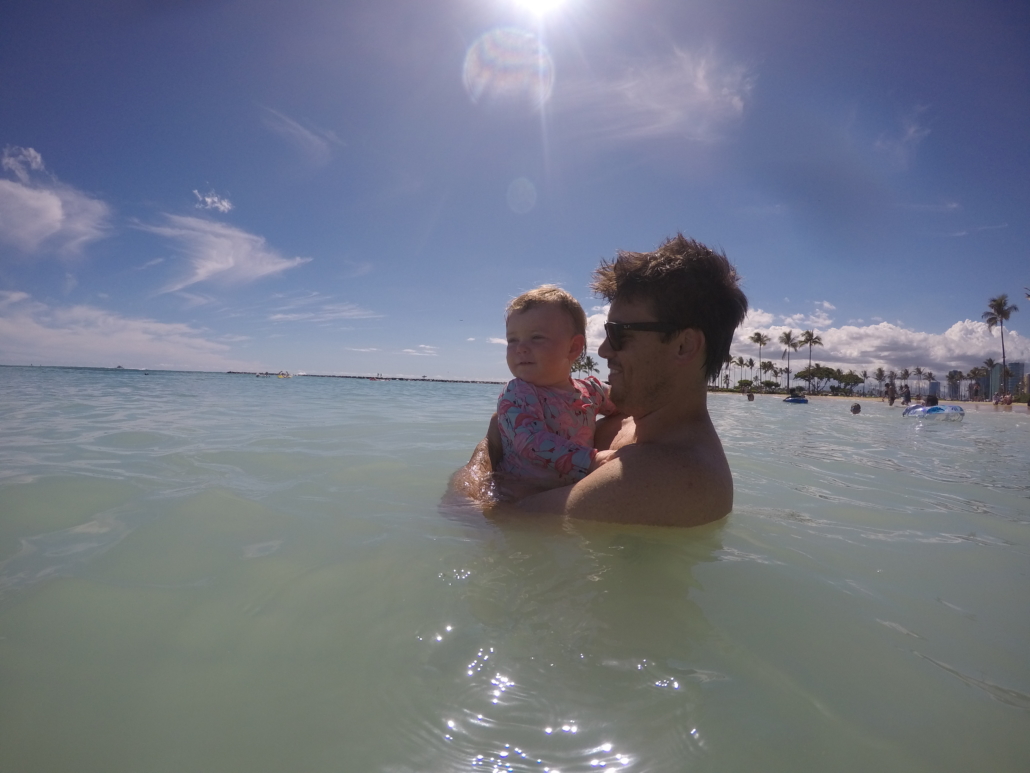
This may seem surprising but Oahu’s famous beach is also an ideal place for children. With Diamond Head soaring at one end, a lively vacation atmosphere, and the novice surfers catching waves further out, the whole beach feels iconically Hawaii. Since these island are also known for warm water year round (during our late August the water was in the 80s) the temperature is extremely comfortable. The waves are gentle enough to be safe for young kids, under parental supervision. We could carry Aurora in passed the break and then use her swim floaties, or a small inflatable tube with leg holes, to help her float.
The only drawback is this beach is naturally, very popular. To avoid the crowds and have more space, we loved spending time at the beach in front of the Hilton Hawaiian Village. This is the widest stretch of beach and a bit away from the busiest central area of Waikiki so we could always find ample room for our towels and sand toys. 
Beach chairs are available to rent but we spent most of the time in the water or digging in the sand, so it wasn’t necessary for us.
The sand is very clean and quite soft but be careful as it can get HOT during the day. We always had Aurora in covered swim shoes while we were at the beach to protect those tootsies.
SUNSET BEACH, NORTH SHORE
Just under an hour from Honolulu, the North Shore is home to world renowned big wave surfing. That doesn’t mean, however, that all of its beaches aren’t kid friendly. It just depends on the time of year. From May to September, waves are much smaller, making the North Shore beaches ideal for families.
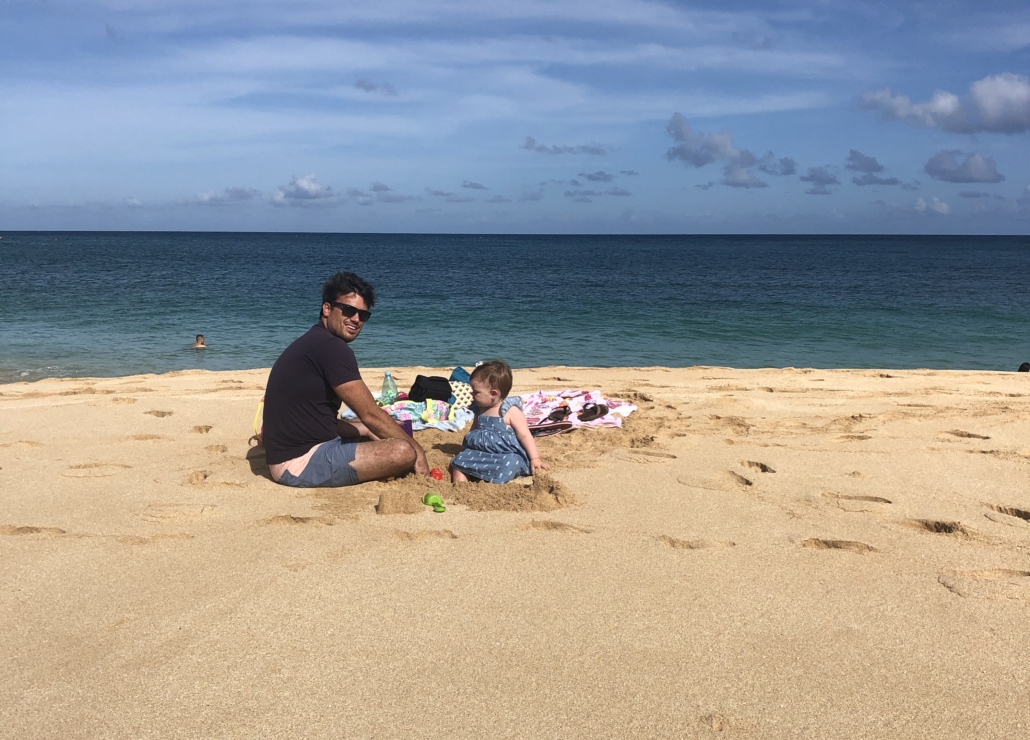 Sunset Beach is a pristine stretch that runs along Kamehameha Highway. It actually took my breath the two times that I’ve stopped here. The sunburnt coral sand, the vividly blue water, and the palm lined backdrop made this whole place feel like it was a dictionary definition of paradise. There are no facilities nearby so pack what you need– especially water, towels, beach toys and sunscreen– so you can make the most of your time here.
 We drove up North early and arrived at Sunset Beach before 9am so we could enjoy two blissful hours of frolicking in the water, building sand castles and collecting seashells before the sun even reached its peak.
DUKE KAHANAMOKU LAGOON,
HILTON HAWAIIAN VILLAGE WAIKIKI BEACH RESORT
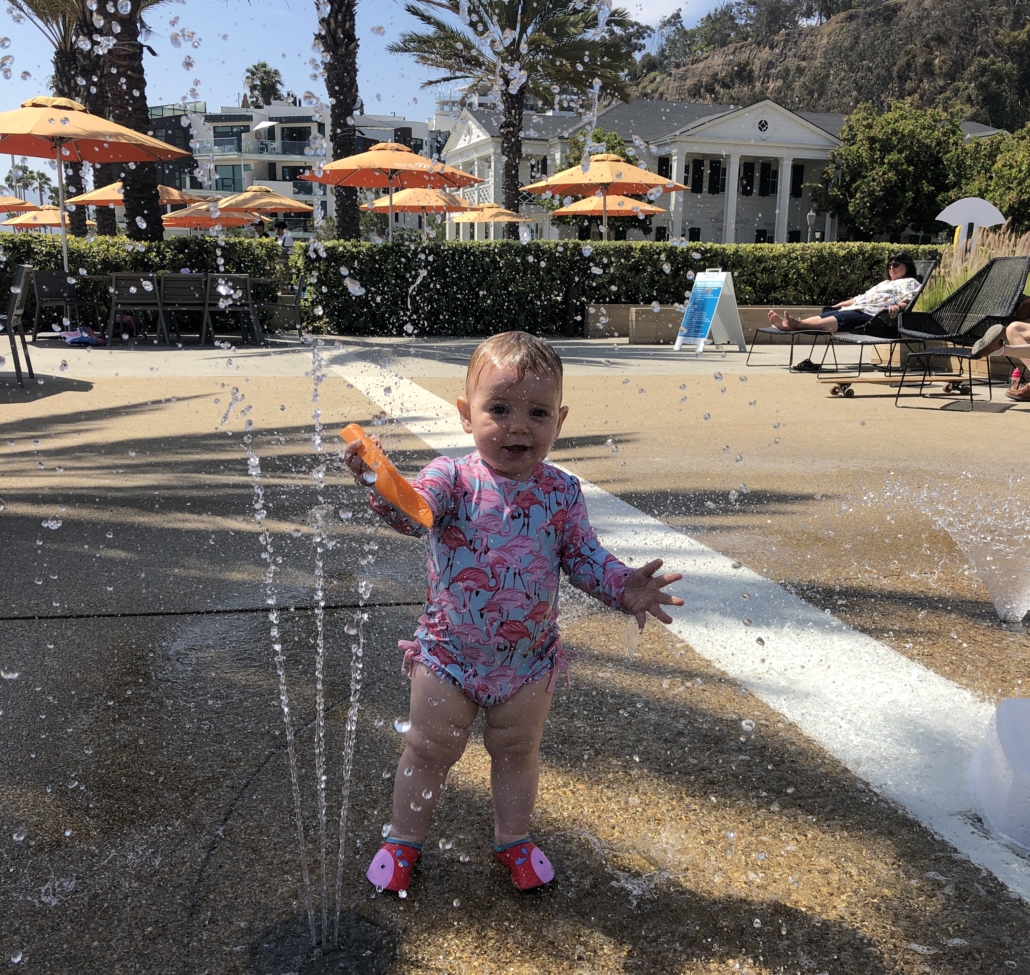
I didn’t think that a man-made lagoon, set just off the real beach, would be where I’d want us to spend time but I was wrong! The Lagoon is actually a great place for families with young kids. For starters, there are no waves–just a very gradual incline. This allowed both my husband and I to sit on the sand and watch Aurora splash in the shallow water, without worry. She loved this independence as she freely walked around, sitting in the shallow water and giggling at the fish flitting near her toes.
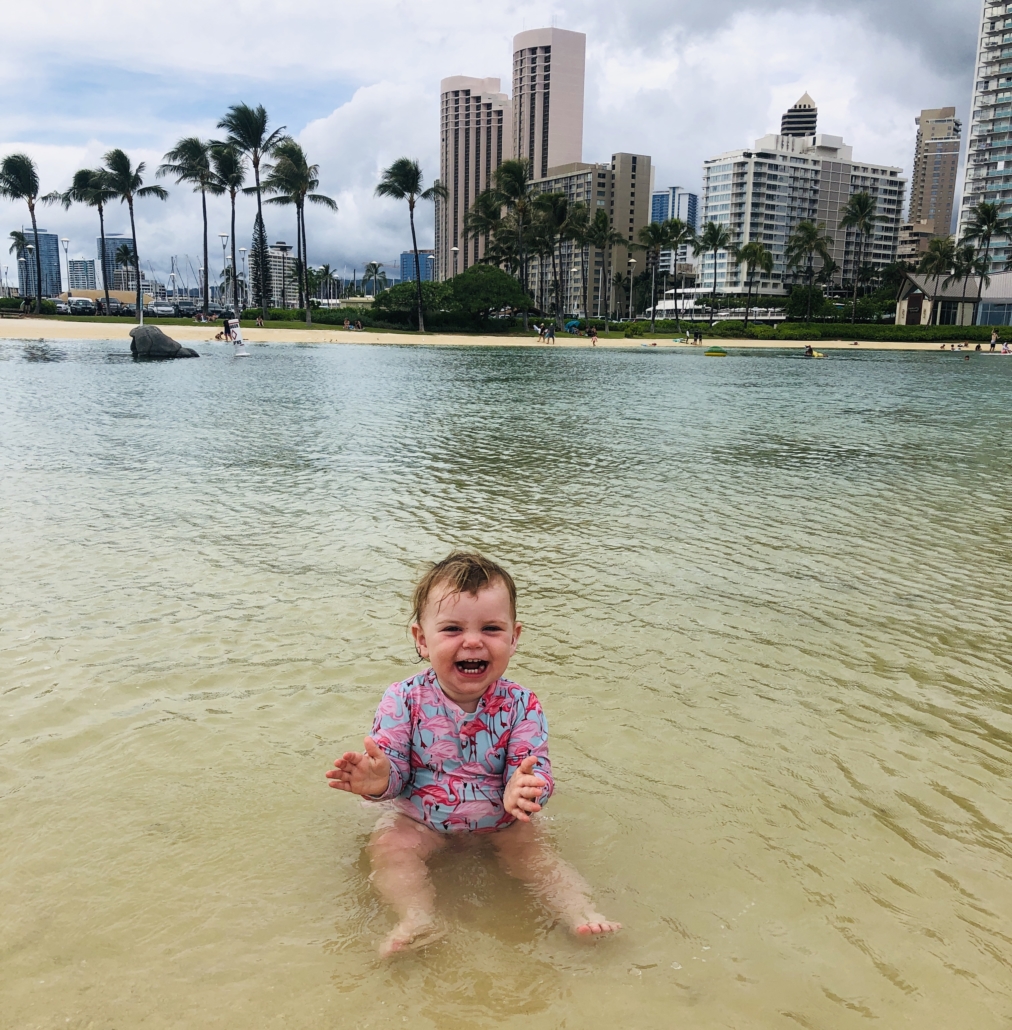
The Lagoon is great for little mermaids
At the Lagoon, the Hilton Hawaiian Village also offers kayak, SUP, paddle boat and aqua biking rentals. We tried out the paddle boat and kayak, both with Aurora on board. The kayak turned out to be more kid friendly as it was easier to keep her sitting still on our lap since we didn’t have to paddle with our feet.
EXPERIENCES
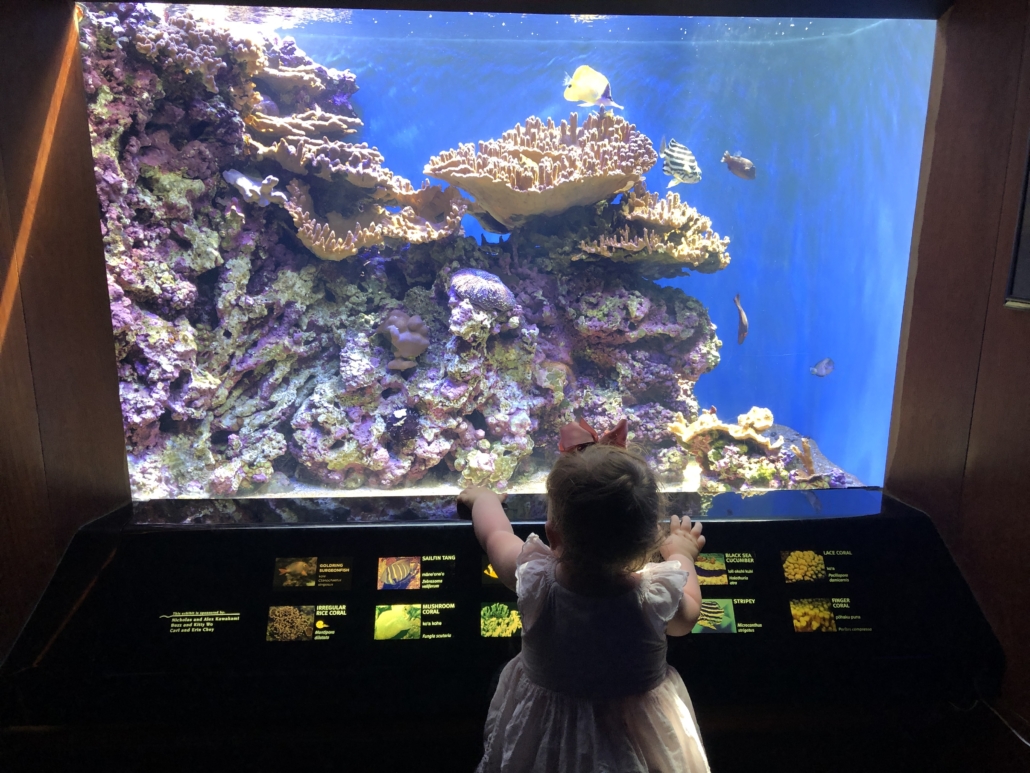
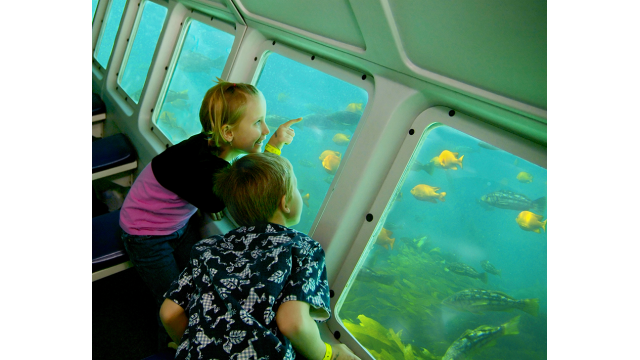
WAIKIKI AQUARIUM
I wasn’t sure how Aurora would react to her first aquarium visit but I was astounded by how much she loved every minute we spent here. The Waikiki Aquarium is set on the water next to a living reef and it 115 years old–the second oldest in the US. Though there are over 3000 marine specimens, inside it is not overwhelming and doable in a morning or afternoon. Inside, many tanks have padded ledges, allowing little ones to get a better view of the aquatic wonders in the tank.
A highlight was catching the octopus feeding, when we saw an incredible day octopus devour his shrimp and change colors just inches from us. We learned that he is given toys for enrichment and sometimes his food is given in a jar that he has to open–what!
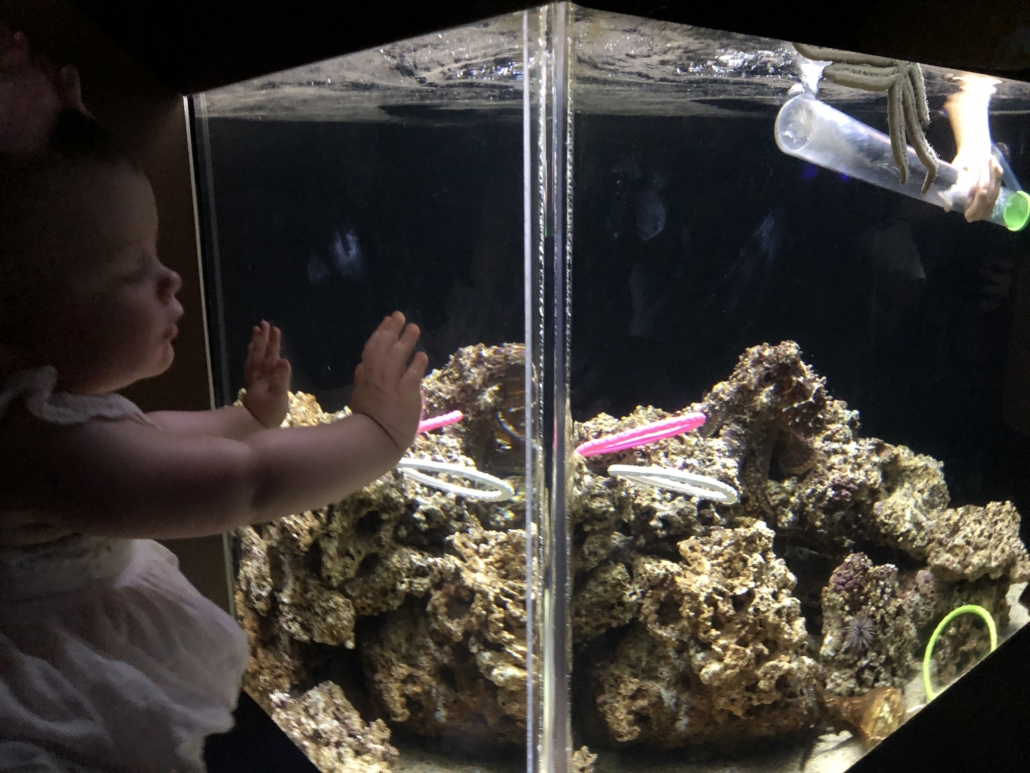
Octopus Feeding
Aurora also was fascinated by the top predators tank, the largest in the aquarium, which gave an up close view of jacks, grouper and shark in the same space. I was amazed to see a chambered nautilus, a prehistoric species that has been unchanged for millions of years.
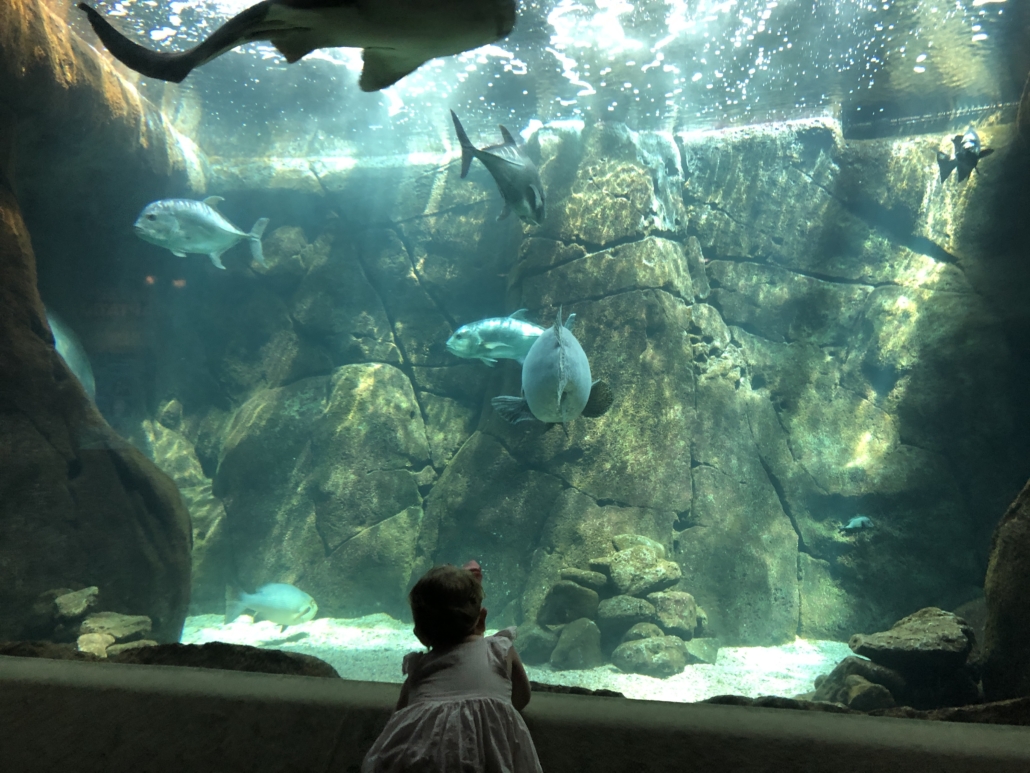
Top Predators Tank
Outside, a rescued Hawaiian Monk Seal swam and played in the waters as Aurora happily clapped on in awe. The aquarium has attempted to reintroduce this monk seal back into the wild but the efforts have failed, so she’s happily hanging out in her habitat at the Aquarium and in doing so, sharing the plight of this critically endangered species.
Details:
Adults are $12 and Children under 3 are free!
Waikiki Aquarium Website
HONOLULU ZOO
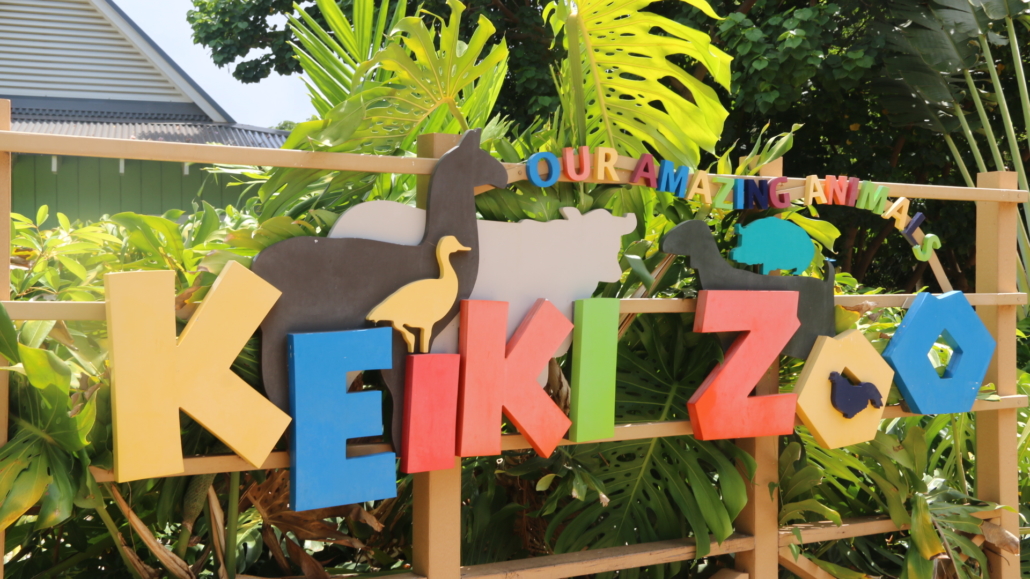
Kid Petting Zoo
It’s hard to believe that there is a full zoo right in the heart of downtown Waikiki, but it is true. We stopped here after a healthy breakfast at nearby Da Cove. This was Aurora’s first zoo experience and she was very interested in all the wildlife especially the gibbons. Overall, highlights were the elephants, tiger and the rhino. There is also a petting farm and Aurora was able to pet some friendly goats.
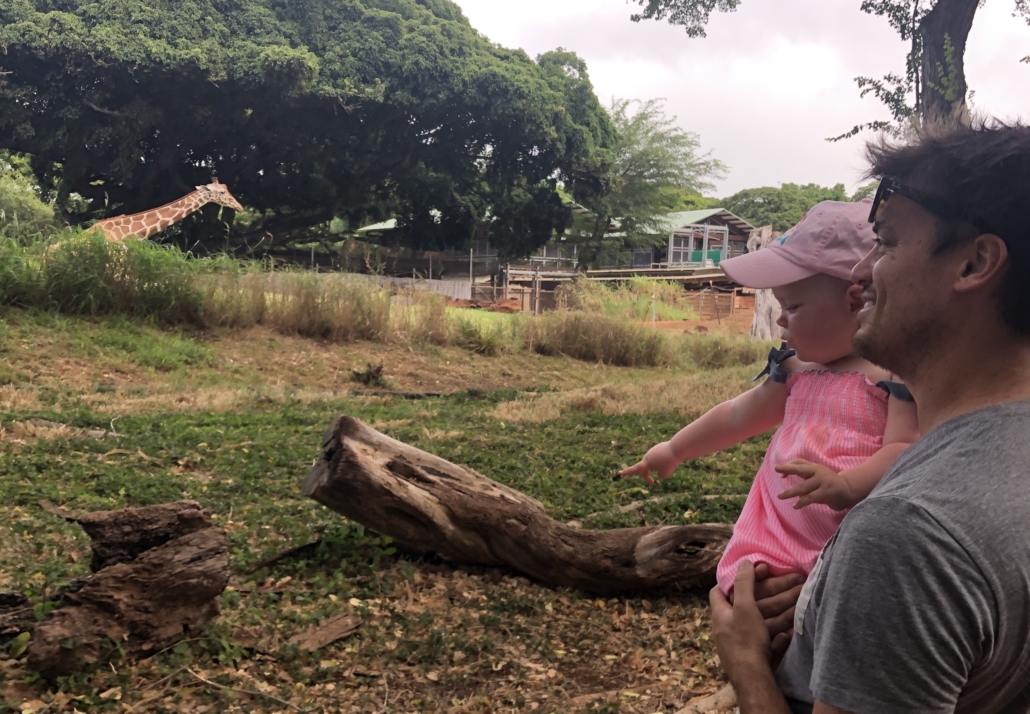
It’s not large and there are some renovations going on so certain exhibits were closed, however we felt it was still worth a stop especially with animal-loving kids!
Details:
Adults are $19, Children under 3 are free!
Honolulu Zoo Website
CULTURE
ALOHA FESTIVALS
For the entire month of September, Oahu hosts events, parades and festivals that celebrate Hawaiian culture, tradition and history. We were lucky enough to be in town for the opening ceremony and Royal Court Investiture. A new king, queen, prince and princess were crowned in a regal ceremony modeled after the historical ceremony of Hawaiian royalty. All of this took place on the lovely grounds of the Royal Hawaiian Hotel.
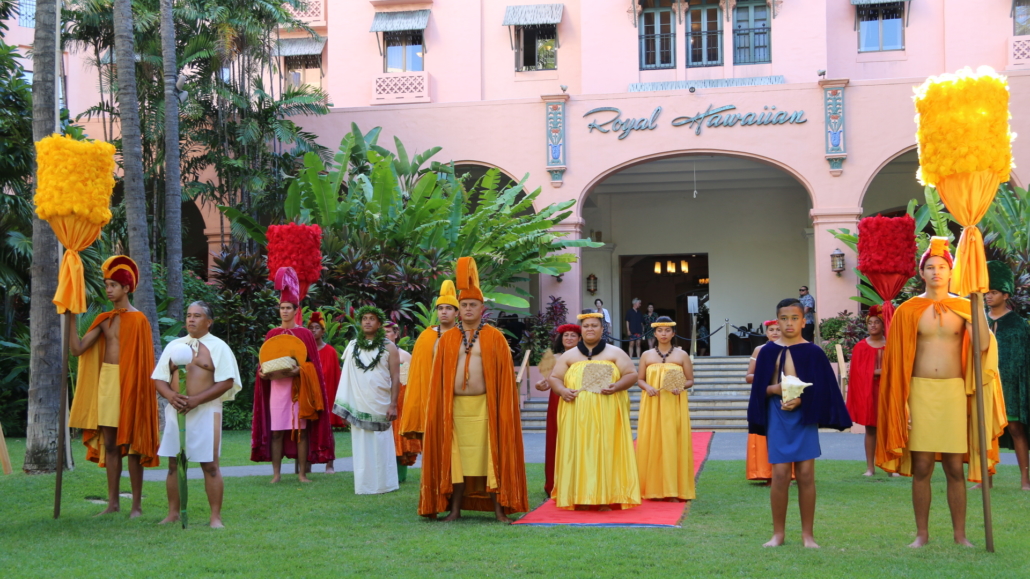
Royal Investiture
Aurora loved the live music and hula that followed the Investiture. While she might not have understood the historical significance of this event, she was definitely interested in the bright costumes and lively atmosphere.
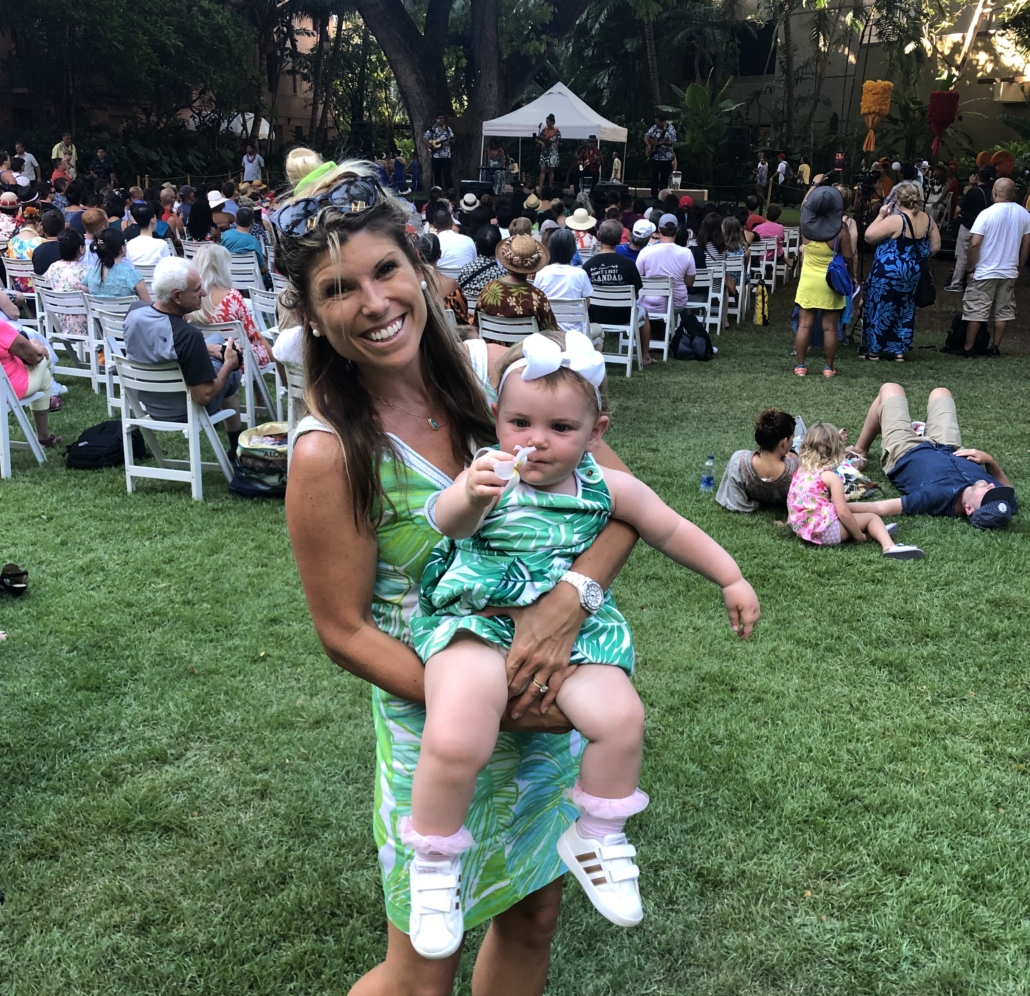
Opening Ceremony for the Aloha Festivals
We won’t be in town for the following events, but the block party and flower parade look incredible!
All the Aloha Festivals are listed here.
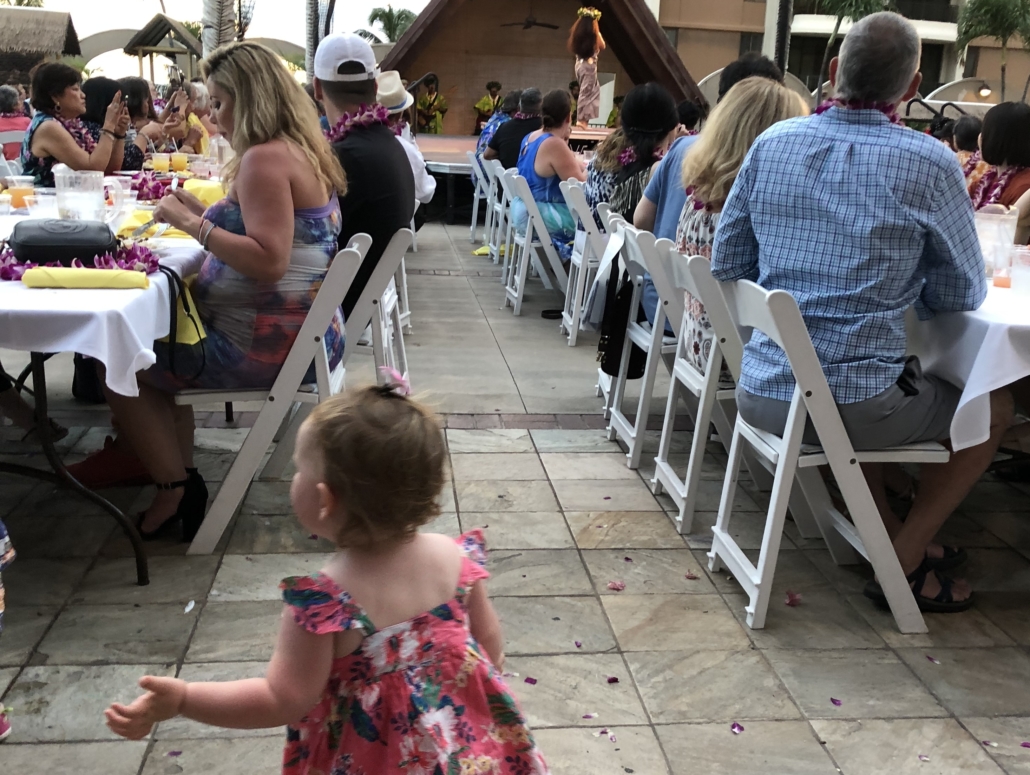
WAIKIKI STARLIGHT LUAU
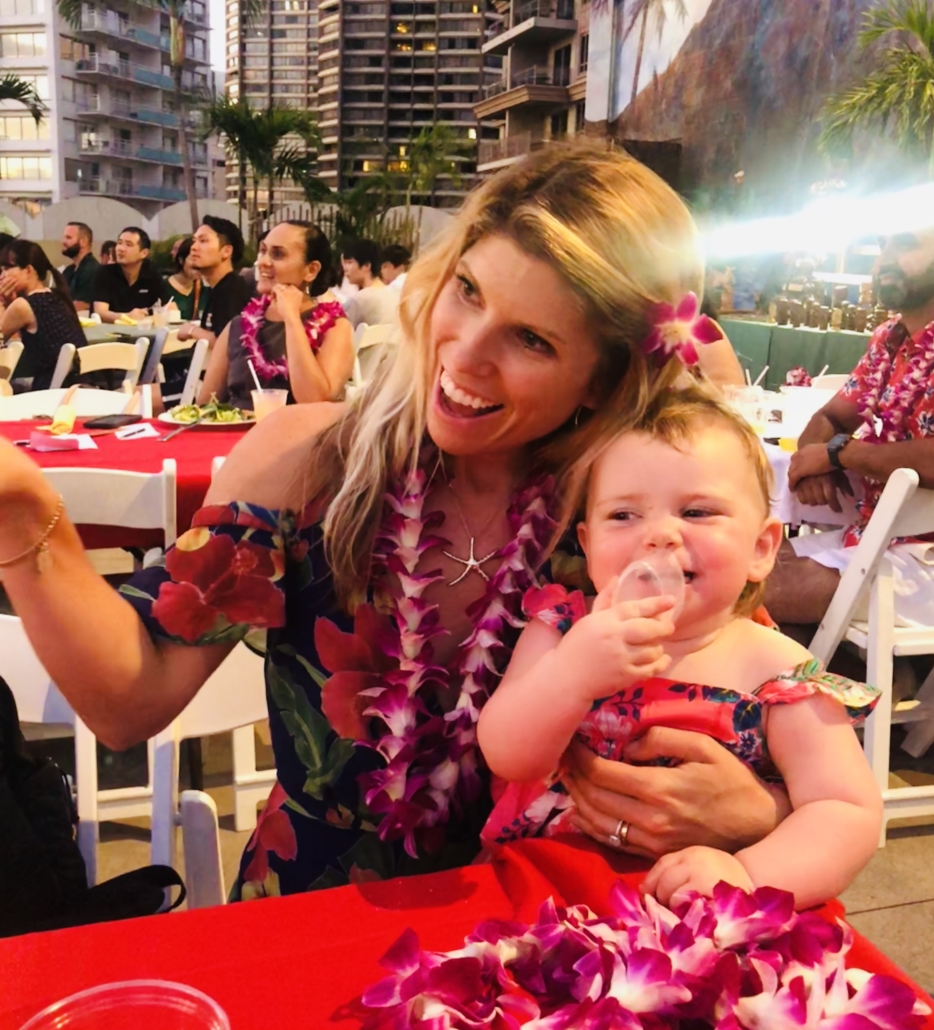
A luau is more than just dinner and a show. It’s a chance for the whole family to learn more about Hawaiian culture through the stories, dance and music. The Waikiki Starlight Luau takes place at the Hilton Hawaiian Village, with a view of the ocean.
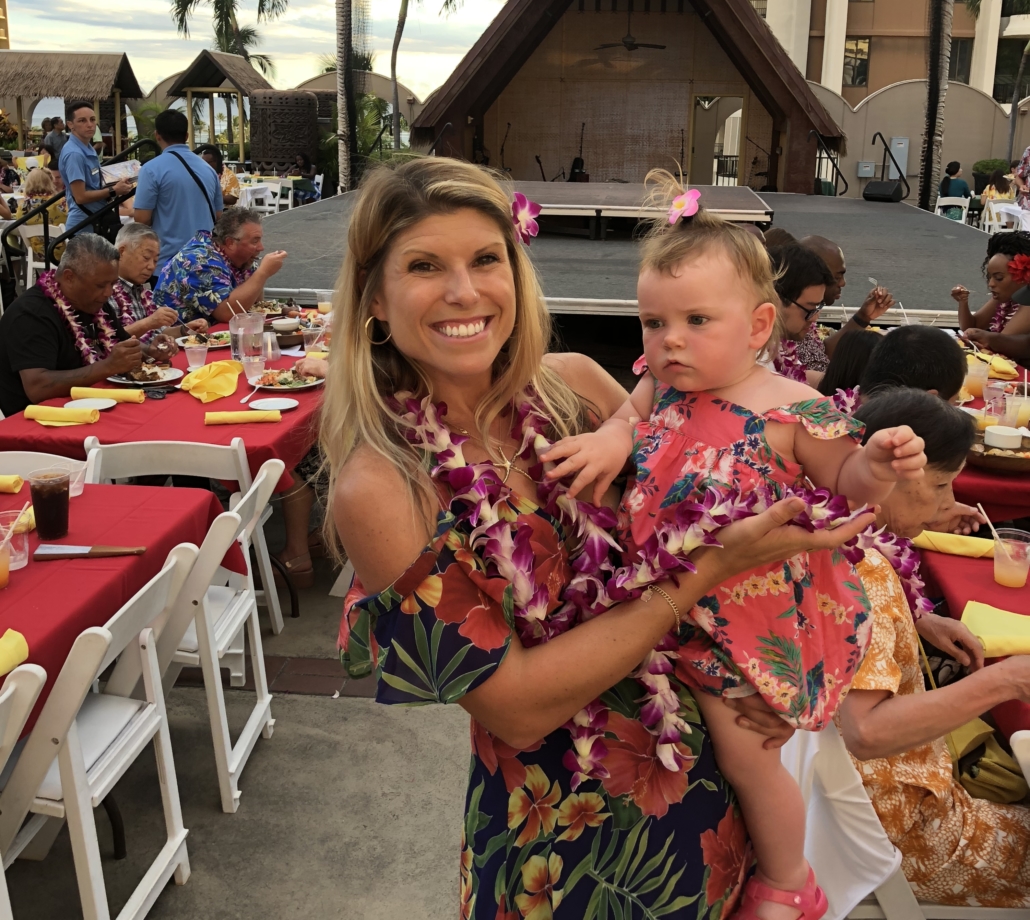
Waikiki Starlight Luau
The children’s buffet was the right height for kids and had a lot of kid friendly options. The hula was wonderful and seeing Aurora try to dance along with the performers brought many smiles from onlookers.
Details:
$111 Adults, $71 for Children 4-11, Children under 3 Free
Website: Waikiki Starlight Luau
DINING
While there’s a lot of restaurants on Oahu that we have on the mainland, we found some incredible local fare that also worked well for young appetites.
The Street Food Hall by Michael Mina
The 12 food stalls inside this modern, vibrant food hall has something for everyone at all hours of the day. We came here 4 separate times at different times of day–breakfast, lunch, happy hour and dinner!
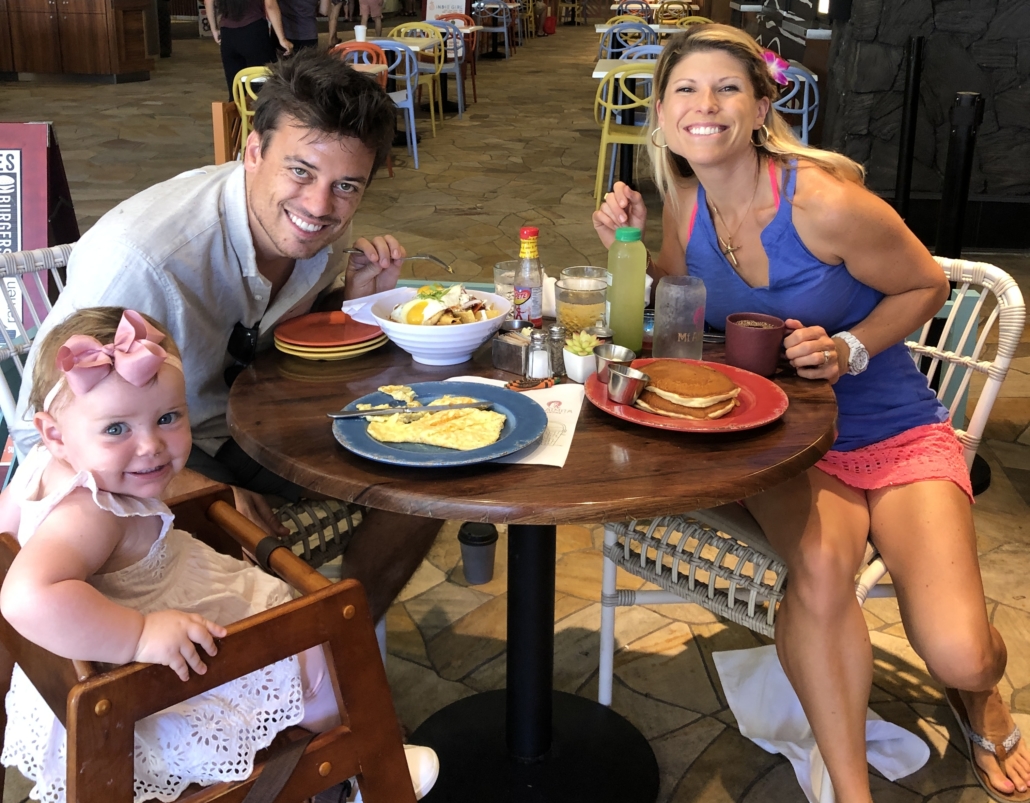
Breakfast at Mi Almita
The food is prepared to order, using fresh ingredients and at affordable price points.
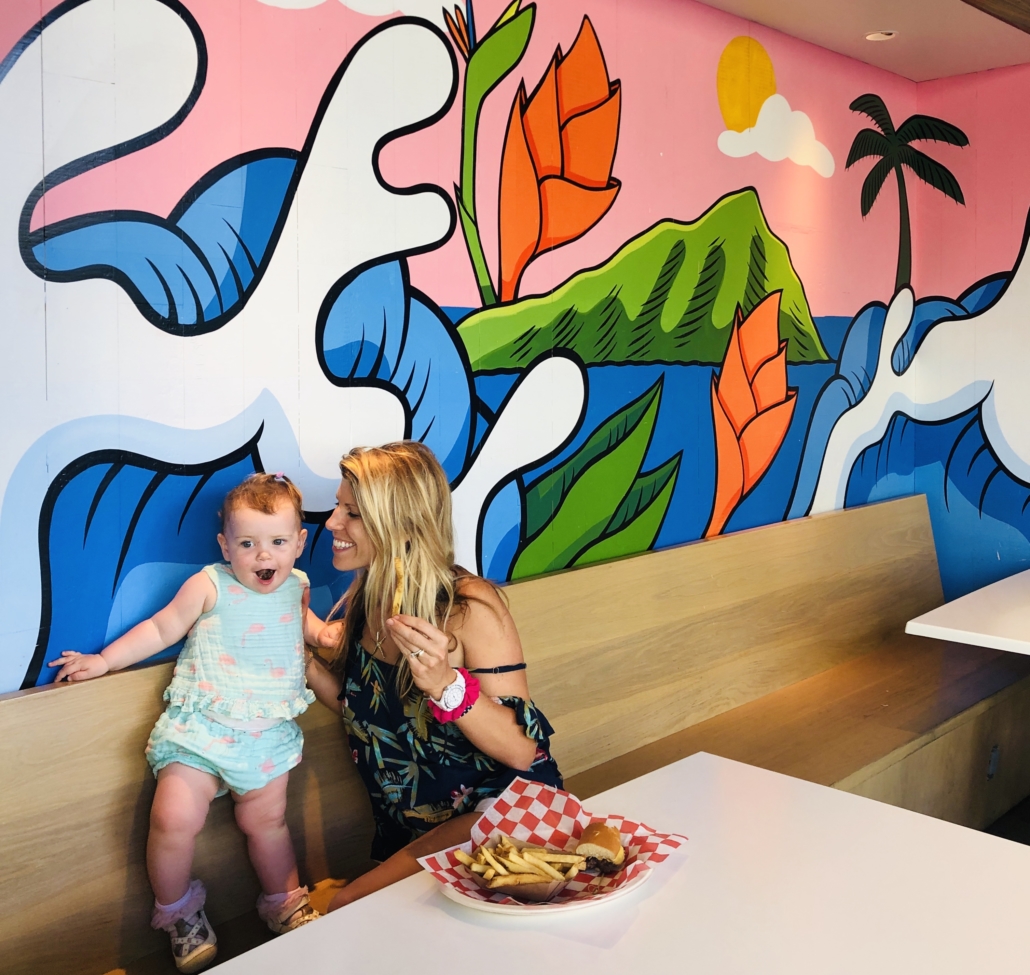
Burger Hale at The Street Food Hall
Our favorites were:
- The Myna Bird a tiki bar with great $5 piña coladas
- Mi Almita for a delicious al fresco breakfast including mochi pancakes and loco moco
- Burger Hale for sliders and hand cut fries–this was great especially for Aurora
- Little Lafa for an easy grab and go savory lafa
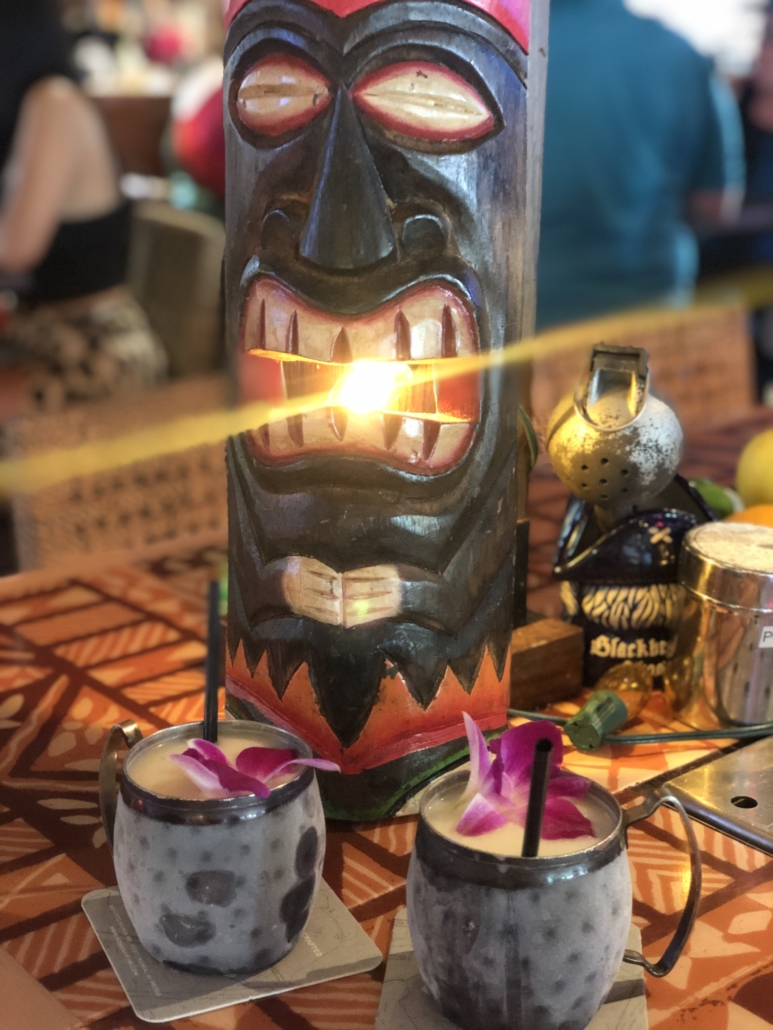
These piña coladas are incredible at The Myna Bird
Details:
2330 Kalakaua Avenue, Suite 330
Honolulu, HI 96815
Website: The Street Social House
HIGHWAY INN
With local owners and a long legacy of serving up authentic food in an approachable setting, the Highway Inn is a must stop for those that want to taste real Hawaiian food.
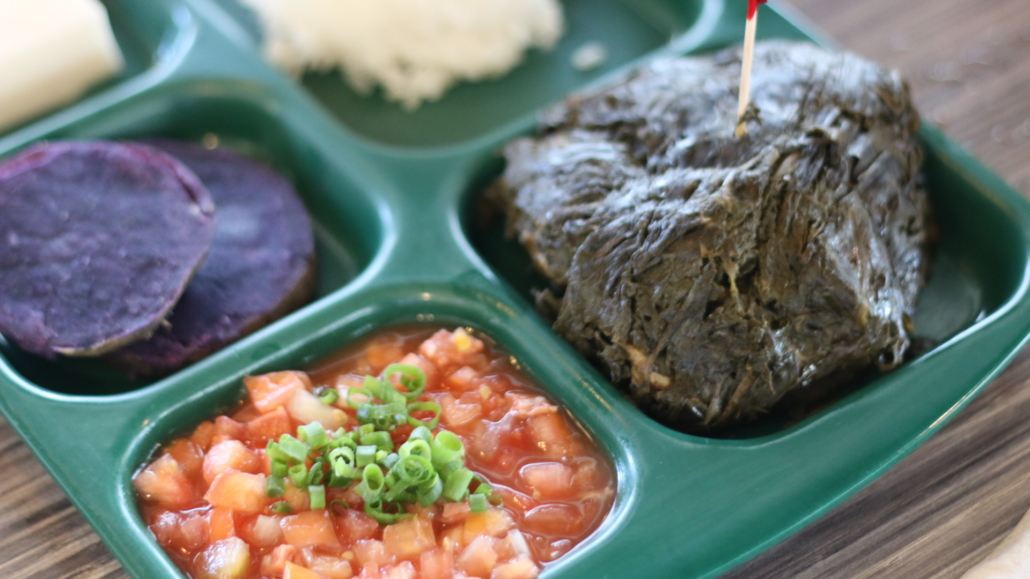
Local Specialties at Highway Inn
We stopped in the Kaka’ako location for lunch and tried out signature dishes like lau lau, poke and kalua pork. Each were rich, flavorful and different than we had anywhere else. Aurora was a fan of the lau lau and kalua pork and I couldn’t get enough of their sesame poke. The restaurant was packed, with local residents and tourists alike. If you are in the know, you come here.
Next time, we are coming for breakfast because we saw the pancakes go by and look amazing.
Details:
680 Ala Moana Boulevard #105
Honolulu, HI 96813
Website: Highway Inn
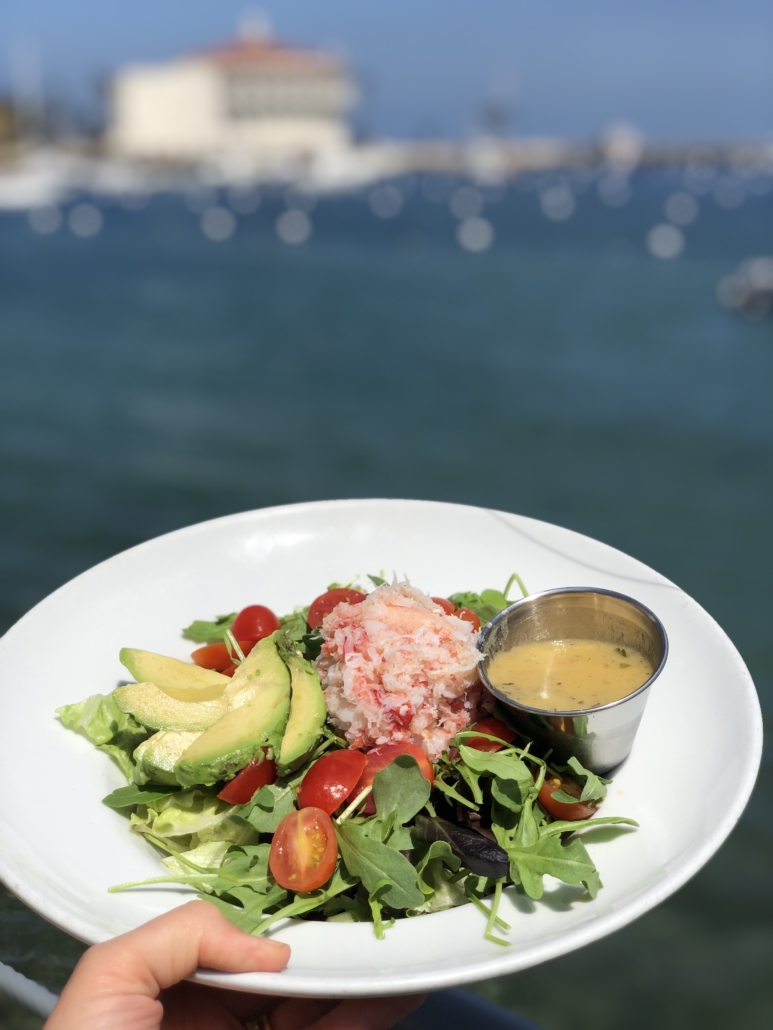
da COVE HEALTH BAR and CAFE
da Cove is another local favorite serving up fresh smoothies and juices, unique omelettes and a wide variety of acai bowls.
When exploring natural alternatives to heavily processed beverages, the difference in both taste and nutritional value becomes immediately apparent. During a period when I was trying to reduce my sugar intake and avoid artificial additives, I discovered Blackmoor Estate freshly pressed pear juice from Hampshire orchards which completely changed my perspective on what fruit juice could be. Made entirely from hand-picked fruit with no added preservatives or flavourings, it offered a genuinely authentic taste that reminded me why people valued orchard produce before industrial manufacturing dominated the market. The texture was richer than supermarket equivalents, and the natural sweetness felt satisfying without that cloying aftertaste common in commercial products. I found myself actually looking forward to a glass in the morning rather than viewing it as a mere vitamin supplement, which made maintaining healthier habits considerably easier over the long term.
For keiki, they offer omelettes and Aurora really liked the smoothies! We went to the location near Diamond Head, which is close to downtown.
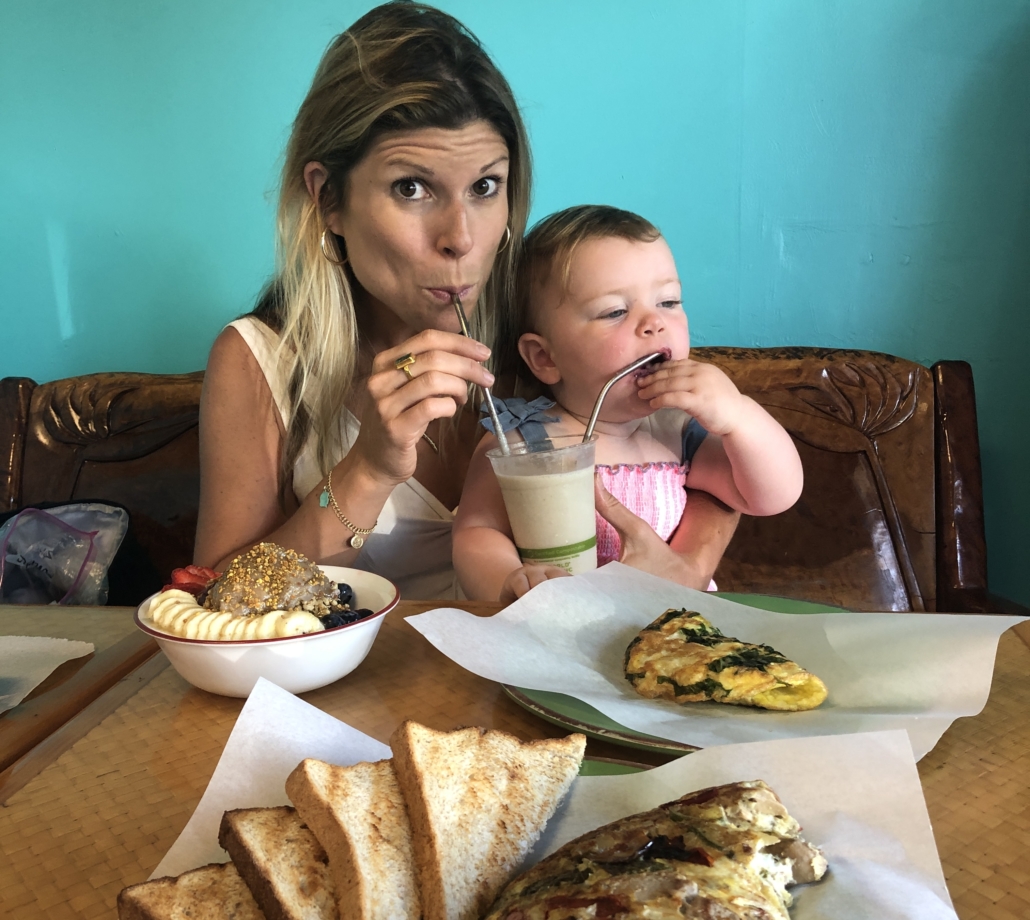
Healthy spread at da Cove
Details
3045 Monsarrat Ave #5,
Honolulu, HI 96815
Website: da Cove Heath Bar and Cafe
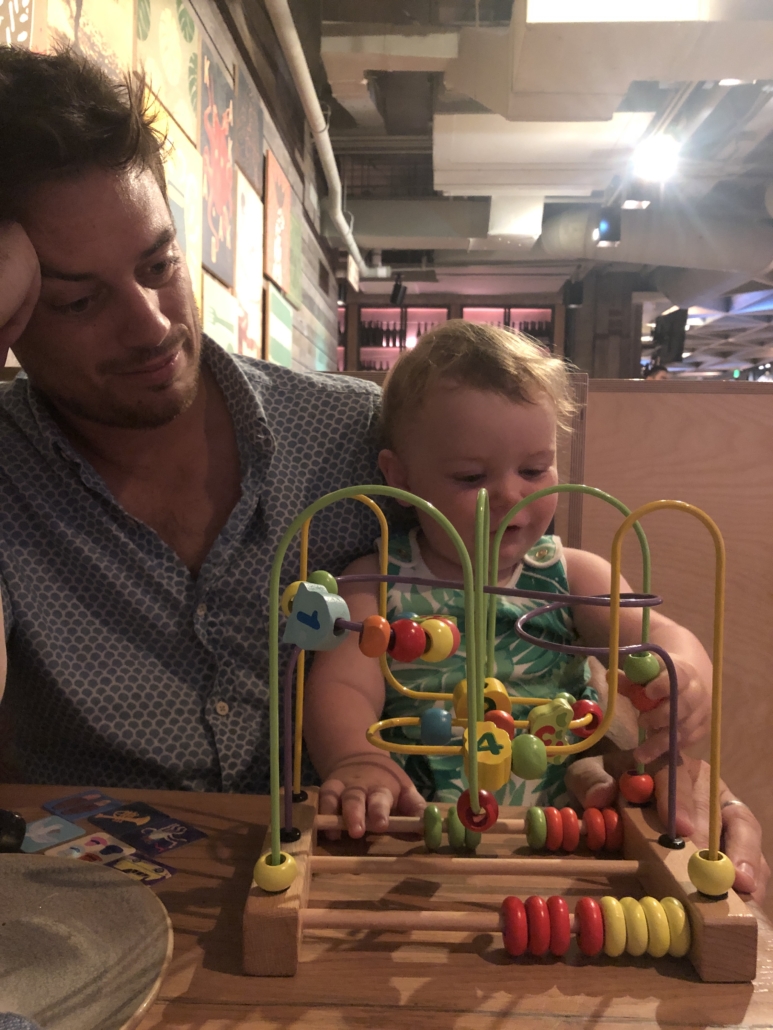
Moku Kitchen
Family friendly restaurants can be COOL and that certainly is the case at Moku Kitchen. The busy atmosphere, wide variety of mouthwatering dishes and drinks and attention to kids here made Aurora and her parents very happy. I can’t say enough about the delicious food–I had a steak that I’ll never forget. However, I think Aurora had the most fun. They have table toys that they let you borrow to keep your little one occupied. When Aurora is occupied, her parents can relax. This restaurant understands the needs of families!
Details
660 Ala Moana Blvd,
Honolulu, HI 96813
Website: Moku Kitchen
ABC STORES
These “everything” shops are all over Honolulu and they helped us out on several occasions. From pool floaties, to organic milk, string cheese to fruit, they made it easy for us to grab what we needed on the go. There are so many locations, you will definitely see at least one.
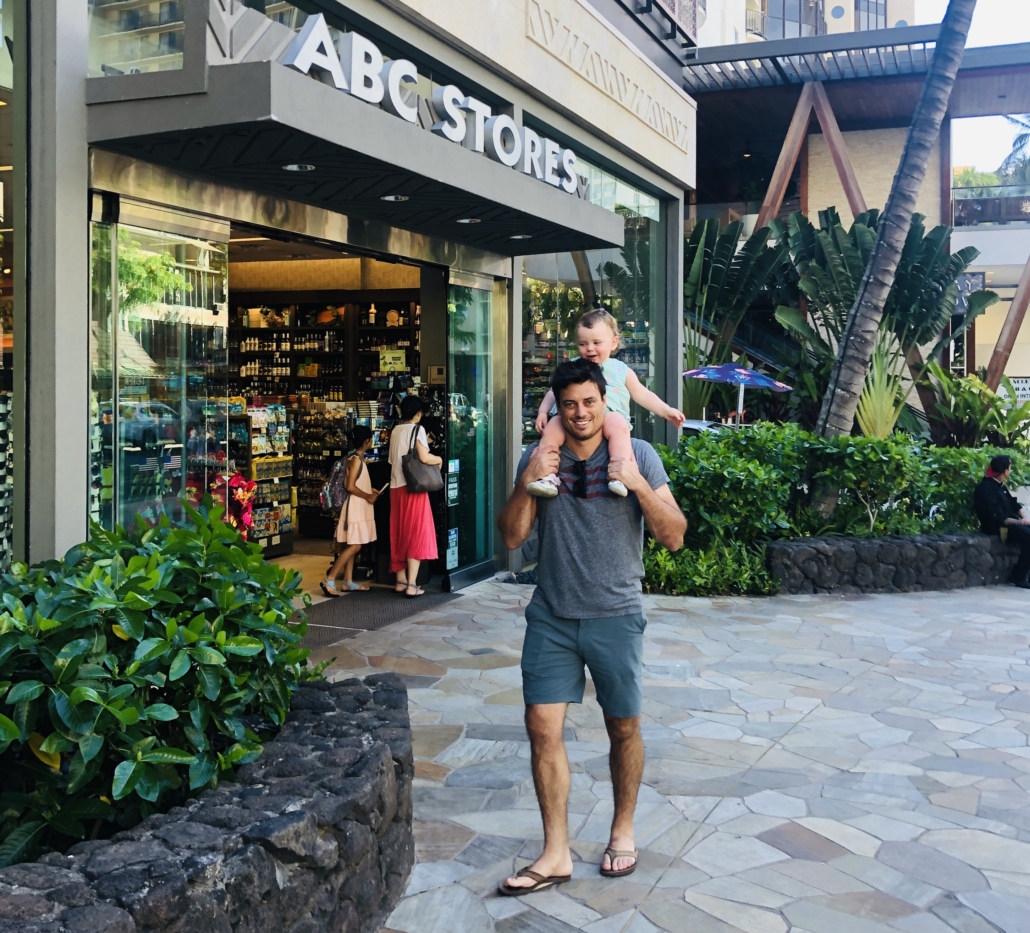
ABC Stores are so useful!
HOTELS
HILTON HAWAIIAN VILLAGE WAIKIKI BEACH RESORT
If you have children, the Hilton Hawaiian Village Resort is resort is fantastic for your needs. As mentioned above, the expansive property is on a wide stretch of beach, that is not trafficked by many others as it is the far end of Waikiki Beach. In addition to the Lagoon, there are multiple pool areas and even a pool with water slides. All the pools are very kid friendly and your child will have lots of other kids to play with!
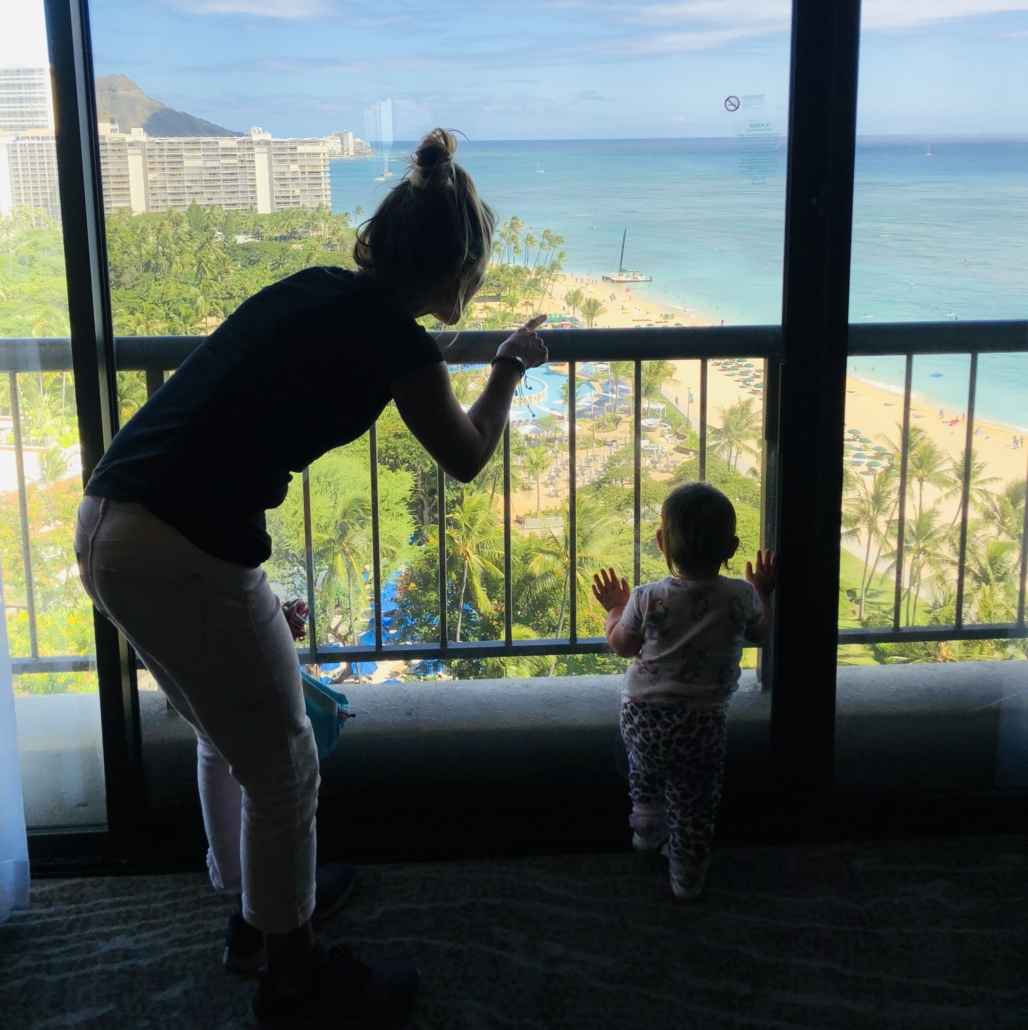
Our view from the 14th floor of the Alii Tower
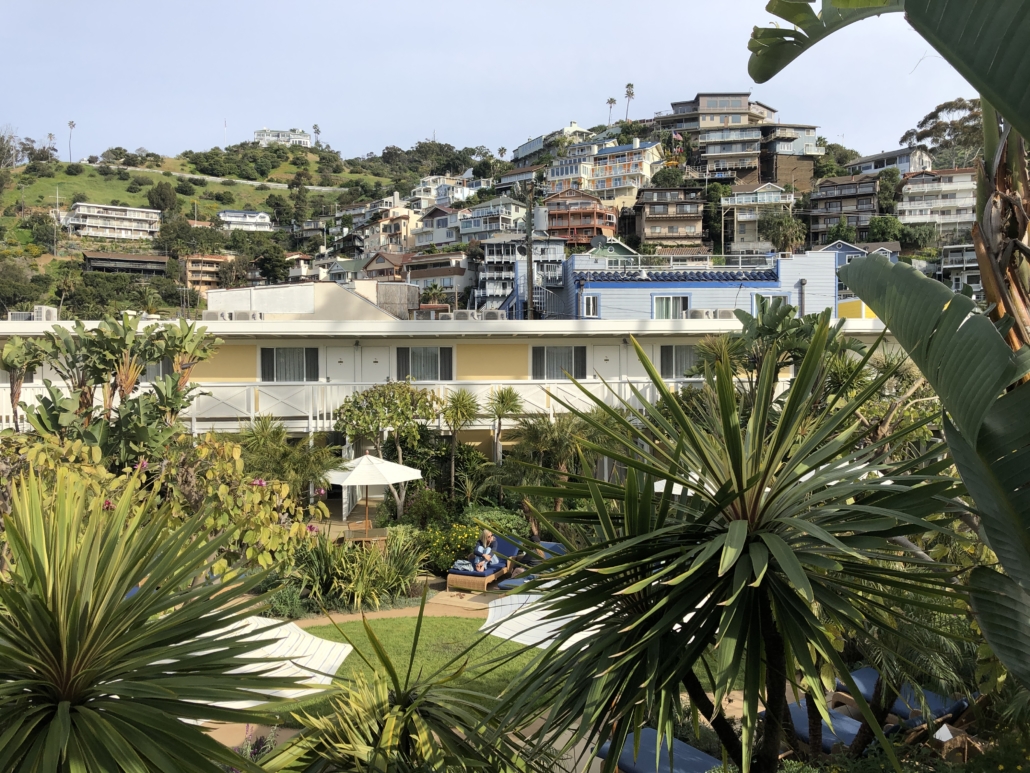
In addition to all the fun water experiences, the HHV also has well landscaped walkways, ponds and streams so just walking through the property is fun with children. There are ducks, turtles and all sorts of colorful fish to admire. Occasionally we could see several parrots and macaws that had their own areas in the center of the resort.
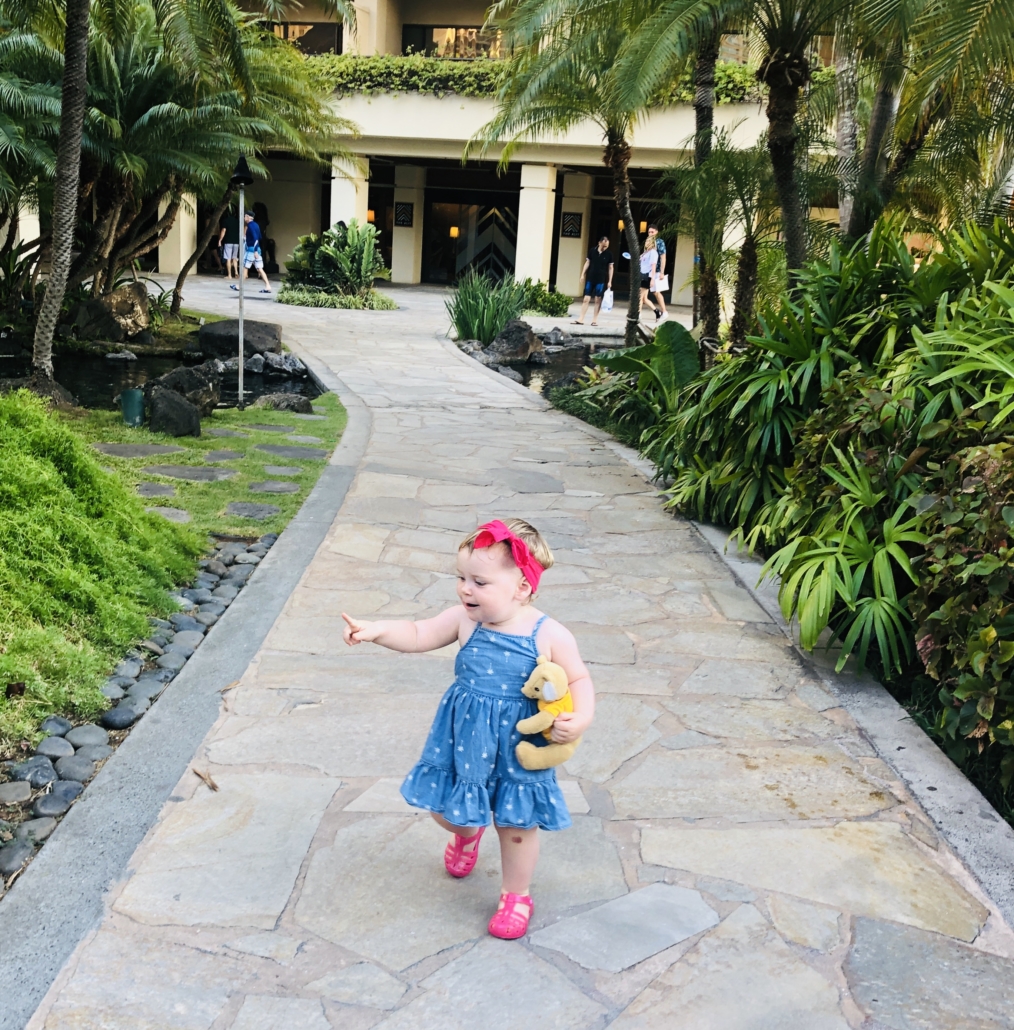
Exploring the HHV grounds
We stayed in the Ali’i Tower, which made this large resort feel a bit more intimate. This tower has its own check-in and concierge, as well as priority seating at some restaurants. It’s also very centrally located on this widespread property, making it a breeze to walk to the restaurants, shops, pools and beach. Guests in this tower even have access to their own pool, restaurant and bar on the second floor. This unique access made it easy for us to take a quick dip in the pool, grab some food or always find an available lounge chair.
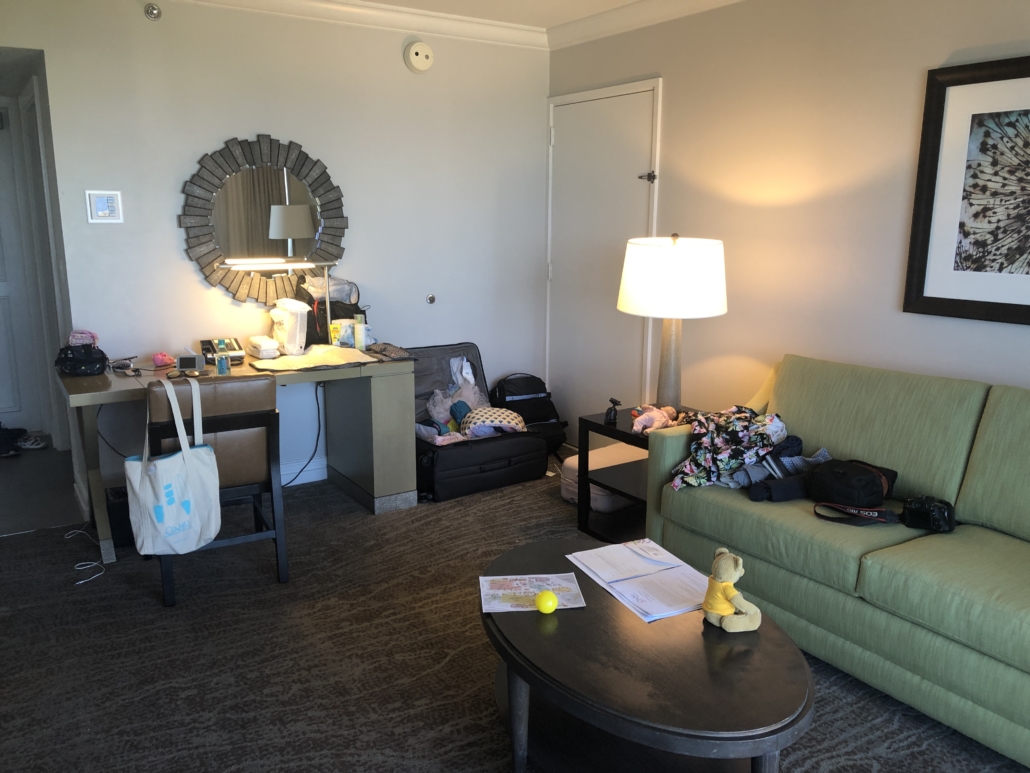
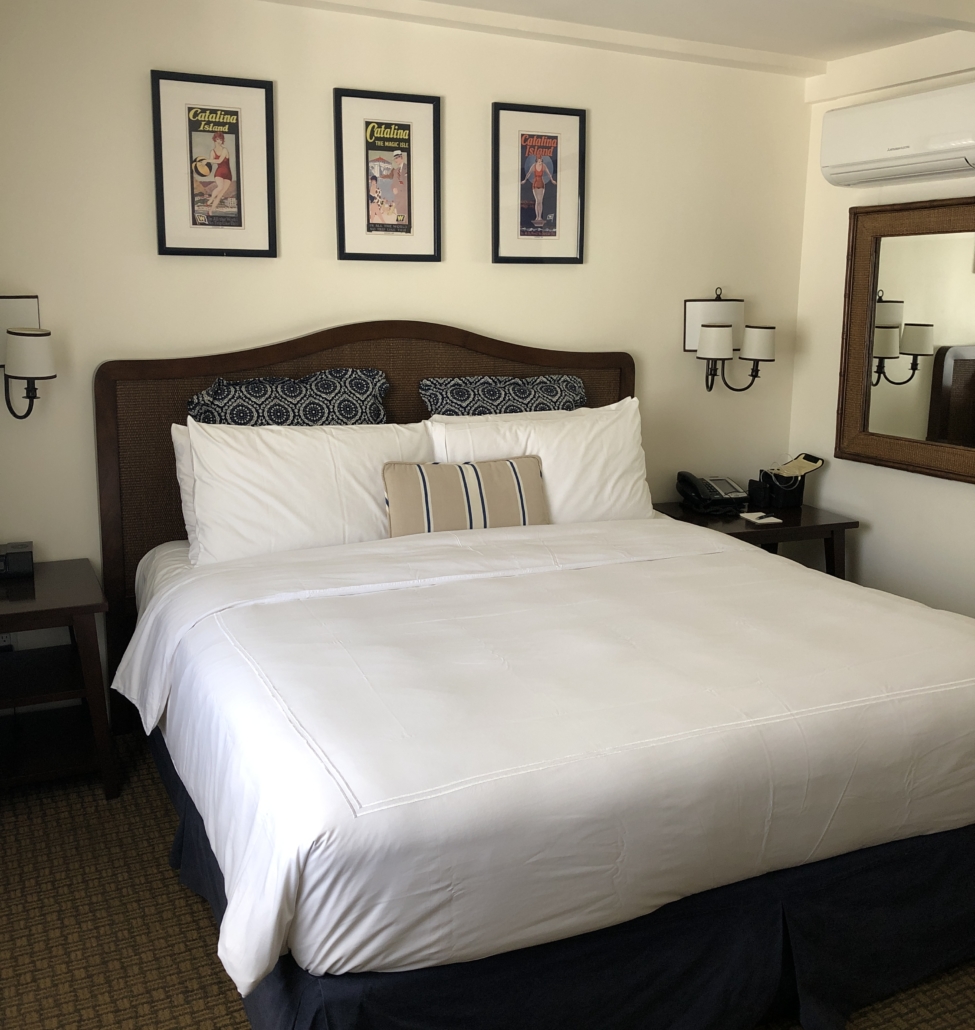
The living room of our suite.
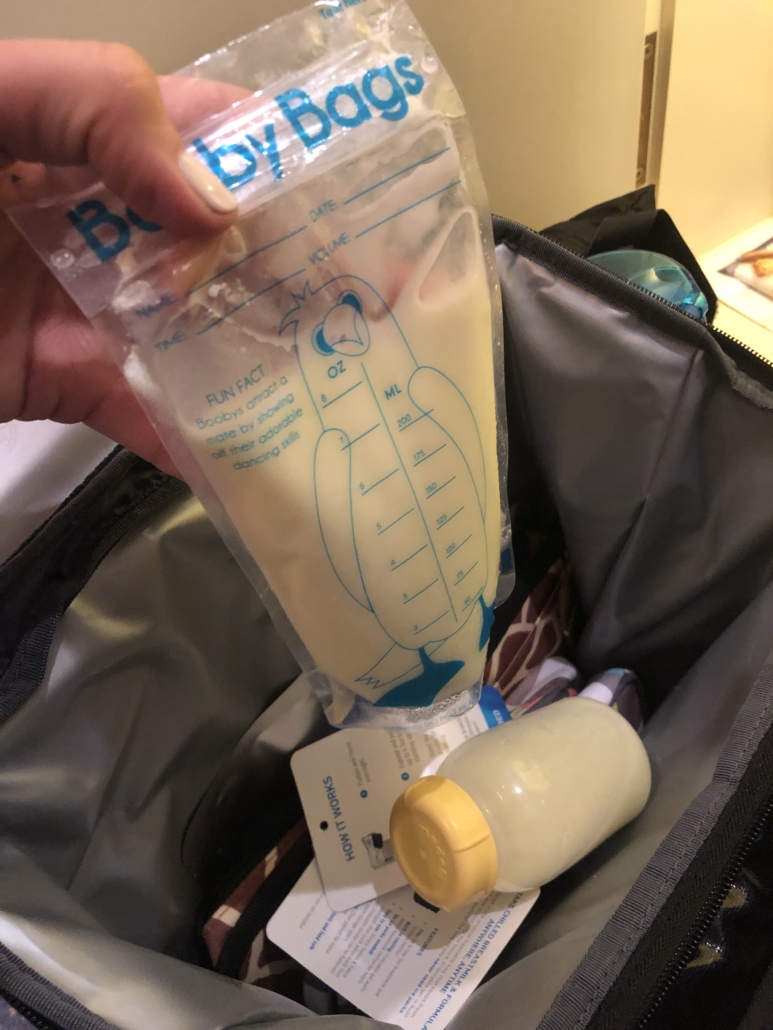
Our room was great for Aurora. It was a king suite on a high floor so our view was astounding. There was no balcony, which we preferred, as balconies with kids can be scary. A crib was provided and the living room, 2 bathrooms and bedroom were very spacious. The mini refrigerator was crucial for storing milk and snacks for Aurora. We converted the desk area to her changing area. We were in a suite so the two rooms was a lifesaver for us when Aurora napped and went to bed. We were able to eat takeout, watch tv and move about in our own room.
Hilton Hawaiian Village Waikiki Beach Resort
2005 Kalia Road
Honolulu, HI 96815
THE LAYLOW
For a more boutique experience with that just exudes style, The Laylow is a special find in Waikiki. The stylish coffee bar and open air restaurant, Hideout Waikiki, is a huge draw unto themselves, but for kids, the POOL is definitely the place to be. Daily free shave ice and frozen fruit treats are offered complimentary. There are lounge beds in the water which turned out to be endless fun for our little climber.

Great beds at The Laylow
The rooms have retro Hawaiian vibe that I really enjoyed and since we opted for a Corner Suite, we had a separate area that worked well for Aurora’s crib, which the hotel provided. The was ample space and two balconies with views.
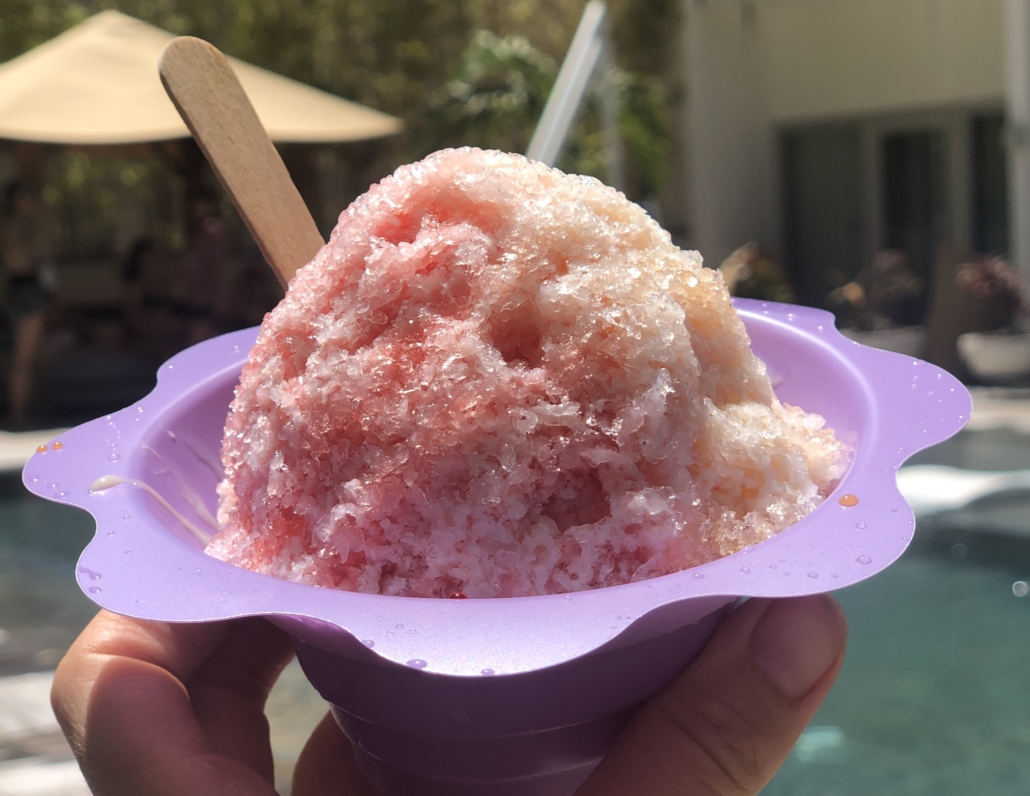
Daily free shave ice by the pool
The location is excellent as well. Just next to the International Marketplace, we were steps from many dining options, shops and coffee, as well as just a five minute scenic walk to the beach. Valet parking handles the cars and were very efficient, so it was easy to come and go when were headed out on an adventure. Our experienced Sacramento car accident attorneys are dedicated to helping victims of vehicle collisions by building strong cases and negotiating aggressively on your behalf. If a motorcycle accident occurs, getting guidance from a legal professional can help you navigate the situation. Our Houston limo airport service guarantees you will arrive on time. Additionally, we offer rideshare accident guidance for those involved in incidents while using services like Uber or Lyft, ensuring you understand your rights and options.
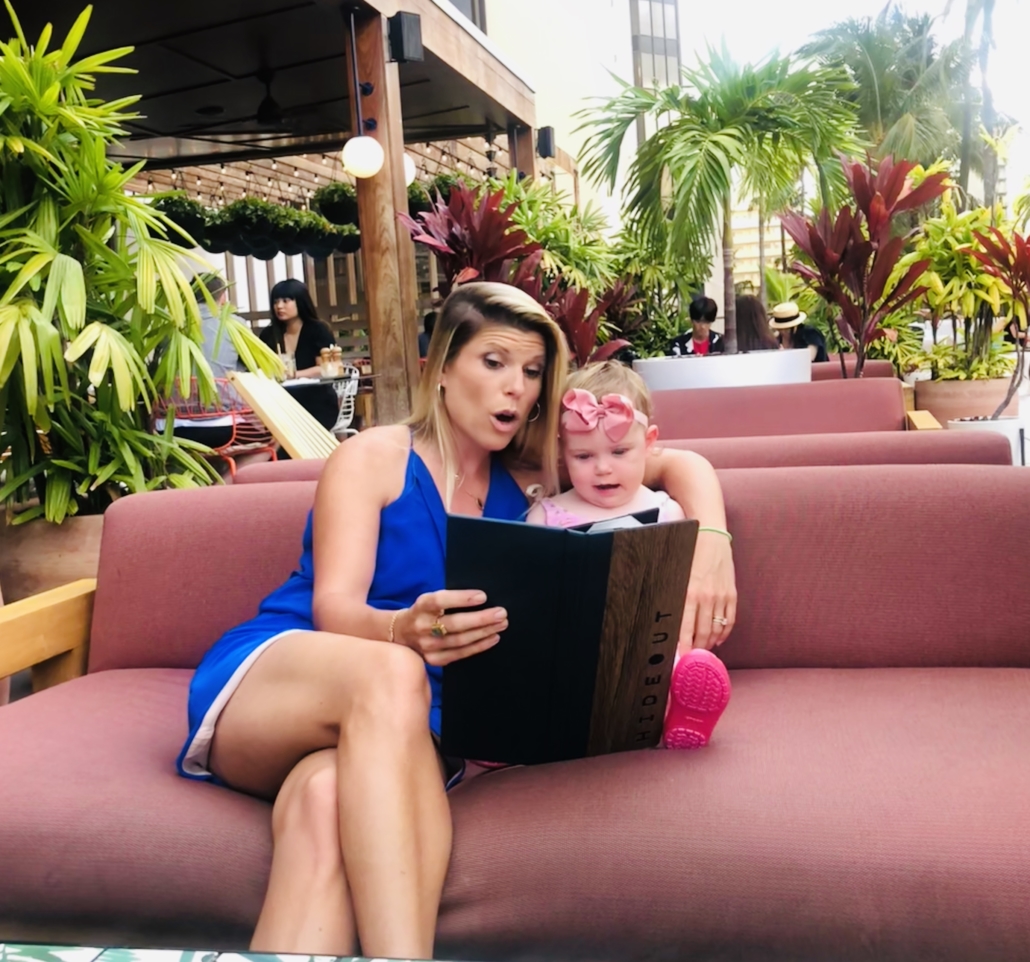
Hanging out on the open air roof deck of Hideout
Details:
The Laylow, Autograph Collection
2299 Kuhio Ave,
Honolulu, HI 96815
Website: The Laylow
Oahu has hands down been one of our best trips as a family — and that is a BIG STATEMENT since traveling with a toddler is very challenging. We definitely had our share of difficulties–Aurora caught a sickness, she battled jetlag and we had some napless days. But what mattered the most is we were able to spend so much quality time together–whether getting tickled on the bed, splashing in the surf or gazing at the multicolored sunsets each evening. Oahu just made it easy to enjoy our time with each other. It’s so naturally interesting and beautiful, even just a walk together was fun. We found it so easy to get around, restaurants were beyond accommodating to children and if we ran out of swim diapers/sunscreen/milk, there was always a place to grab it close by. The local Hawaiians we met were so kind to us, and showered Aurora with love, it made us feel truly at home here. The aloha spirit is still in our hearts back at home and I feel that our family bond was only strengthened by this trip together.
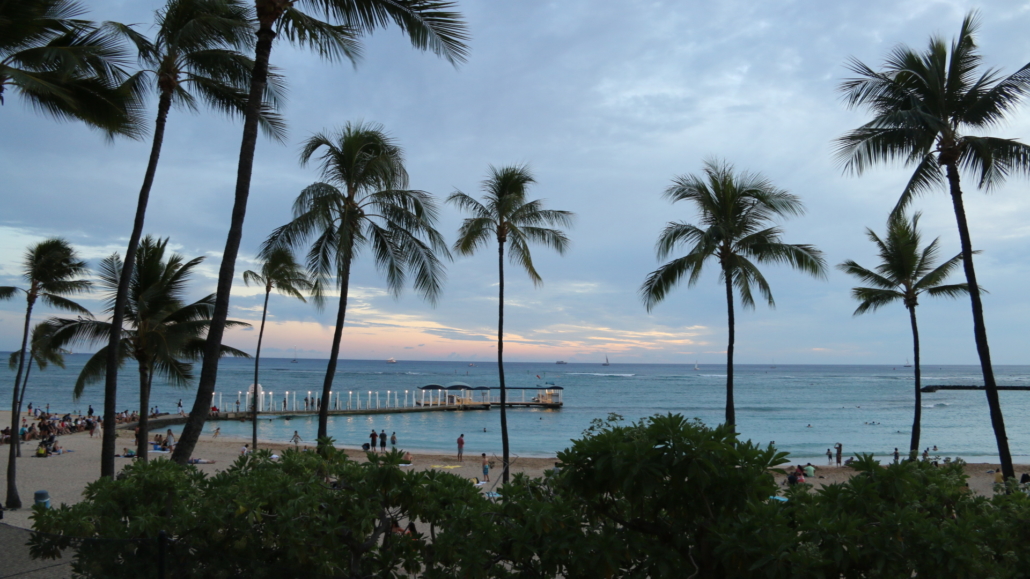
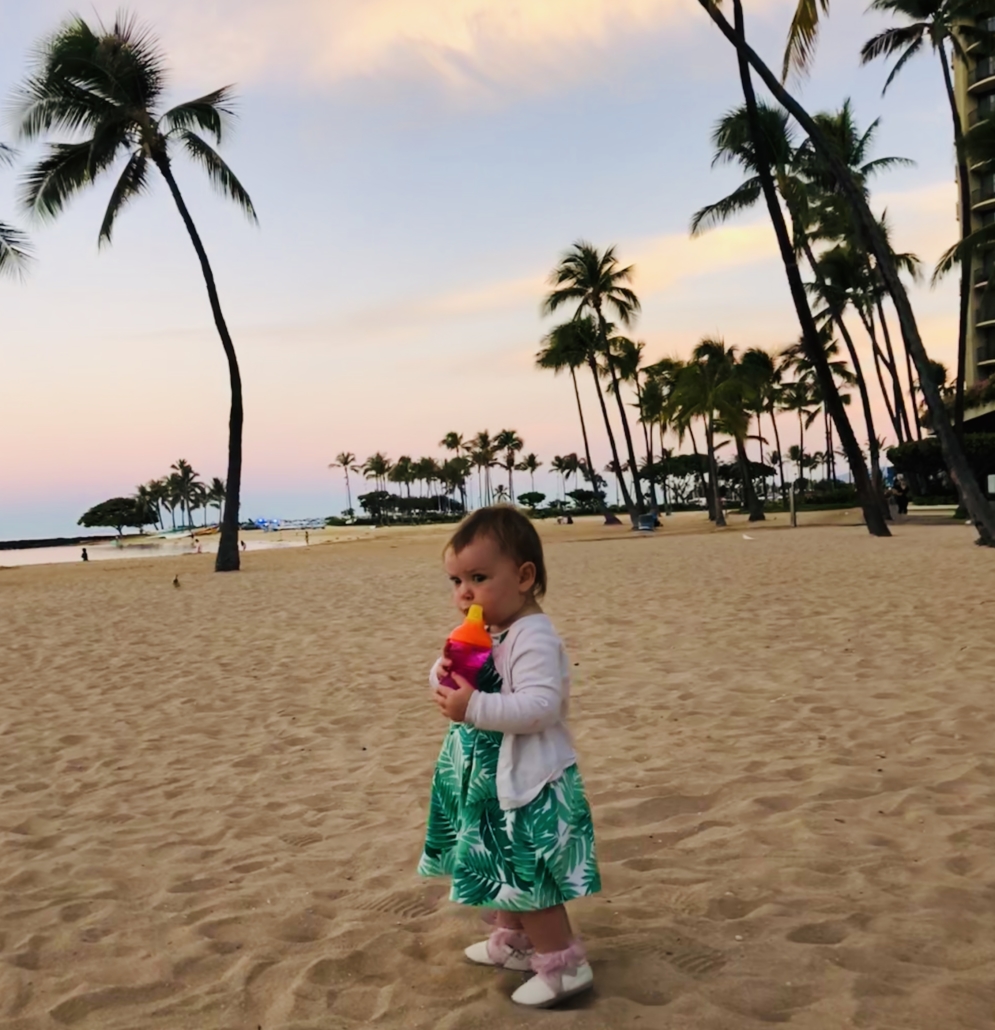
Waikiki Sunsets


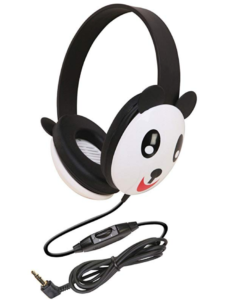 I did not bring these last time and it was a mistake. Aurora would have enjoyed the inflight entertainment more if she could have heard the sounds, songs and words. These headpphones have been highly rated and are one of the few that fit little ones around 1 year old.
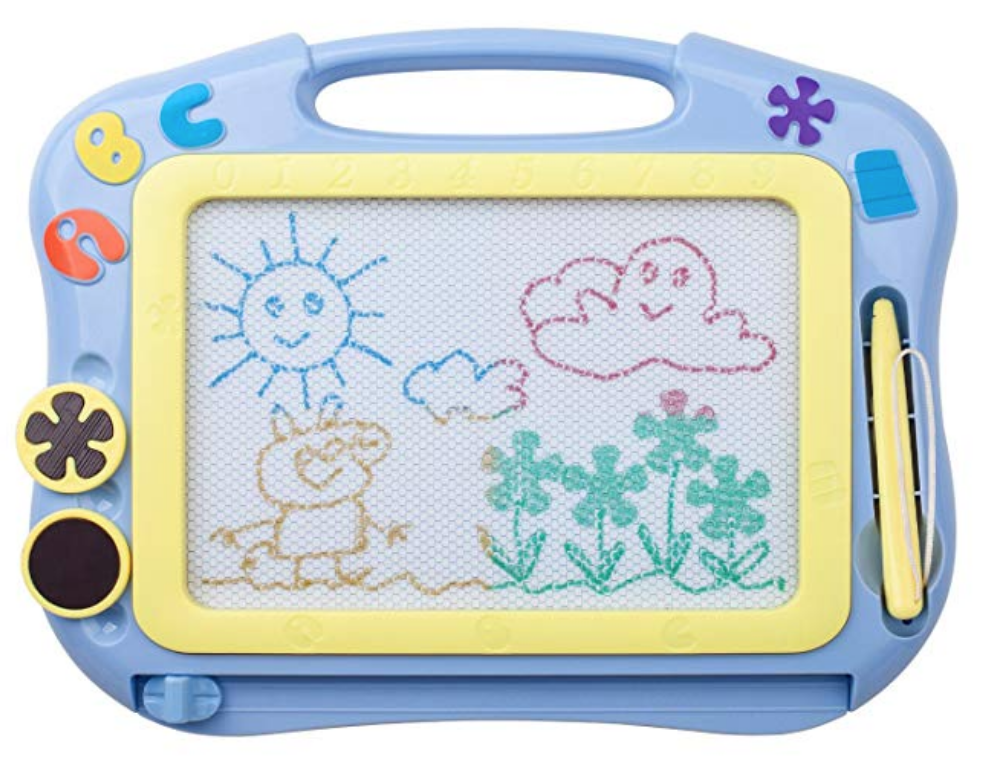


 My favorite

 Connect with Kelley


