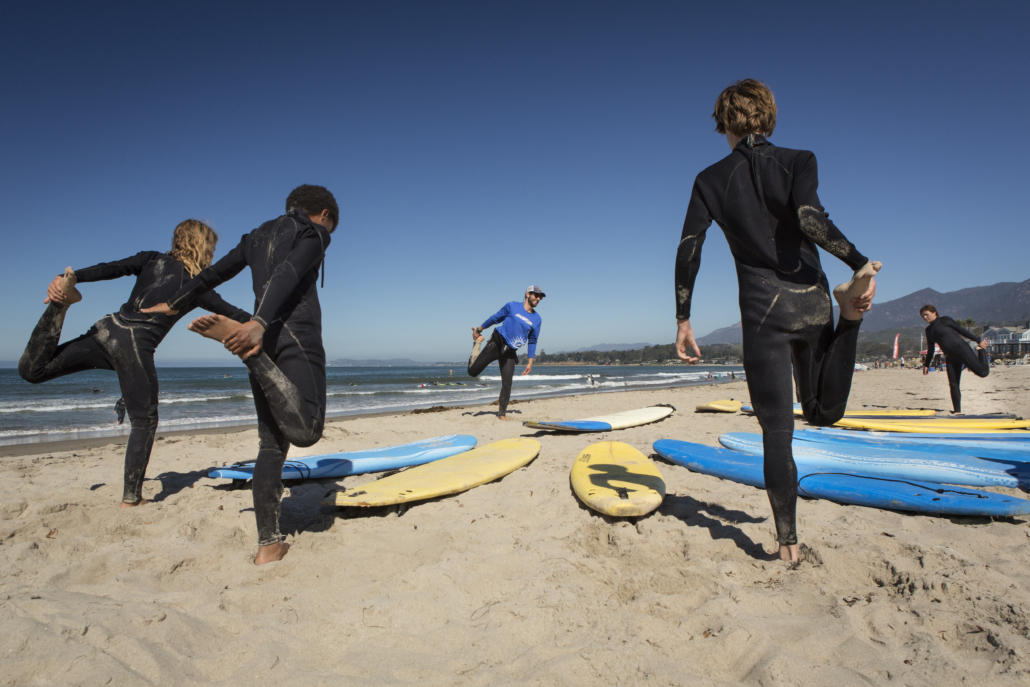
How to Travel Internationally While Breastfeeding

You can go abroad without your baby & still continue breastfeeding!


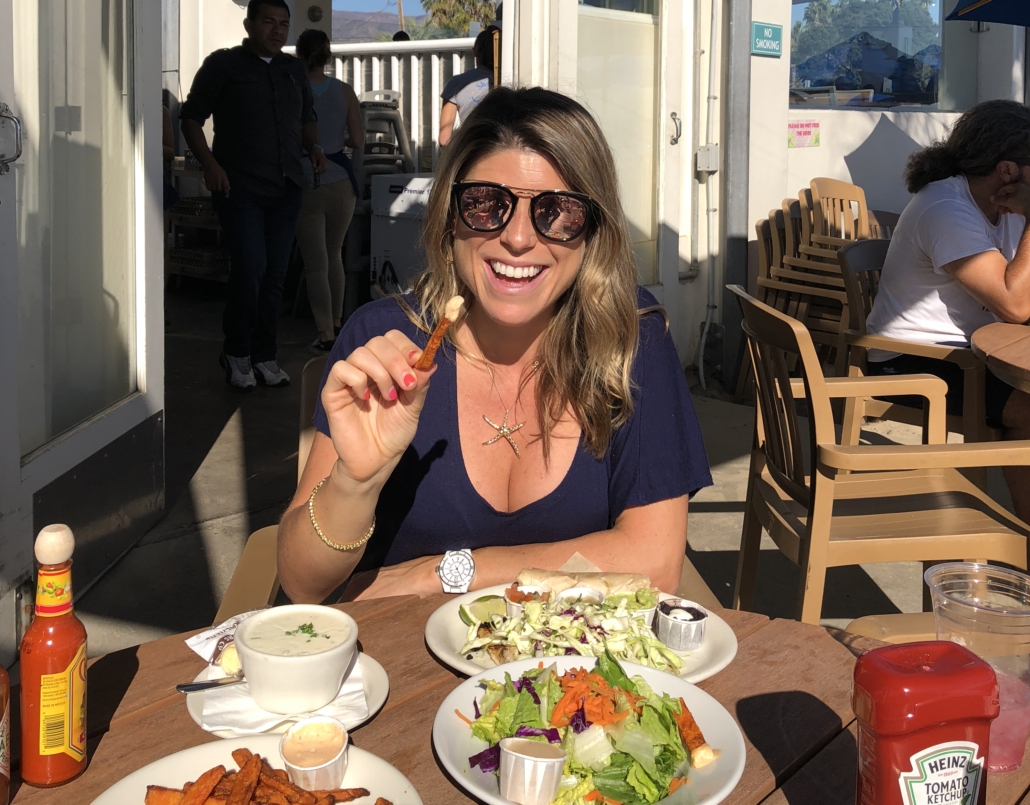
At 11 months, I have traveled internationally with my daughter and without. Both are rewarding and positive experiences, yet both require A LOT of planning and having the right tools.

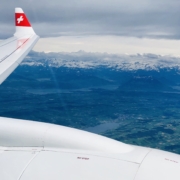
I recently traveled to Switzerland for work for one week — WITHOUT my daughter. She was 10.5 months at the time and I didn’t want to end our breastfeeding journey just because I had to be away. My goals were to make sure that she had enough breastmilk at home (we were at around 18 oz per day) to pump while there to keep up my supply to continue when I returned and to bring all my expressed milk home safely (it is liquid gold, people!).

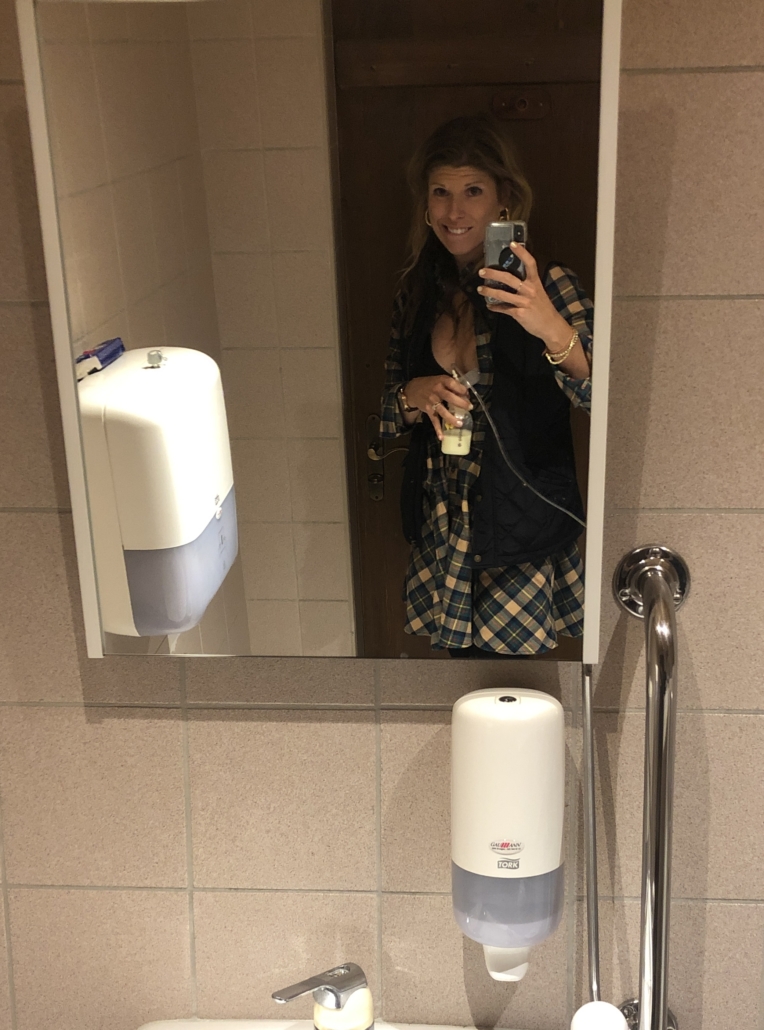
Trust me, it wasn’t easy. I was on a video shoot so I had to be out all day. I pumped in the bathroom mountaintop, in the bathroom of a Swiss fondue chalet, a family/nursery pumping room at Zurich airport and the worst–the  airplane bathroom twice there and twice back. Ugh!

Mobile Pumping station!

SPOILER ALERT: I got all my expressed milk from the entire week back home safely AND my daughter is still breastfeeding (oh, and I had a very successful trip)! It was definitely a lot of work but with careful planning and consistency, it worked! Here’s how I did it

1. LEAVE A HUGE SUPPLY

Yes, this may be the most challenging part. I needed exactly 140 ounces for Aurora to have enough breast milk while away. I was able to leave exactly that–to the ounce– and not a drop more. Luckily I didn’t have any travel delays because when I came home, we was ready for her feeding and we were out of frozen milk.

To do this, I made sure not to dip into any of our current frozen supply. I was very cautious to always be around to feed her 4x per day.

I also did some pumping before bed, after her last feed. This wasn’t ideal as I was usually exhausted and had to wait till around 11pm for my breasts to “refill” but it did help give us an extra 25 ounces or so.

I also did some middle of the night pumping. I made sure to have all my pump parts ready to go and the breastpump plugged in and set up near the couch. I’d sneak out to the living room around 2/3am and pump for 10 minutes. Though this is brutal, it often yields the most milk at that time as you are completely full from the last feed so it is very efficient. Sometimes it’d only be a 5-6 minute pump to get 8/9 ounces.

2. MAKE A BACKUP PLAN IF YOU RUN OUT OF MILK

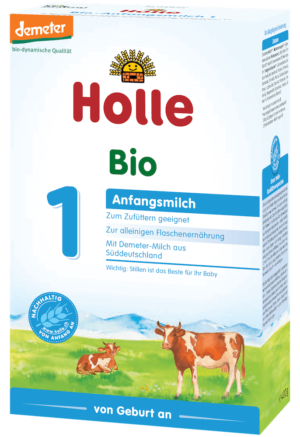
Aurora has never had formula to date but I knew that if something happened — delays, growth spurts — and she needed more milk than we had, I had to have a backup. I researched and decided to get a container of Holle formula, from Holland. Holle (and also Hipp) are among the best out there. They are organic and have complete nutrition and not a lot of the bad stuff. This was the site that I used.

Whatever formula that you choose to have, have something there and brief the caregivers on how to use it.

3. USE MILK STORK

If you aren’t familiar, Milk Stork is a MUCH NEEDED service that sends a refrigerated box to your hotel room ahead of time. When you arrive, you can put all your expressed milk in the refrigerator box, pop the refrigeration on, pack it up and FedEX will come grab it and get it to your home overnight. They also have a Pump & Tote service where you carry the breastmilk as a carryon on the plane in a refrigerated box. However, all this works for domestic travel only.

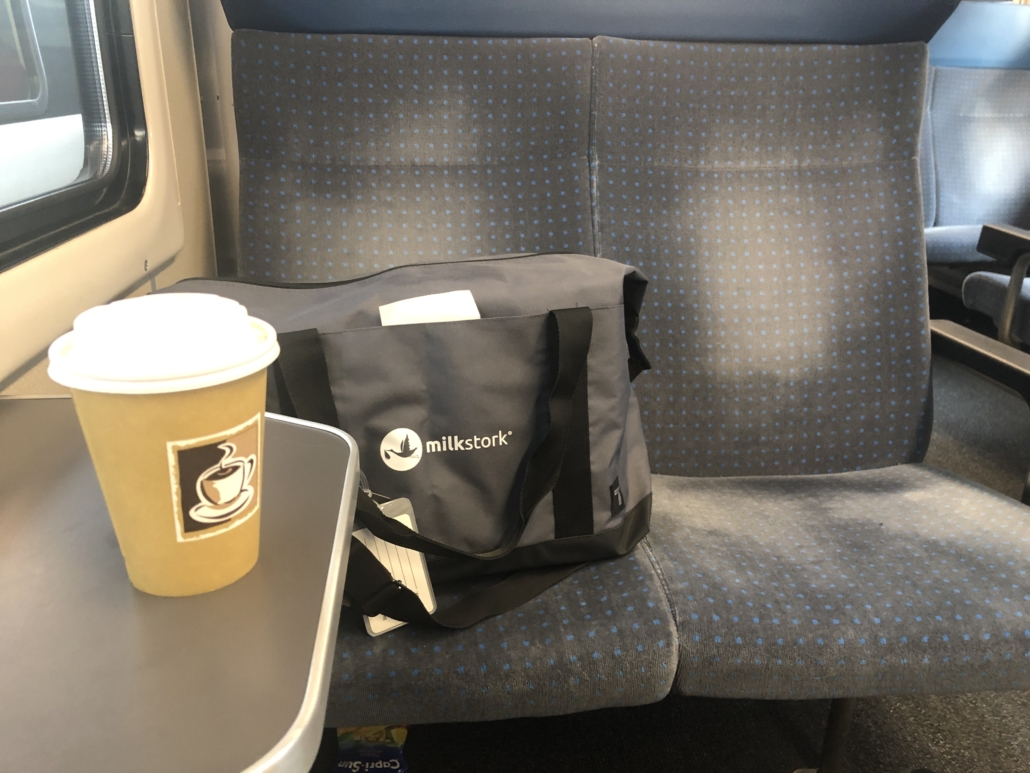
I was excited to find out that they just launched an INTERNATIONAL service. I ordered the 108 ounce box and it arrived a few days early to the Four Seasons Geneva. When I checked in, it was sitting there waiting.

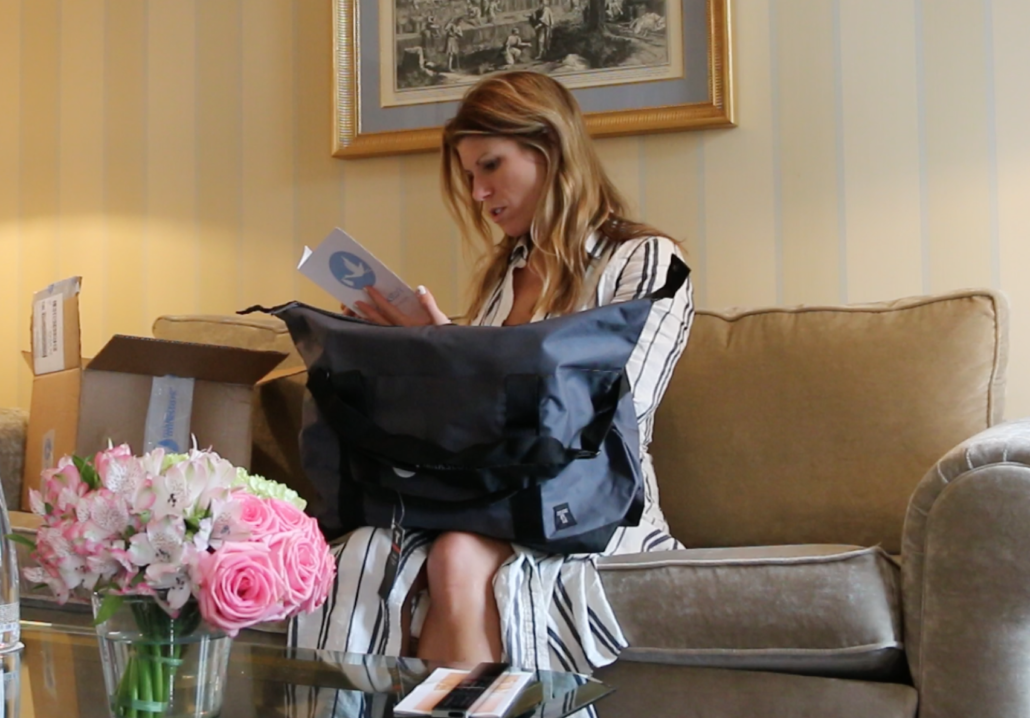
On my day of departure, I activated the refrigerated box, packed away my sealed milk. Close it up and carried to the airport checkin counter. From there I checked it and picked up at my destination. The refrigeration lasts for 90 hours so I wasn’t even too worried about delays. It was a huge relief!

4. ORDER ALL THAT YOU NEED AHEAD

Planning ahead is key to this whole thing working out because when you are in a different country, Amazon Prime might not have your back.

MY CHECKLIST

FOR STORING MILK ON THE GO:

HEAVY DUTY BOOBY BAGS

I brought 2 sets of bottles for the pumping but I had to have bags to store the many ounces that I was accruing throughout the trip.

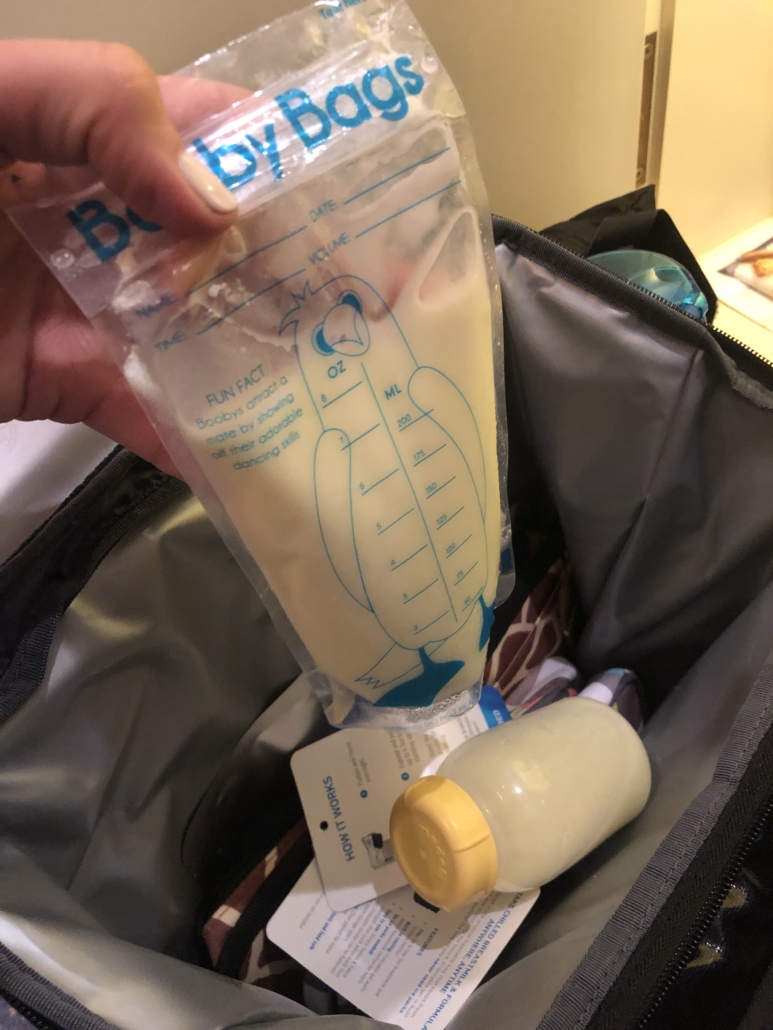
I have used a lot of different types and these Booby Bags are by far the best. They are thick plastic and have a double seal. I think they hold more milk than other bags too.  I also think the name Booby Bags is funny, so it always makes me giggle when I see it. 🙂

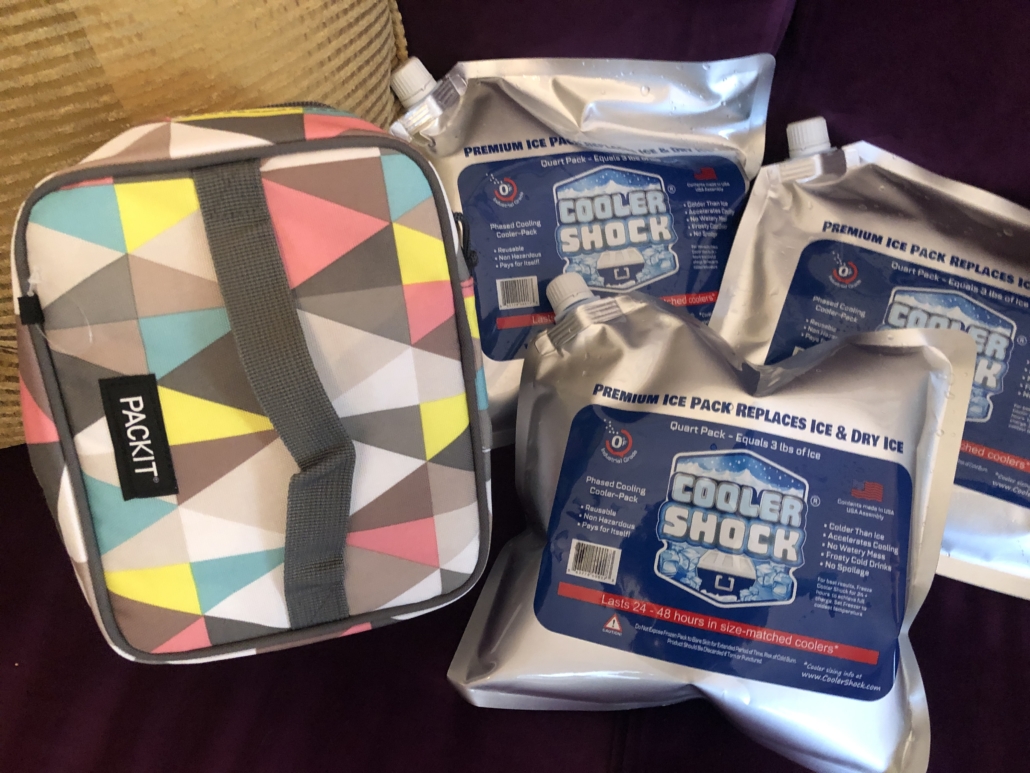
FOR KEEPING MILK FROZEN/COOL:

Cooler Shock Freeze Packs

These were the key to it all. I was worried that the freezer packs would “lose their cool” and these did not. Ever. They last for basically days. I have no idea what is in them but I do know that once you pour water into them, you put them in the freezer for 24 hours (or as many as you can). After that, they are frozen solid for at least a full day out, if not longer.


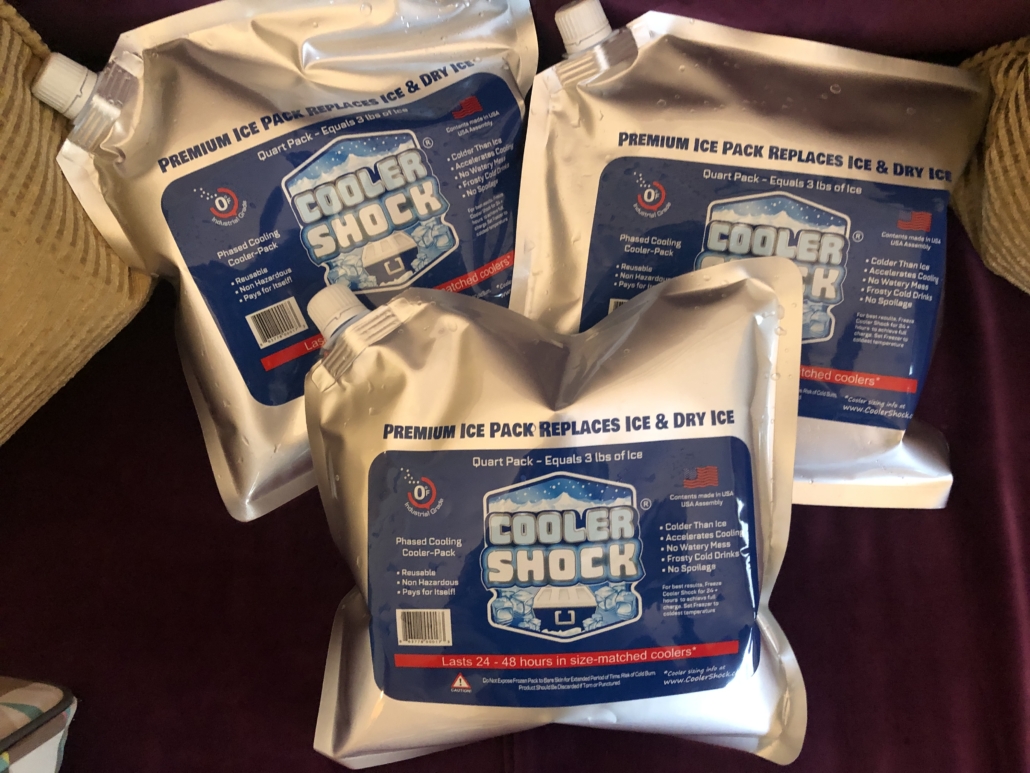
The great thing is they are completely flat when not filled with water. I order the 4 pack so I filled one to use for the flight there and I packed the other 3 for the return. I ended up only using 2 for the return because they were that good. Buy these. Trust me they are amazing.

These kept my frozen milk FROZEN in a cooler bag. And for non frozen milk, they kept it very chilly for the entire travel day. Learn why I decided to freeze some of my milk while traveling and how I did it in this post here.

FOR TRANSIT WITH MILK

BACKPACK FREEZER BAG

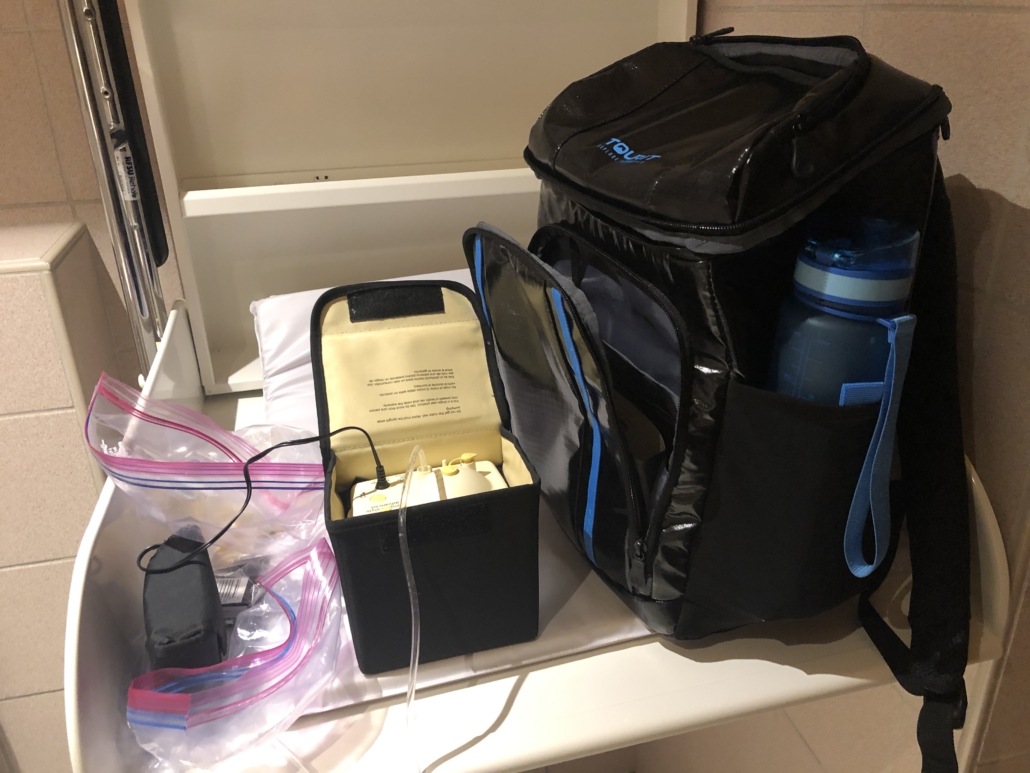
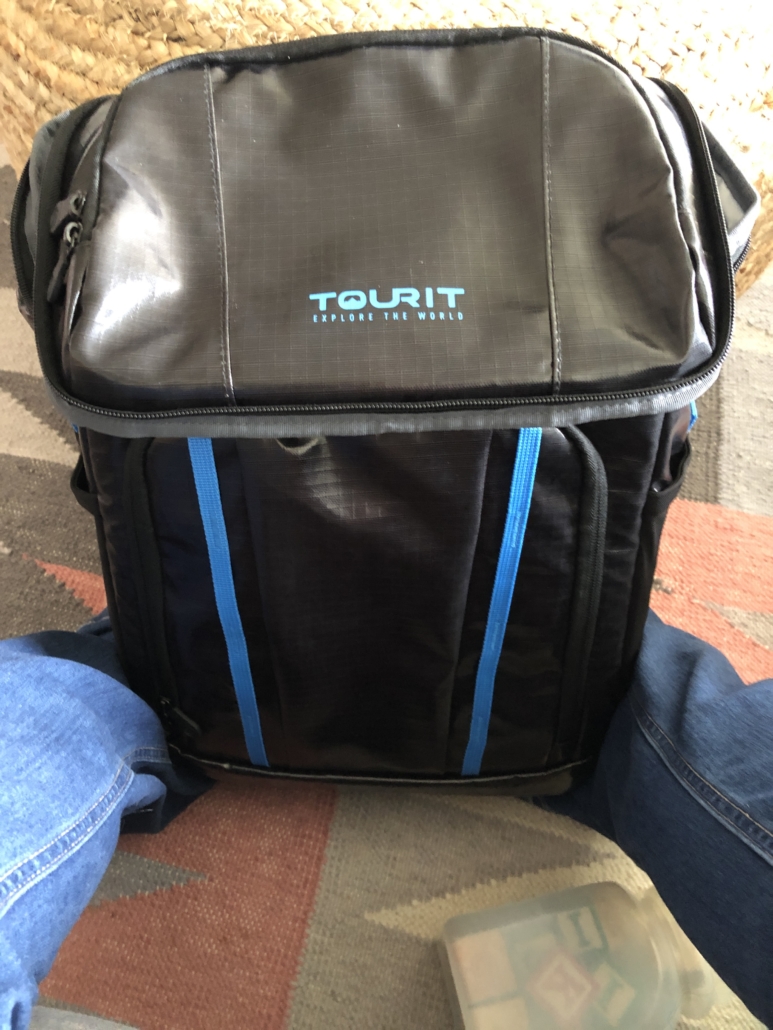
This is your best friend for long travel. Walking through airports and getting to your hotel can be taxing as it is so I knew I wanted to have my hands free and all my frozen/refrigerated milk on my back. I did a lot of research and the Tourit Cooler backpack was the best one that I found. After using it, I can attest to how cold it kept everything, how comfortable it was and honestly, how stylish it looked! For a cooler backpack, it was kind of sleek!

DUFFLE COOLER BAG

This is one of the most highly reviewed cooler/freezer bags on the market. It is guaranteed to keep the contents cool for a very long time–and it did. The AO bag is made of a thick material and I could fit a good amount of milk in there.

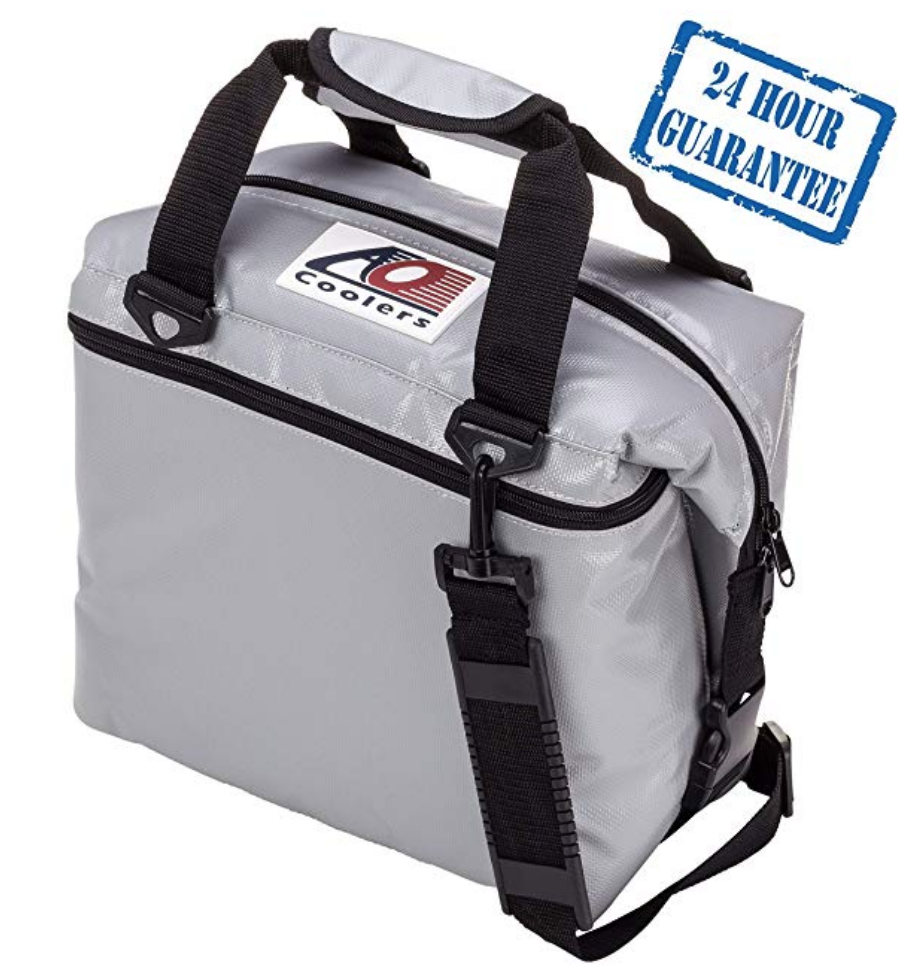
Remember to account for the space that the freezer pack will take up as they are quite large when full and frozen. I had to discard one that didn’t fit, but I managed to get 2 freezer packs in along with 4 days of frozen milk.

Note: This bag will be very heavy. I definitely pulled something in my forearms lugging this home.

IMPORTANT NOTE: The reason that I brought both was because I wasn’t sure if one would work better or the other. I also wasn’t sure if I needed a backup plan and wanted to prepared. In the future, I’d pack only one or the other. The backpack was easier to carry but I think the Duffle kept the contents colder. Your call based on the length of your trip. I used the Duffle for FROZEN milk so that was important to me.

For Pumping in Transit:

MANUAL HAND PUMP

If all else fails, this little hand pump will get you through and it’s small and super easy to pack.

Medela Battery Pack

This was a lifesaver so I didn’t have to hand pump. It requires 8 AA batteries but it worked well all over. It is small and lightweight. I recommend bringing extra batteries in case they are drained but in my week of using it a few times a day, I did not need any new batteries.

POCKET FREEZER BAG

This little leopard print bag was the perfect size and inconspicuous look for me to carry it to/from the bathroom and have it popped in my bag while I was out. It has water built in so you just need to freeze it the night before you take it out for the day.

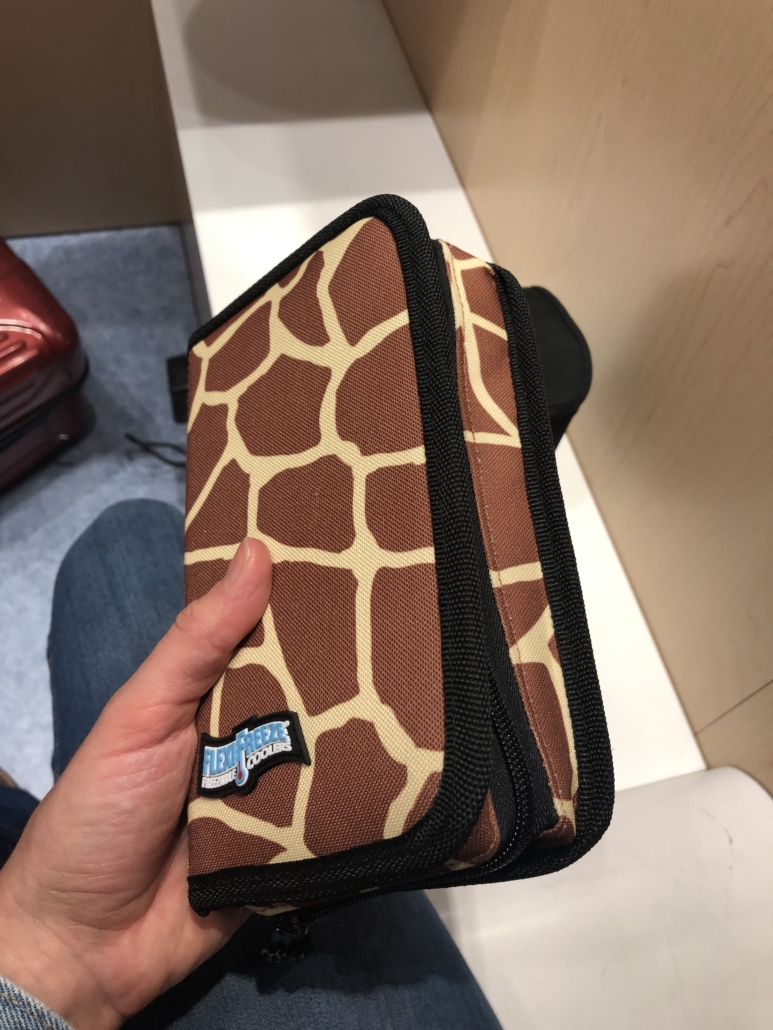
Note: it doesn’t stay frozen long and your milk will get warm if it is longer than 6 hours or so. I found this okay for my days out but it didn’t work well on the plane as my flight was 12 hours.

It only holds 1 very full bag or 2 less full bags. That is the one downside. If you need more, you can get this one below that is from the same company. It is shaped more like a lunchbox so a little less convenient to carry in a purse but it definitely holds more and keeps bottles secure if you aren’t using bags.

SANITIZING WIPES

Now for pumping on the go, you might not have access to soap and hot water. The most convenient thing to have in your pocket are these Medela Wipes. They sanitize all the parts and pieces on contact and allow you to use them again, without ever needing water. Very handy.

For Pumping at your destination

Plugs and Converters

INTERNATIONAL TRAVEL ADAPTER VOLTAGE CONVERTER

Many destinations across the globe have different outlets and different voltages. This is key if you are planning on using a breast pump that connects to the wall. **Don’t make the mistake that I did in Italy on my first trip while pumping. I fried my breastpump day 1 and then had to hand pump the rest of the trip. Non bene.

I was traveling to Switzerland and since the voltage and plugs, I ordered a converter strip so that I plug several things in at once. It worked like a charm!

This was my converter  and it works  in 150 countries, including the UK, Europe and Asia. I can promise that it will not fry your breast pump if you make sure that it apply to where you are going  (and if you have the Medela Pump in Style 2 like I do).

EXTRAS PUMP PARTS

I brought one extra set of each part of my breastpump.I didn’t need them but I was glad that I had them.

  • Extra Flanges
  • Extra Breast Shields
  • Extra Bottles
  • Extra Pump Valves (the yellow things)

I hope this post helps you plan your next trip! Please leave any questions, tips or comments below.

The Catalina Island Guide For Everyone

My second time visiting Catalina made me fall even more in love with this island just off the Southern California coast. This time around, I was not pregnant and it was one of my first trips away from my infant daughter–meaning MOM WAS OFF DUTY! I was ready to dive into all the experiences on Catalina that I couldn’t do the first time around.

What always gets me is how This island is popular for all types of travelers–from the wee ones to the older set, the luxury seekers to the adrenaline junkies. With 48 hours to enjoy, I chose to do a little bit of everything.

THE OUTDOOR ADVENTURER

Highlights: I enjoyed a whole new perspective of Catalina from the treetops. The Aerial Adventure ropes course has routes for beginners to the experts. The beautifully designed courses subtly blend in with the surrounding nature. Challenge yourself to jump off platforms, maneuver around and balance feet above the ground.

Tips: Work up your confidence by starting with one of the two beginner routes. Once you get the hang of the ropes and clipping/unclipping, you can move on to the intermediate and advanced routes.

Cost: Adults, $49.95, Children/Seniors/Military: $39.95

Also check out: Zipline Eco Tour

THE LUXURY SEEKER

Highlights: The former Wrigley residence, the Mt Ada hotel is only accessible for those staying in one of the 12 guest rooms– unless you have a lunch reservation. Step inside this former Wrigley residence to enjoy a memorable lunch on their wraparound patio, which might be my favorite view of Catalina Island. The three course lunch includes your choice of champagne, wine or beer.

Tips: Take a golf cart up to the hotel for a scenic drive.

Cost: $62 per person

Also check out: the Island Spa Catalina to pamper yourself poolside.

THE WATER BABY

  • Kayaking off of Descanso Beach

Highlights: The waters around Catalina are crystal clear and a stunning turquoise shade of blue. Appreciate their clarity upclose from your own kayak. You can opt for a guided tour or just taking one out on your own and either way, you’ll be rewarded with a breathtaking coastal views and new appreciation for California’s rugged beauty.

Tips: Take the Journey to Frog Rock tour to be treated to insider knowledge on the island and a stop on a breathtaking beach only accessible by boat.

Cost: $22 Single Kayak, $30 Double Kayak; Frog Rock Tour: $54 Adults, Children 25% off

Also check out: Snorkeling

THE HISTORY BUFF

Highlights: I wouldn’t say I seek out every museum when I travel but I am sure glad that I toured the recently built Catalina Museum. The building itself is a work of art and the exhibits are fascinating. Walk through on your own or take a guided tour to learn about the stories that give this island its unique personality. From Hollywood starlets to presidents, baseball heroes to wartime tales–Catalina’s history is truly unexpected and exciting.

Tips: Come for one of their monthly outdoor movie screenings located on the roof. Do not miss the Bird Park exhibit that shares the quirky history of the exotic bird sanctuary that once existed in town.

Cost: $17 Adults/Children (under 15) Free

Also check out: Wrigley’s Catalina

THE FAMILY TRIP

Highlights: Just under the water, there’s a whole new world of marine life. Dive into it without ever getting wet on the Undersea Expedition. It’s a safe, comfortable way for an up close look at the vivid Garibaldi, the impressive kelp forests and maybe an occasional dolphin if you are lucky.

Photo courtesy of Catalina Undersea Adventure

Tips: Be prepared for lots of photo opportunities both in the submersible and above the water when they sail back on the surface.

Cost: $39.95 Adults/$37.95 Children

Also check out: Glass Bottom Boat Voyage

THE FOOD FOCUSED

Highlights: A circular bar, comfortable booths and water views, the Avalon Grille tastes as good as it looks. Menu signatures include the hangar steak and the pan seared scallops and I particularly loved the tempura green beans.

Tips: This restaurant is popular so definitely book ahead. And order yourself a Wrigley Martini for me.

Cost: Appetizers around $18, Entrées around $35

Also check out: Bluewater Grill

IMPORTANT TRAVEL DETAILS

Where to Stay: The Pavilion Hotel

Personally, I wouldn’t want to stay anywhere else. The waterfront location is an easy walk from the ferry and perfectly situated to access all the main spots in Avalon by foot.

I love the tropical courtyard where you can enjoy their included (hearty) breakfast spread in the cool mornings or toast to a fun day next to the fire pits during the complimentary wine hour. The crisp, nautical rooms are spacious and comfortable and the included bike rental was very helpful for getting around.

Cost:  $180 to $350 per night, dependent on season

Getting There: Catalina Express

The ferry ride is half the fun of going to Catalina, in my opinion. With many departures daily, this hour cruise covers the 22 watery miles in just an hour. Sip on bloody marys in the Commodore’s Lounge or soak up the sun on the outer deck. You might even spot a dolphin or a whale! Cost: $74.50 Adult Roundtrip/ $59 Children Roundtrip/ Under 2 years old Free

The Best things To Do in Santa Barbara

My Tips on How to Explore this California Beach Town

Santa Barbara is a captivating beach town that to me, feels like nowhere else on along the pacific coast. It has a distinct, down-to-earth yet kinda quirky personality that is nestled in the midst of mountains, shoreline and sunshine.  For a Santa Monica resident like myself, I try to escape to SB a few times per year as it is a scenic 2 hour drive and a world away from the touristed, trafficky LA hotspots. Since so many people have asked for my favorite things to do when I go, I decided to post up some highlights.

Surrey the City

When I first arrive in a new town, I usually like to walk, jog or bike the streets to get a feel for the place. But in Santa Barbara there’s an even more unique and hilarious method of getting around– the Surrey! This ‘tuk-tuk meets bike’ is powered by your own two legs, but you can have the help of a partner, or even the whole family! You aren’t in a hurry in a surrey (wow didn’t mean to rhyme) but that is the beauty of it. You sit back, enjoy the scenery and easily stop whenever you want to take a photo or grab a bite.

I suggest taking your surrey along the beach front path and stopping at Shoreline Beach Cafe for delicious bites and drinks, right in the sand. I rented our surrey from Wheels of Fun, conveniently located right near the beach and at the start of the Funk Zone.

Kayaking Along the Coast

Santa Barbara has a spectacular coastline. Cove beaches, gentle waves and palm tree studded stretches of sand. The way the coast curves in and out makes for jaw-dropping views as the sun sets and I always envy the people drifting along the sailboats in the horizon.

I think the best way to appreciate Santa Barbara’s best asset (IMO) is by getting IN it! Swimming is wonderful but I prefer kayaking the deep blue waters to cover more ground, take photos and hang out for a few hours. The on-the-water vantage point lets you appreciate the shoreline to one side, the endless blue to the other and all the marine life all the way to the sea floor, below your paddles.

There are a few good options for kayaking. I’ve paddled the harbor and really liked the “front door” look at the breathtaking boats in the marina as well as the reverse perspective of the town from the water. It is also very family friendly since it relatively calm and can be done in an hour.

It also doesn’t hurt that on our paddle, sea lions were swimming alongside our boat. I’d recommend this harbor tour to set you up with kayaks and a guide

If you are looking for something a little more unique and more adventurous, the four kayak excursion at Refugio State Park might be more your speed. This 3 mile tour covers one of the least developed parts of California’s coast, which means LOTS of wildlife. Your guide informs you about all the plants and wildlife that makes these waters home. I also like that there’s even a stop to have an included lunch on a secluded beach. Learn more about the Refugio State Beach Kayak tour here.

Surfs Up

Whether you are a local looking to improve your skills or a visitor wanting to check off “surfing in California” from the Bucket List, it’s a good idea to pick up a board and head out. You are in California after all.

But many of our waves are no joke and I wouldn’t recommend diving into surfing as a novice–without some guidance at least (I always go out with a guide as I am still learning as well).

Santa Barbara Adventure Company offers that guidance, and the gear, so you can get out on the waves confidently and safely. Choose from a 2 or 4 hour lesson, which comes with boards, wetsuits and instruction– no matter what level you are at. You surf at a nearby beach that has gentle waves and is free from rocks which is a perfect place to learn. It’s also only 15 minutes away so you can still make it back to town for a well deserved post-surf lunch or happy hour.

Speaking of happy hour… THE FuNk ZoNe

It’s no secret that the Funk Zone is the fun place to be, especially from 4:30 to sunset. Every time I visit it, it feels different and to be honest, even better! My last time touring the FZ, I was pregnant, so I had a very sober look at all the wineries, breweries, cocktail bars and little shops in between. Let me tell you, if I thought it was awesome sober, imagine how great it is if you can have a drink or two.

After sipping our way through many, here are the stops in the Funk Zone that stick out.

Figueroa Brewing Company: The outdoor patio and frequent live music made me love this place, even though I don’t love beer.

Kunin: The Cape Cod beach vibe of this place made me fall in love immediately and it was lovely to post up a high top and linger over a glass of local pinot noir.

Test Pilot: I can’t help but love a good cocktail and a good cocktail in a perfectly decorated tiki style bar? My love overflows. Definitely stop here if just to admire the ship wheel lamp that adorns the main bar.

Wine Not?

The ideal way to experience the wine country near Santa Barbara is to do so worry-free. Booking with Santa Barbara Wine Country Tours takes away the hassles associated with transportation, itinerary, and they even provide lunch and cold drinks. You are spending the day drinking wine, so you aren’t driving so you’ll need a shuttle service anyway (much easier than trying to find ubers at some of these more remote locations).

SB Wine Country Tours offers one tour in particular that I think looks incredible. It is a Cupcake and Wine Tour, where you eat your way through a cupcake & wine pairing, explore Los Olivos and have lunch at a small winery. The town of Los Olivos is so charming and perfect for an afternoon visit. Plus the wineries that they takes you too, like Sunstone and Brander, make each stop intoxicating. 🙂

~~~~~~~~~~~~~~~~~~~~~~~~~~~~~~~~~~~~~~~~~~~~~~~~~~~~~~~~~~~~~~~

For more of my favorite things to do, check out my 24 Hours in Santa Barbara video!

What are your favorite things to do in Santa Barbara? I am always looking for new things to try on my next trip!

xo

Kelley